.webp)
.webp)
What Is Oil Canning on a Metal Roof? A Contractor's Straight Answer

Aaron Venegaz is the President and founder of Global Exterior Experts and has been in the construction / roofing industry for over 15+ years. He started the company back in 2010 and done everything from scheduling appointments to putting down roofs. He's also done everything from commercial roofing to residential roofing and has also worked with almost every single roofing material multiple times over the past 15 years.
Finding a roof leak sounds simple. It rarely is. Water travels along rafters, underlayment, and insulation before it ever shows up on your ceiling. By the time you see a stain, the leak has usually been active for a while. Here's how to track it down the right way.
Start Inside: Look for the Signs Before You Ever Touch a Ladder
The first clue is almost always inside the house. Walk your attic after a rainstorm, or check ceilings in rooms near exterior walls and below the roof line.
Look for:
- Brown or yellow water stains on drywall or ceiling panels
- Dark streaks or mold along rafters or sheathing
- Damp or compressed insulation
- Daylight peeking through the roof deck (rare, but it happens)
The stain on your ceiling is rarely directly below the leak. Water runs downhill and sideways before it drips. First mark where you find moisture, then plan to trace it uphill toward the ridge.
Now just to be clear, if you don't want to go through this entire process of getting on your roof, checking with flashlights, etc. You can call us out to give you a free roof inspection to pinpoint the roof leak without all of the hassle.
1. Identify the Stain Pattern
Here's the thing: the shape and color of a water stain tells you a lot. A clean ring with a brown edge usually points to a slow, intermittent drip while a large gray stain across an entire panel suggests water is spreading along the sheathing over a wider area.
If the stain only appears during heavy rain or wind-driven storms, that narrows your suspects. Ice dams cause leaks in winter but dry up in spring making that leak that much more crucial to catch now than later. Plumbing leaks happen regardless of weather so if it's leaking on the ceiling of the first floor, rule those a roof leak out first.
2. Go Into the Attic With a Flashlight
Attics are where the real detective work happens. Wait for dry conditions, then bring a good flashlight and look along the underside of the roof deck.
What you're looking for:
- Dark staining or water marks on the sheathing
- Wet or rotted wood along rafters
- Rust stains below nails (condensation issue, separate from active leaks)
- Light gaps around chimney bases, vent pipes, or dormer walls
Measure from the stain to a fixed reference point (like a gable wall) so you can find that exact spot on the roof surface above it.
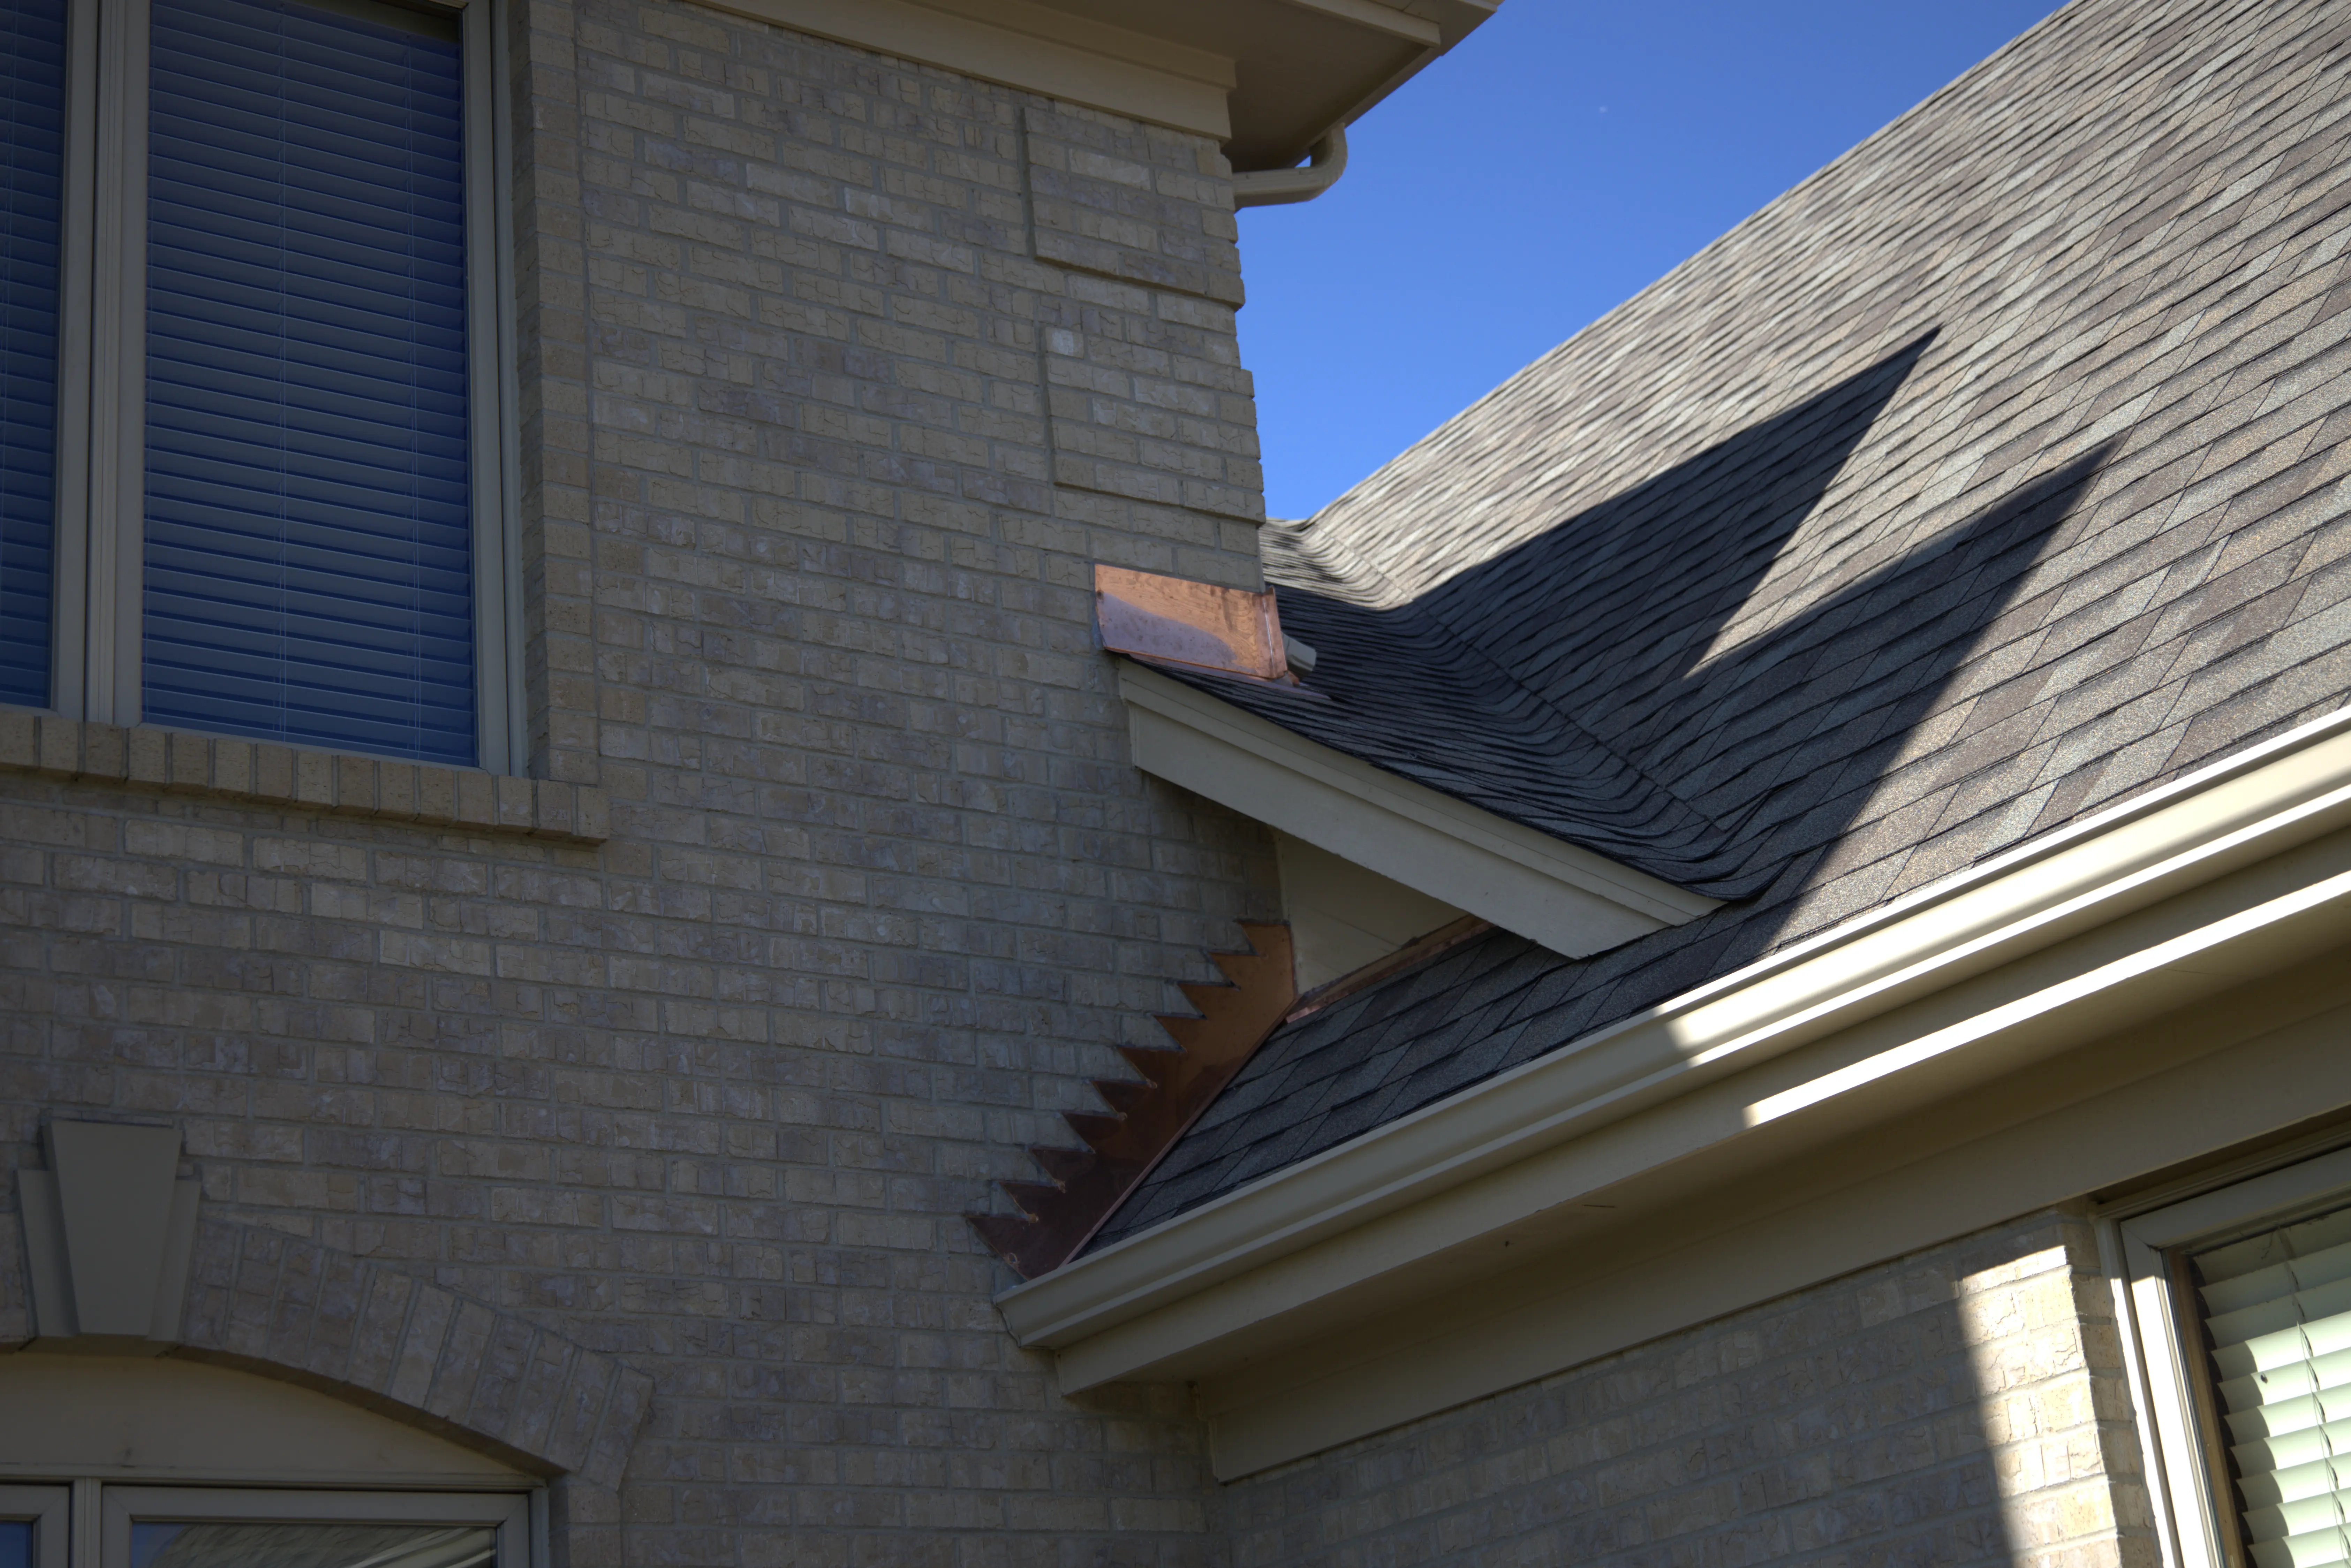
3. Inspect the Roof Surface: Start With Flashing
Flashing is responsible for the majority of residential roof leaks. It's the metal sheeting installed around chimneys, skylights, vent pipes, dormers, and roof to wall transitions. When it lifts, separates, or corrodes, water gets underneath fast.
Check for:
- Gaps or cracks in the sealant around flashing edges
- Flashing that has pulled away from the chimney or wall
- Rust or visible holes in older metal flashing
- Step flashing along dormers that has shifted or been improperly installed
Flashing repair is one of the most common roof repair jobs and one of the most important. Don't ignore it because it looks minor.
4. Check Shingles, Valleys, and Field Areas
Alright, let's talk about the roof surface itself. Missing, cracked, curling, or blistered shingles are obvious problem areas. But shingles can also fail in ways that aren't visible from the ground.
Walk the roof carefully (or use binoculars from the yard) and look for:
- Shingles that are cupping at the edges or buckling in the middle
- Granule loss that exposes the asphalt mat beneath
- Shingles where tabs have cracked or completely broken off
- Exposed nails or nail pops along the field area
Valleys (the V-shaped channels where two roof planes meet) collect heavy water flow. If the valley flashing is thin, improperly installed, or eroded, leaks can develop there even when everything else looks fine.
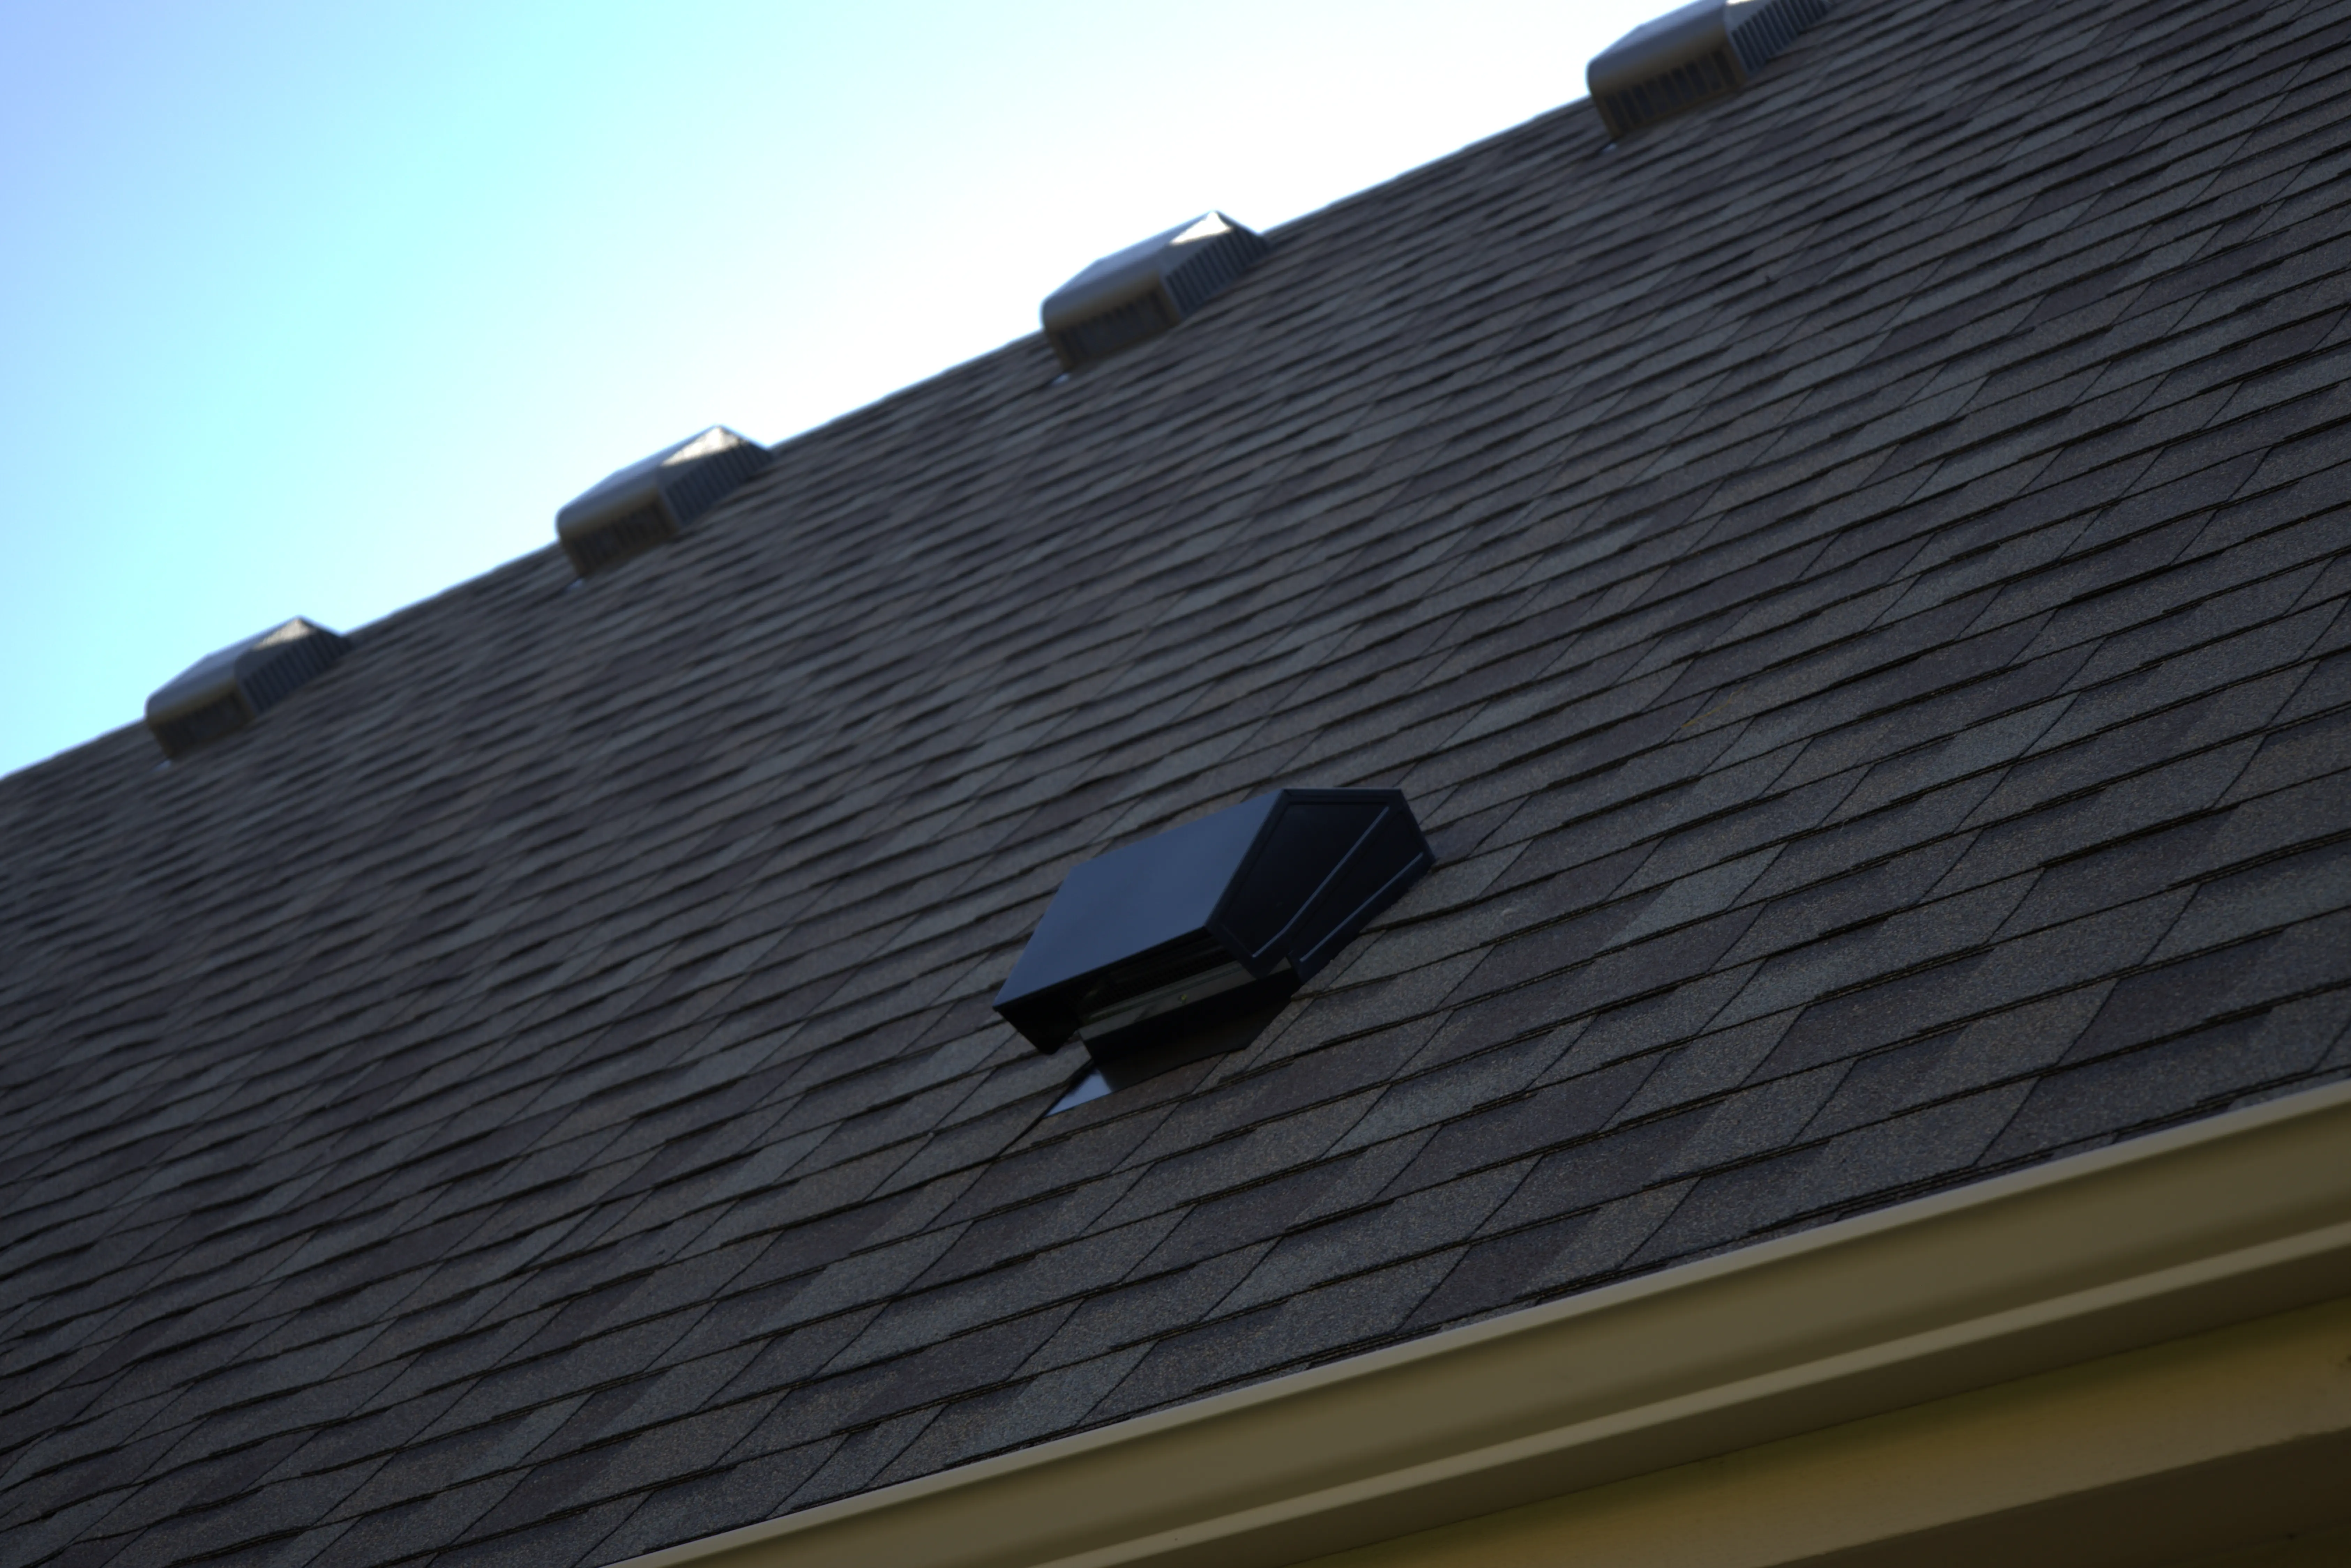
5. Look at Every Roof Penetration
Every pipe, vent, fan, and fixture that pokes through your roof is a potential entry point. The boots (rubber or metal collars) around vent pipes crack and shrink over time, especially on older roofs.
Check these areas specifically:
- Rubber pipe boots for cracking or splitting at the top collar
- Attic fan housings for gaps around the base
- Skylights for failed gaskets or cracked flashing along all four sides
- Ridge vents for damaged or improperly sealed sections
A failing pipe boot is one of the most common causes of roof leaks on roofs that are otherwise in decent shape. It's also one of the faster roof repair fixes, typically $150 to $400 depending on pipe size and access.
6. Run a Hose Test to Pinpoint the Source
If you've inspected everything and still can't find the leak, a systematic hose test is the next step. This works best with two people: one on the roof with a hose, one inside watching.
How to do it:
- Start low on the roof and work upward in sections
- Soak one area for several minutes before moving up
- Have the person inside call out the moment water appears
When the drip starts, you've identified the zone. Stay low until you've confirmed the starting point, then work your way up from there. It takes patience, but it's one of the most reliable methods to localize a hard-to-find leak.
7. Watch Out for Ice Dams in Cold Climates
If you're in Illinois or any colder region, ice dams deserve their own attention. They form when heat escapes through the roof, melts snow near the ridge, and that meltwater refreezes at the cold eaves. The trapped water has nowhere to go except under your shingles.
Signs of ice dam damage:
- Leaks that only appear in late winter or during freeze-thaw cycles
- Water stains along exterior walls near the soffit
- Icicles forming at the eaves (especially large ones)
The fix is rarely just roof repair. Ice dams almost always point to an insulation or ventilation issue in the attic which is why every roofing company requires you to bring the ventilation up to code.
8. When to Call a Roofing Company
Some leaks are straightforward to find and fix. Others aren't. If you've done a visual inspection and hose test and still can't pinpoint the source, it's time to bring in a roofing company for a professional inspection.
A qualified roofing company will:
- Perform a full inspection of field shingles, flashing, penetrations, and valleys
- Check underlayment condition in accessible areas
- Assess structural damage from prolonged moisture exposure
- Provide a written estimate for roof repair or, if warranted, replacement
Professional inspections typically run $150 to $400 while our roof inspection are free. Many roofing companies apply that fee toward any repair work.
Cost and Timeline Ranges
Roof repair costs vary based on what's actually causing the leak so it would be hard to give an estimate now but the most straightforward repairs take half a day to a full day. If permits are required (some municipalities require them for larger repairs or partial reroofs), add time for scheduling and approval, which can range from a few days to a few weeks depending on the jurisdiction. Worth asking up front.
Summary: How to Find a Roof Leak
Finding a roof leak is a process of elimination. You start inside with water stains, move into the attic to trace the moisture, then get on the roof to check flashing, penetrations, valleys, and shingles. A hose test can pinpoint stubborn leaks when visual inspection falls short.
The most important thing: don't wait. Leaks get worse with every rain cycle. Even a slow drip can saturate insulation, rot sheathing, and feed mold growth over a single season.
What to consider next: If you've found damage, or if you're not comfortable getting on the roof yourself, contact a licensed roofing company in your area for a professional inspection. Get a written estimate before any work begins, and confirm whether permits are needed for the repair scope. That protects you, and it ensures the work is done to code.