.webp)
The 3 Main Types of Roofing Warranties (And What Each One Actually Covers)

Aaron Venegaz is the President and founder of Global Exterior Experts and has been in the construction / roofing industry for over 15+ years. He started the company back in 2010 and done everything from scheduling appointments to putting down roofs. He's also done everything from commercial roofing to residential roofing and has also worked with almost every single roofing material multiple times over the past 15 years.
Once again a storm rolls through, you spot missing shingles or a ceiling stain, and now you're staring down an insurance claim you've never filed before. Here's the short version: your homeowners policy can pay to replace a roof damaged by wind, hail, or falling debris, but you have to document the damage, file a claim, meet with an adjuster, and get the work approved before a roofing company starts tearing off shingles.
Below, we'll walk you through the whole process in plain english.
The Short Answer: How a Roof Insurance Claim Works
A storm damage claim follows the same basic path almost every time:
- You document the damage and report it to your insurer.
- An adjuster inspects the roof and writes an estimate.
- Insurance approves the claim and sends a first payment.
- A roof company completes the roof replacement.
- Insurance releases the rest of the money once the job is done.
That's the skeleton. The details are where people get tripped up, so let's break it down step by step
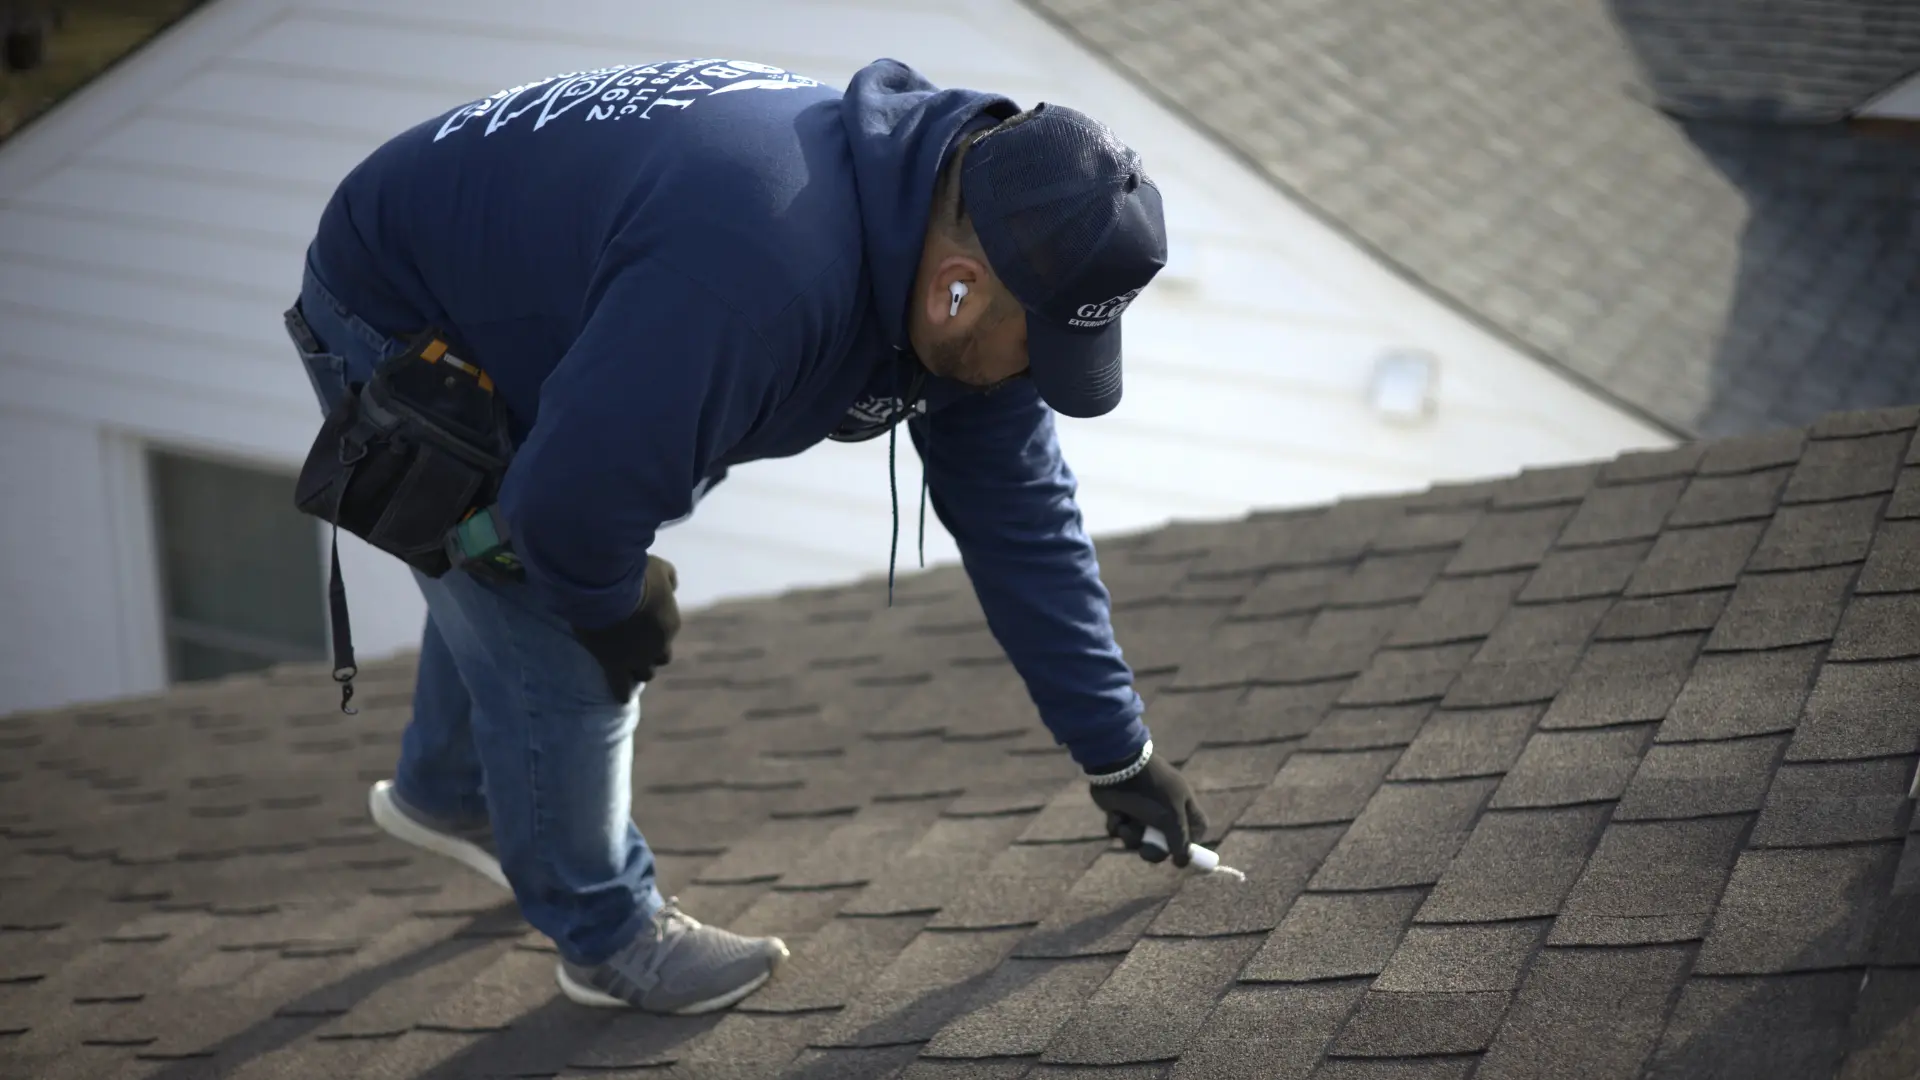
Step 1: Document the Damage First
Before you call anyone, grab your phone and take pictures. Photos of missing shingles, dented gutters, fallen branches, and any interior water stains all help your case (For this you don't need to get on the roof just yet)
Write down the date of the storm too. Insurance companies love a clear timeline, and a vague "sometime last month" gives them room to push back.
Here's the thing: don't climb up on a wet or steep roof to get the perfect shot. Ground-level photos and a few from a ladder are plenty. Safety beats a dramatic close-up every time.
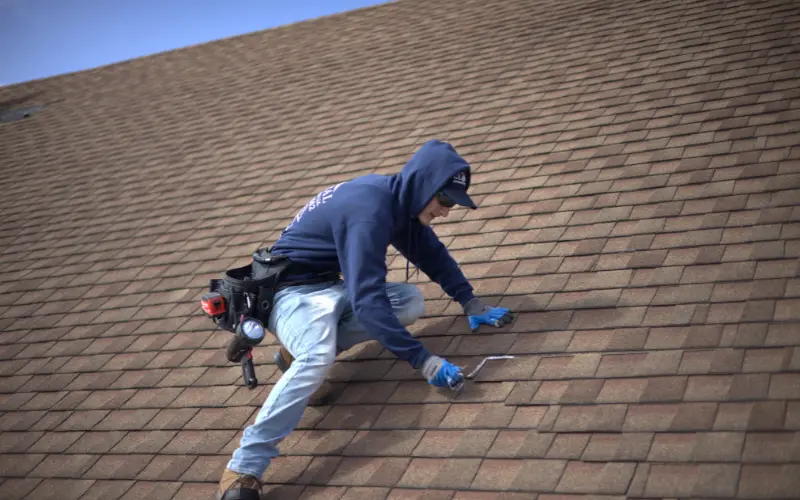
Step 2: Get a Professional Roof Inspection
Now bring in a roofing company for a real inspection. A trained eye catches damage you'll miss from the driveway, like bruised shingles from hail or lifted edges from wind (Which most look like a regular roof when you don't know what you're looking at)
A good roofing company will give you a written report with photos. This becomes your evidence, and it helps you decide whether the damage is even worth filing for.
Quick reality check: if the repair cost is close to your deductible, a claim may not be worth it. We'll cover deductibles and how they work in a minute.
Step 3: File Your Claim
Call your insurance company or use their app to open the claim. Have your policy number, the storm date, and your photos ready.
They'll assign you a claim number and schedule an adjuster visit. Most insurers want claims filed within a certain window after the storm (often a year, sometimes less), so don't sit on it for too long.
One tip that saves headaches later: write down the name of every person you talk to and the date you spoke. Claims can drag on for months to even years, and a paper trail keeps everyone honest.
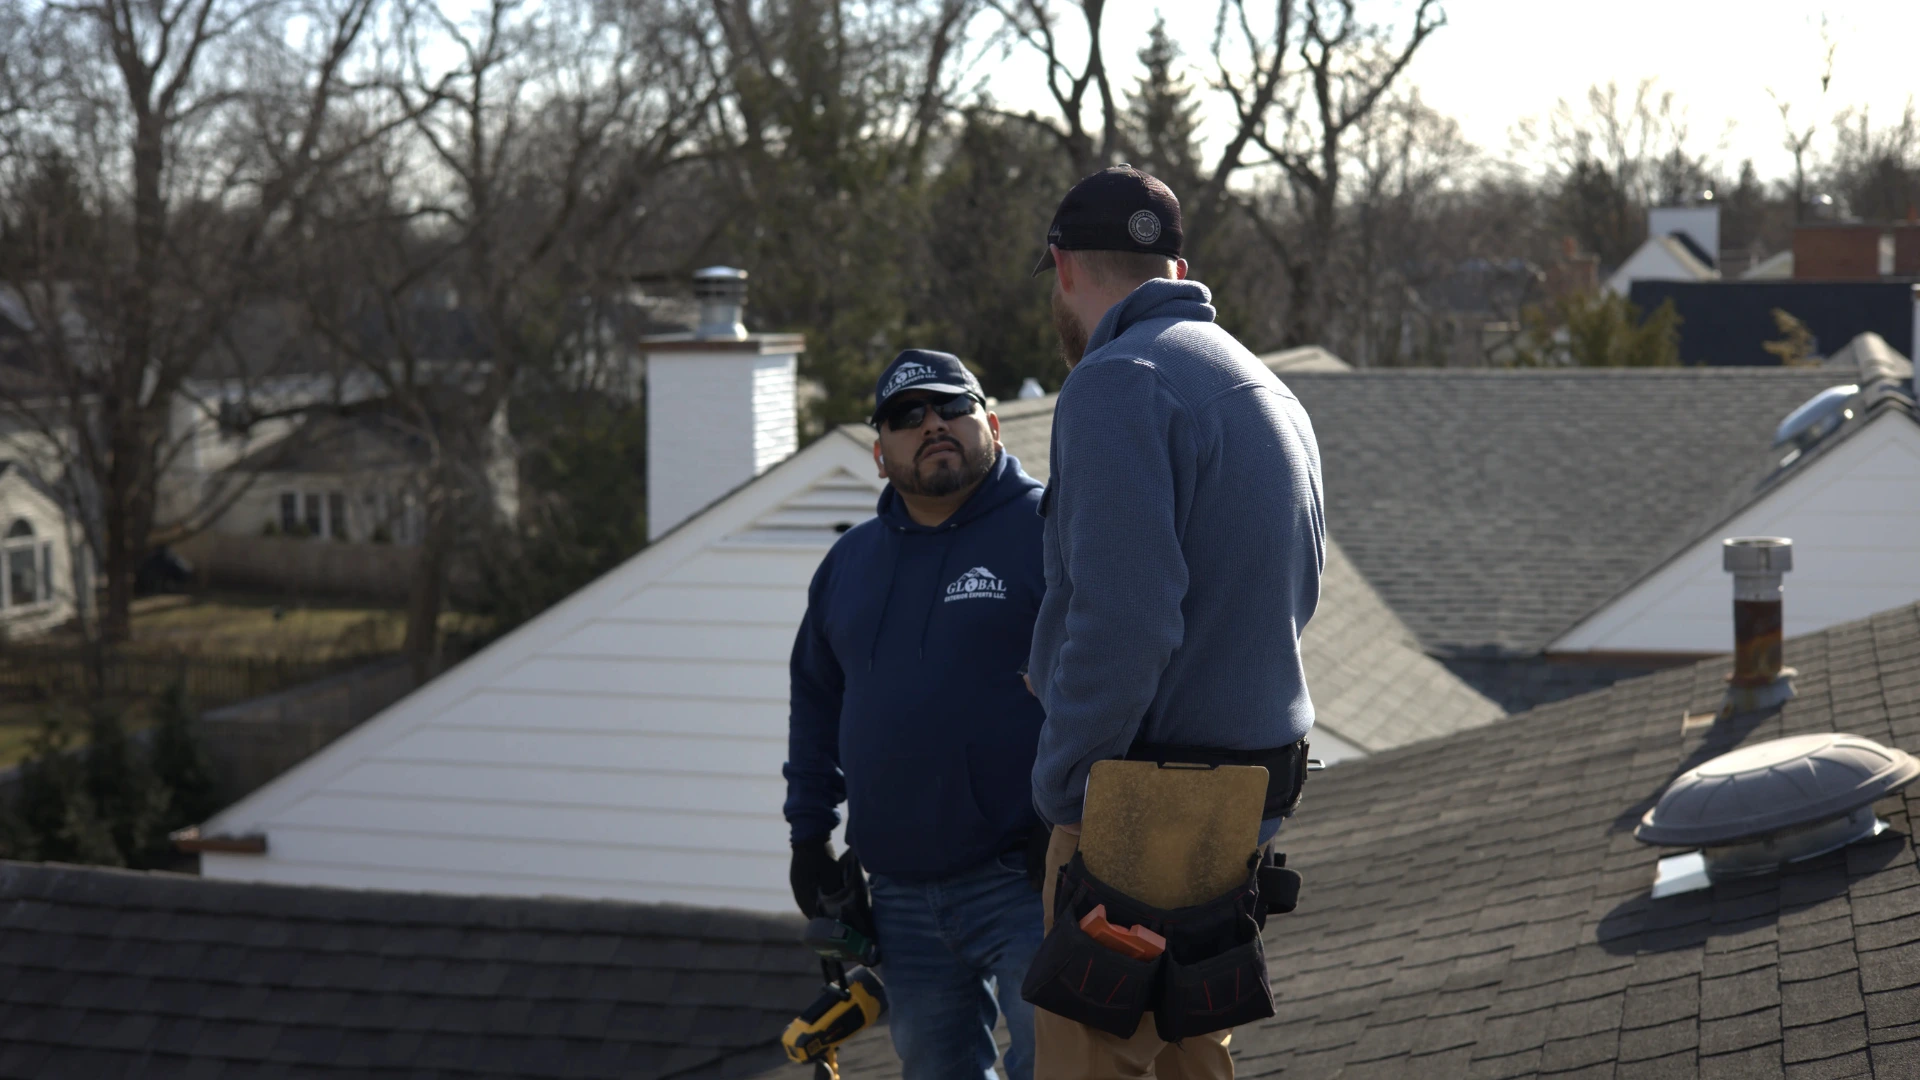
Step 4: The Adjuster Visit
The adjuster is the person your insurer sends to inspect the roof and decide what they'll pay. They'll measure the roof, check for damage, and write up an estimate.
You're allowed to be there. In fact, you should be. Having your roof company meet the adjuster on-site is one of the smartest moves you can make.
Why? Adjusters move fast and cover a lot of homes after a big storm. A roofing company that points out every damaged slope makes sure nothing gets missed. (You'd be surprised how often a back slope gets overlooked when nobody's standing there to ask about it.)
Step 5: Understanding the Estimate and the Two Checks
Once the claim is approved, insurance usually pays in two parts. This catches a lot of homeowners off guard.
- First check (ACV): The actual cash value payment comes first. This is the cost of the roof minus depreciation and your deductible.
- Second check (RCV): The recoverable depreciation is released after the roof replacement is finished and the invoice is submitted.
So no, that first check is not the full amount. The roof company gets the rest once the work is done and documented. This setup protects the insurer from paying out and having no roof installed.
What Insurance Pays vs. What You Pay
Your deductible is the part you cover out of pocket. It's usually a flat amount (like $1,000 to $2,500) or a percentage of your home's insured value, often 1% to 2%.
Insurance covers the rest of the approved roof replacement, as long as the damage is from a covered event like wind or hail. Wear and tear, age, and poor maintenance are not covered, which is a common reason claims get reduced.
Of course, none of this comes free. Beyond the deductible, you may owe for upgrades you choose, like a nicer shingle than what your old roof had.
Roof Replacement Costs and Timelines
Let's talk numbers, broadly. A full roof replacement on an average home usually runs between $9,000 and $25,000, depending on size, slope, and material.
Here's a rough breakdown:
- Asphalt shingles: the most common and most affordable choice.
- Architectural shingles: a step up in durability and price.
- Metal or tile: the high end, and a much bigger investment.
As for timing, the actual tear-off and install often takes one to three days for a typical home. The claim process, though, can stretch from a few weeks to a couple of months, depending on how fast your insurer and adjuster move.
Weather plays a role too. A roof company can't safely install in heavy rain or freezing temps, so the season matters more than people expect.
Watch Out for Code Upgrades and Permits
Alright, let's talk about the surprises. Building codes change over time, and your old roof may not meet today's rules.
When you replace a roof, the new one has to meet current code. That can mean added ice-and-water shield, new flashing, or better ventilation. These upgrades cost money, and not every policy covers them.
This is where "code upgrade coverage" (also called ordinance or law coverage) matters. If your policy includes it, those required upgrades get paid for. If it doesn't, that cost can land on you.
Permits are another small surprise. Most cities require a permit for a roof replacement, and that fee and inspection add a day or two to the schedule. A reputable roofing company pulls the permit for you, so you're not chasing paperwork at city hall.
What to Do if Your Claim Gets Denied
Denials happen, and they're not always the final word. If your claim gets denied or lowballed, you have options.
- Ask for the denial in writing with a clear reason.
- Get a second inspection from a roof company to challenge the findings.
- Request a re-inspection, sometimes with a different adjuster.
- File a formal appeal, or bring in a public adjuster for bigger disputes.
The key is documentation. Strong photos and a detailed inspection report give you real leverage when you push back.
Your Next Steps
Storm damage is stressful, but the path forward is clear once you know the order of operations. Document the damage, get a professional inspection, file your claim, and meet the adjuster on-site with a roofing company in your corner.
From there, watch for the two-check payment structure, budget for your deductible, and ask about code upgrades before signing anything. A roof replacement is a big project, but a steady plan keeps it manageable.
When you're ready, line up a roof company you trust to handle the inspection, the paperwork, and the install. The right partner turns a confusing claim into a finished roof, and that's the whole goal.