.webp)
What Size Hail Puts Enough Damage for a Roof Claim?

Aaron Venegaz is the President and founder of Global Exterior Experts and has been in the construction / roofing industry for over 15+ years. He started the company back in 2010 and done everything from scheduling appointments to putting down roofs. He's also done everything from commercial roofing to residential roofing and has also worked with almost every single roofing material multiple times over the past 15 years.
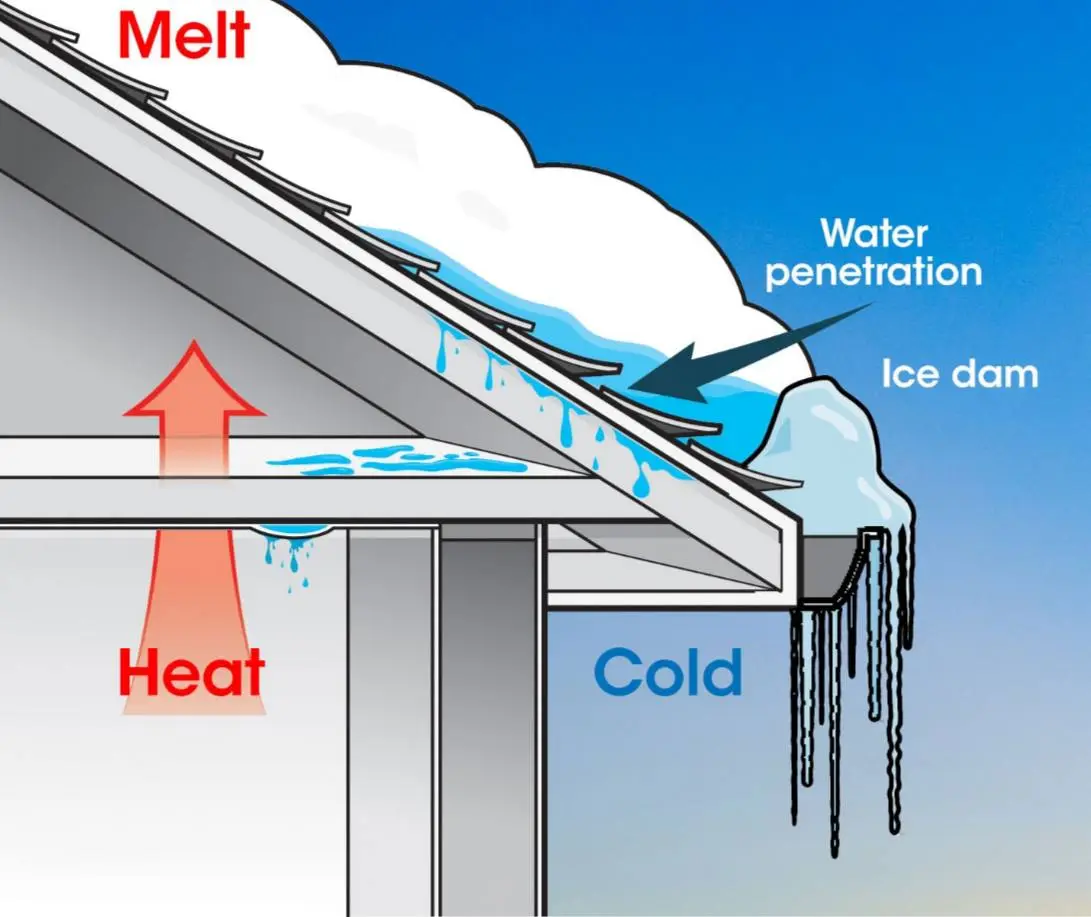
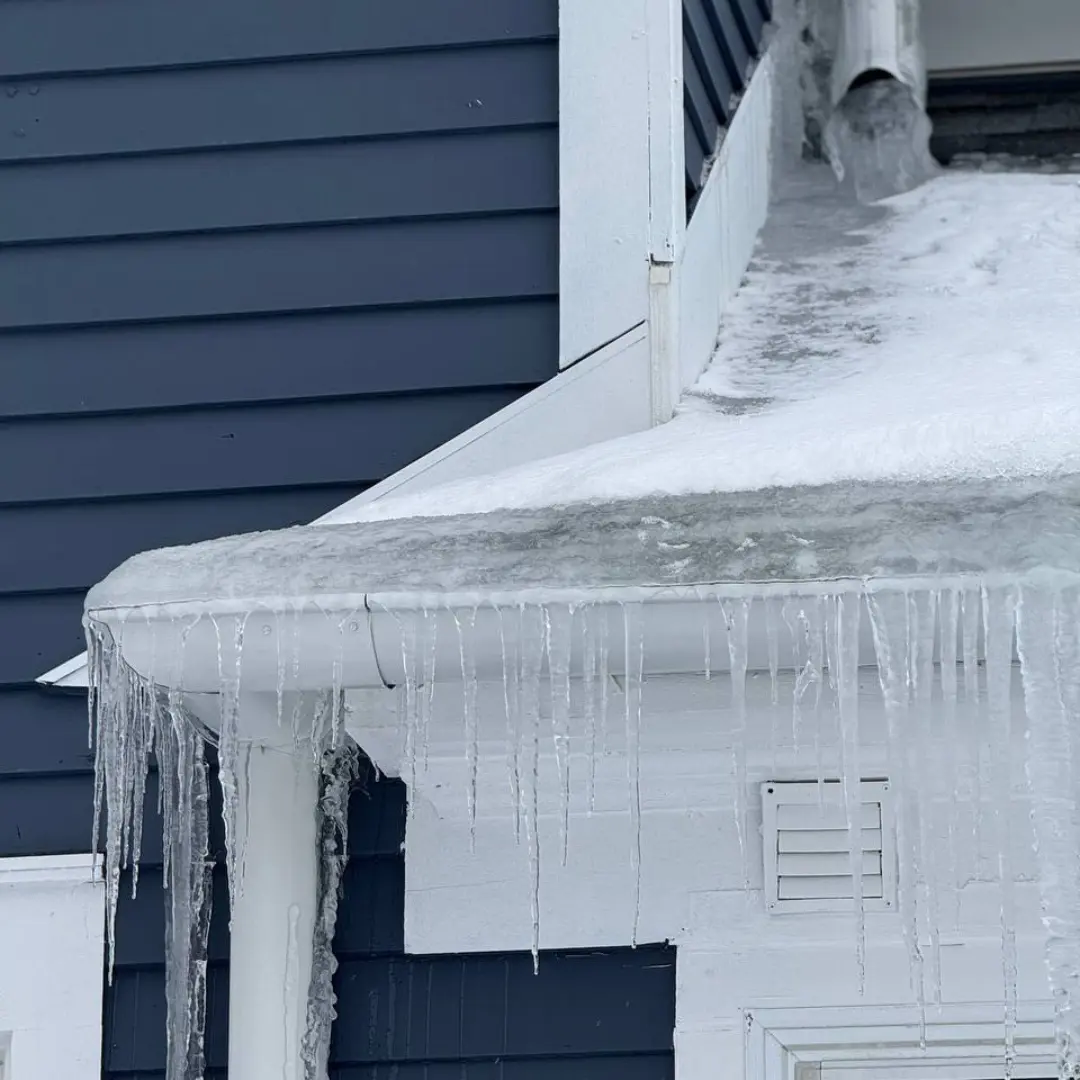
Ice dams form when heat escaping through your roof melts snow, which then refreezes at the colder eaves then creating a ridge that traps water behind it. That trapped water backs up under your shingles and leaks into your home. The cycle requires three things: snow on your roof, heat loss from inside your house, and temperatures that fluctuate above and freezing.
The Science Behind Ice Dam Formation
Here's what actually happens up there. Snow sits on your roof like an insulating blanket. Heat escaping from your attic warms the roof deck above heated spaces and melting the bottom layer of snow. That meltwater runs down the roof slope until it hits the eaves, which stay cold because they extend beyond your heated walls. Then that water refreezes into ice.
As this process repeats over and over again; the ice builds into a dam. More meltwater flows down behind it with nowhere to go, which then pools behind the dam and eventually works its way under the shingles. Once water gets under your shingles it'll find every gap in the underlayment and leak into your attic, walls, or living spaces.
The damage shows up as ceiling stains, peeling paint, ruined insulation, and sometimes just structural rot. We've seen ice dams cause thousands in interior damage from a roofing issue that started with basic heat loss.
Why Heat Loss Is the Real Culprit
Most people think ice dams are just a weather problem but that's not quite the case. The weather provides the snow and cold but your house provides the heat that melts that snow. Without heat escaping through your roof vents; snow would sit there frozen until spring.
Common heat loss sources include:
- Insufficient attic insulation (anything under R-38 in cold climates)
- Air leaks around recessed lights, plumbing stacks, and attic hatches
- Bathroom and kitchen exhaust fans venting into the attic instead of outside
- Ductwork running through uninsulated attic spaces
Even a small amount of heat makes a difference and a roof deck sitting at 35°F will melt snow when the outside air is 20°F. That's all it really takes to start the cycle.
%20(1).webp)
The Temperature Sweet Spot for Ice Dams
Ice dams need a specific temperature range to form. Too cold and nothing melts. Too warm and everything melts without refreezing. The danger zone hits when daytime temperatures climb into the high 20s or low 30s while nights drop back below freezing.
This is why ice dams usually appear after a heavy snowfall followed by a couple sunny days. The sun adds extra heat to the equation because it warms dark shingles and accelerating snowmelt even when the air temperature stays below freezing then at nighttime temperatures freeze everything solid.
Interestingly the worst ice dams often form during moderate winters with freeze thaw cycles and not during consistently frigid weather. A solid cold snap keeps everything frozen. It's those swings between 15°F and 35°F that create problems.
Roof Design Factors That Make Ice Dams Worse
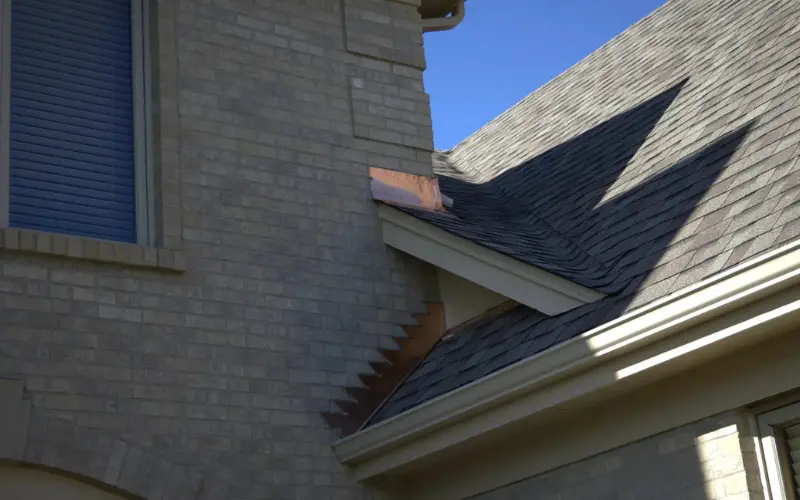
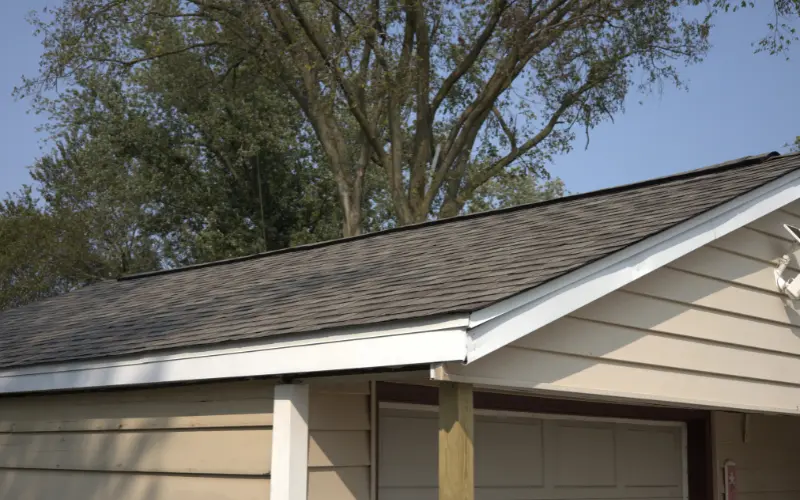
Some roofs are more prone to ice dams than others. Low-slope roofs (4/12 pitch or less) give water more time to find its way under shingles. Steeper roofs shed snow faster and give ice dams less chance to form.
Complex roof lines with valleys, dormers, and multiple levels create natural collection points for snow and ice. North-facing roof sections stay colder and accumulate more snow. South-facing sections get more solar heat and produce more meltwater.
Gutters actually contribute to the problem. That collection point at the roof edge is exactly where ice wants to form. Full gutters packed with ice and snow make excellent dams. This doesn't mean you should remove your gutters, but it does explain why ice dams often start right there.
How Ventilation Affects Ice Dam Formation
A well ventilated attic pulls in cold outside air at the soffits and exhausts it through ridge vents or gable vents. This air movement removes heat that escapes through your insulation before it can warm the roof deck.
The standard recommendation calls for 1 square foot of ventilation per 150 square feet of attic space, split evenly between intake (soffit) and exhaust (ridge or roof) because balanced ventilation creates continuous airflow. Too much exhaust without enough intake or vice versa just disrupts the system.
Blocked soffit vents are incredibly common because insulation sometimes gets stuffed into the eaves during installation and blocks the airflow completely. We also see older homes with inadequate ventilation by modern standards. Adding ventilation during a roof repair or replacement makes sense if ice dams are a recurring problem.
Warning Signs and Early Detection
Ice dams don't appear overnight (though it can feel that way). Watch for these signs:
- Icicles forming along the eaves (pretty to look at, concerning for your roof)
- Ice buildup visible at the roof edge
- Water stains on exterior walls just below the roofline
- Interior ceiling stains near exterior walls
- Attic frost or moisture during winter
That last one is particularly telling. Frost in your attic means warm moist air is escaping from your living space. That same warm air contributes to ice dams.
The best time to inspect is after a significant snowfall but for now just look at your roof from the ground. If you see bare patches on the main roof sections while snow remains at the eaves, you've got heat loss. That pattern of melting can show exactly where warm air is escaping.
Prevention Strategies That Actually Work
Alright, let's talk about solutions. Prevention beats emergency roof repair every time.
Immediate Actions: Add attic insulation if you're below R-38. This is the single most effective long-term fix because proper insulation keeps heat where it belongs: in your living space.
Seal air leaks between your living space and attic. Focus on areas where plumbing, wiring, or ductwork penetrates the ceiling. These gaps let significant amounts of warm air into the attic.
Improve ventilation to balance intake and exhaust. Make sure soffit vents aren't blocked and consider adding a ridge vent during your next roof replacement.
During Winter: Use a roof rake to remove snow from the lower 3 to 4 feet of your roof after heavy snowfalls. This eliminates the raw material ice dams need to form and you can do this safely from the ground with a long handled rake designed for the roof.
Keep gutters clean before the winter. Ice will form regardless but clear gutters at least start the season in the best position possible.
Emergency Removal and Roof Repair
If you've already got an ice dam and water is leaking into your home, you need to act fast. Never climb onto a snowy, icy roof yourself.
Professional ice dam removal typically uses low-pressure steam to melt channels through the ice. This method won't damage your roofing materials the way chipping with tools or using high pressure water can. Costs run around $600 to $1,600 depending on severity and roof size.
Some homeowners try calcium chloride filled socks laid across the ice dam to melt a channel. This works slowly but avoids any roof damage, just don't use rock salt, this corrodes metal and damages plants below.
After removing the immediate ice problem next address the interior water damage. Wet insulation loses its effectiveness and needs replacement. Any wet drywall might need repair or replacement depending on saturation.
Long term roof repair solutions include installing ice and water shield underlayment (a self-sealing membrane) at the eaves during your next roof replacement. Building codes in cold climates often require this now because the membrane creates a waterproof barrier that stops leaks even when water backs up under shingles.
The Real Costs of Ignoring Ice Dams
Emergency ice dam removal might cost $1,200. But compare that to $5,000 or more in combined roofing and interior repairs after a season of recurring problems. There are plenty of homeowners out there who have had to spend $15,000 addressing damage from ice dams that went unresolved for multiple winters.
The structural damage adds up. Wet insulation, rotted roof decking, damaged ceiling joists, and ruined drywall all compound over time. Water damage also creates ideal conditions for mold growth which brings its own health and remediation costs.
Prevention costs less than cure and just adding R-30 insulation to a typical 1,500-square-foot attic runs $3,000 to $4,500 but just improving ventilation might add another $1,000 to $2,000 depending on current conditions. These investments typically pay for themselves within two to three winters of avoided emergency repairs.
What You Should Do Next
Ice dams result from predictable causes: heat loss, snow accumulation, and temperature fluctuations. You can't control the weather but you can control how much heat escapes through your roof.
Start by evaluating your attic insulation levels and ventilation this spring before next winter arrives. That timing gives you months to schedule improvements without rushing into emergency decisions. Look for a roofing company that understands the relationship between insulation, ventilation, and ice dam prevention rather than one that only treats symptoms.
Consider an energy audit if ice dams are a recurring problem. Professional auditors use thermal imaging to show exactly where heat escapes and that visual evidence takes the guesswork out of finding problem areas.
Remember that ice dams are a symptom of broader issues with your home's building envelope. Fixing the root cause, heat loss, protects your roof while also lowering heating bills and improving overall comfort. That's a combination worth pursuing.