.webp)
What Size Hail Puts Enough Damage for a Roof Claim?

Aaron Venegaz is the President and founder of Global Exterior Experts and has been in the construction / roofing industry for over 15+ years. He started the company back in 2010 and done everything from scheduling appointments to putting down roofs. He's also done everything from commercial roofing to residential roofing and has also worked with almost every single roofing material multiple times over the past 15 years.
A roof replacement is simple and start with inspection and planning. Then we order materials. Next we tear-off of old roofing and do a decking inspection and any repairs. Next we install underlayment. The most important afterwards is the shingle application. Then we finish up any flashing work and do a final cleanup. Each stage takes specific time and preparation so understanding these stages helps property owners plan budgets, timelines, and expectations while ensuring quality results that protect homes for decades.
Stage 1: Initial Inspection and Assessment
Before anything gets ordered or torn off, the roof needs a thorough inspection. This stage determines what you're working with and what problems might be hiding up there and the inspection covers everything from the visible shingles to checking the attic space for moisture damage, proper ventilation, and structural issues. Sometimes you'll find rotten decking that wasn't visible from the outside. Other times, the flashing around chimneys or skylights has been leaking for years without anyone noticing.
This stage typically happens during the estimate process and takes 1-2 hours so expect to get measurements, photos, and a detailed scope of work. Most inspections are free when you're getting quotes from a roofing company.
Stage 2: Planning and Permitting
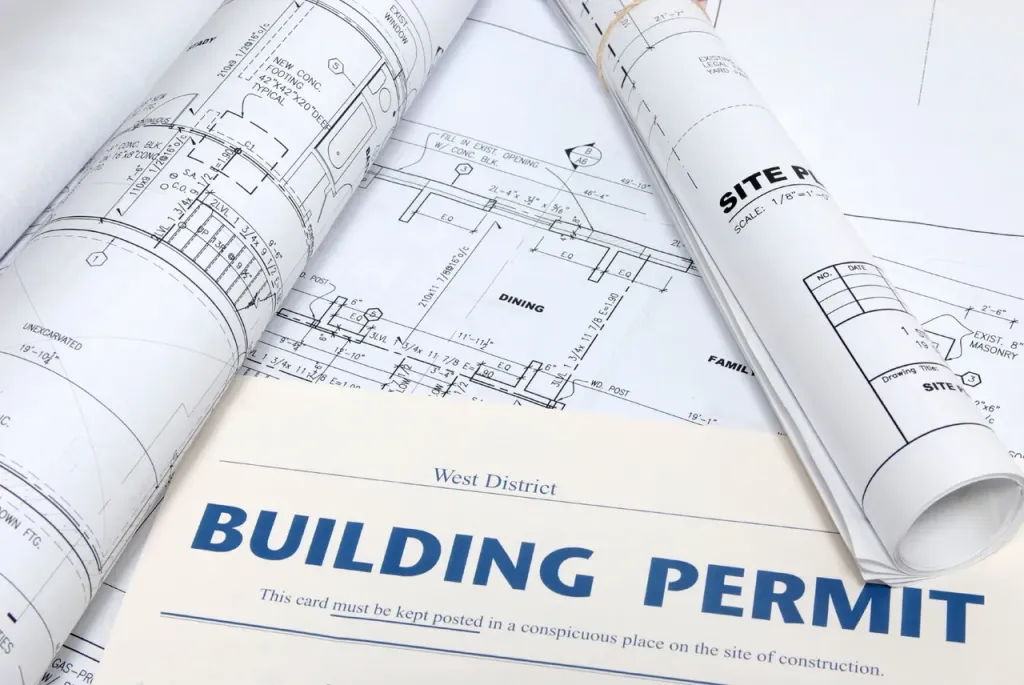
Here's the thing: you can't just start ripping off shingles whenever you feel like it because most municipalities require permits for roof replacement and that paperwork takes time.
The permitting process usually takes 1-3 weeks depending on your local building department. Some areas have stricter requirements than others, especially if you're in a historic district or HOA but luckly your roofing company handles this paperwork (and if they don't offer to, that's a red flag).
During this stage your material selection gets finalized. Shingle colors, underlayment type, ventilation upgrades. All of this needs to be locked in before materials can be ordered. Changing your mind after materials arrive can delay the project by weeks, especially if the supplier needs to special-order your preferred color.
Stage 3: Material Delivery and Site Preparation
Materials typically arrive 1-2 days before installation begins. You'll see bundles of shingles delivered to your driveway or hoisted directly onto the roof. A dumpster shows up around the same time.
This is when you need to clear the area around your house. Move vehicles, patio furniture, grills, kids' toys. Anything within 15 feet of the house should be relocated. Vibrations from the tear-off can knock pictures off walls inside, so some property owners take down wall hangings in advance.
Expect some noise and disruption to your daily routine. If you work from home, plan accordingly. Your neighbors will appreciate a heads-up too, because roof tear-offs are loud.
Stage 4: Tear-Off of Existing Roofing
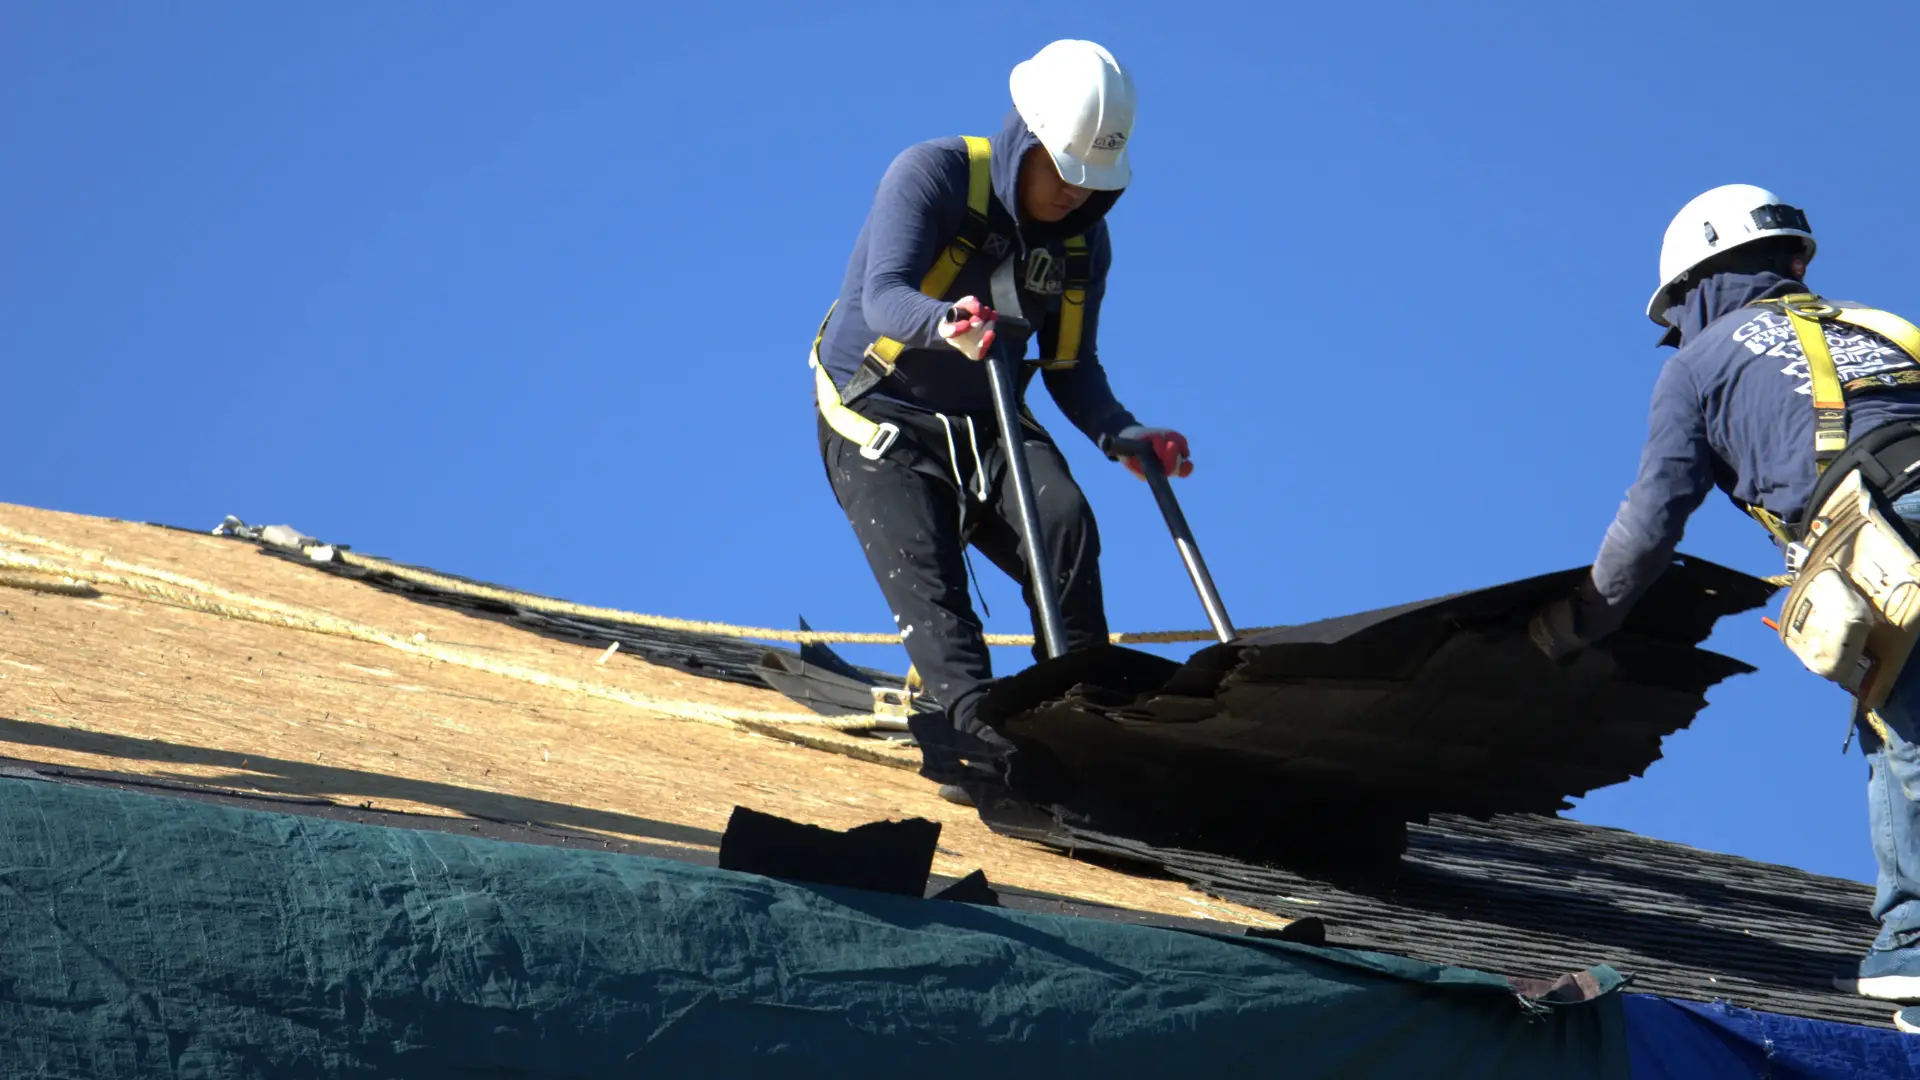
The actual work begins with removing everything down to the roof deck. This includes old shingles, underlayment, flashing, and any damaged materials.
Tear-off is the messiest, noisiest part of the entire process. Crews use specialized tools to pry up old shingles quickly, and everything gets tossed into the dumpster. For an average-sized home (around 2,000 square feet), tear-off usually takes 4-6 hours with a full crew.
Some roofs have multiple layers of shingles from previous roof-overs. When that's the case, tear-off takes longer and costs more because there's simply more material to remove. You'll also generate more waste, which might require a larger dumpster.
Stage 5: Deck Inspection and Repairs
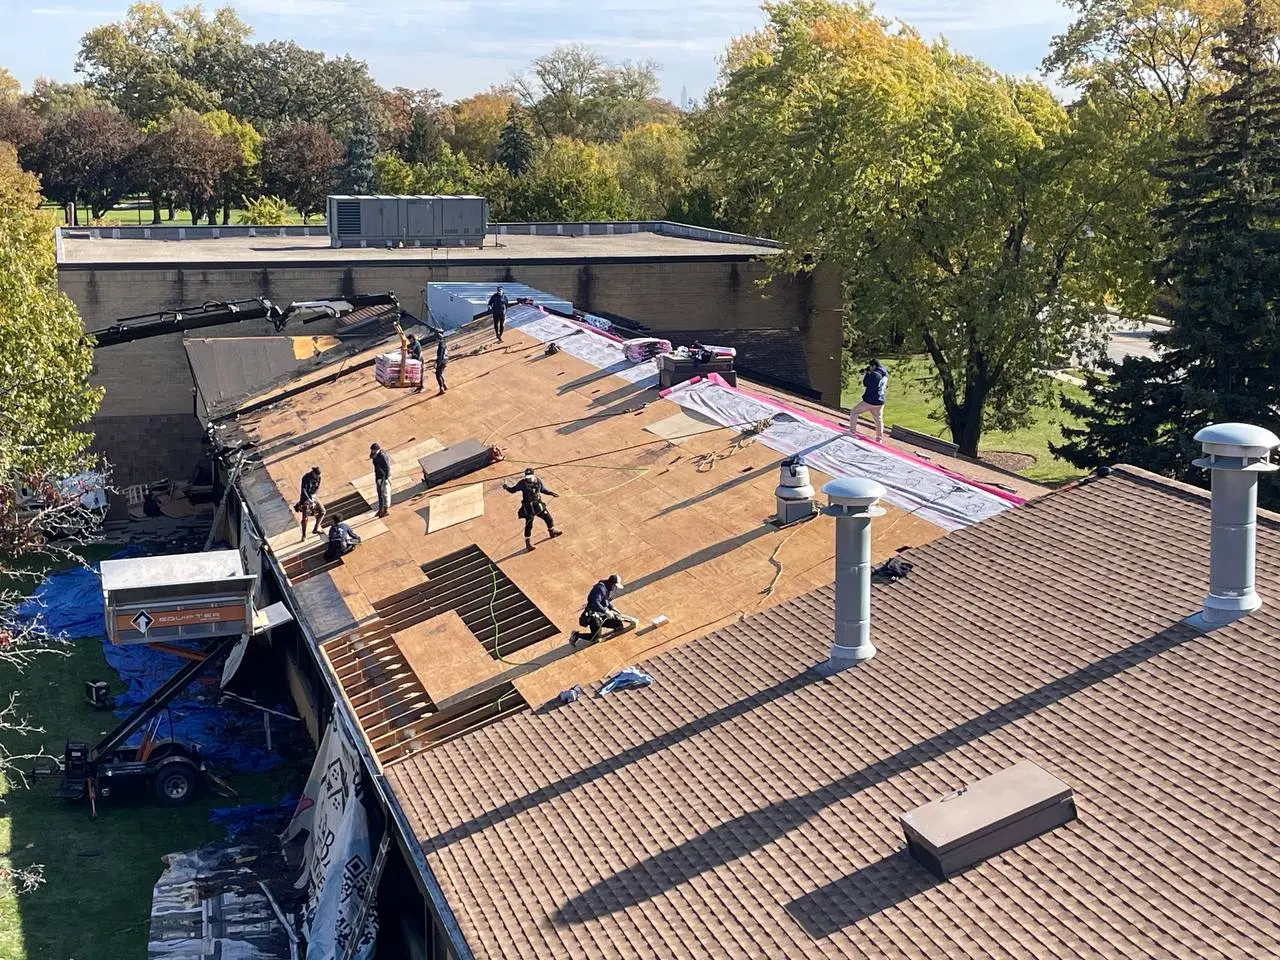
Once the old roofing comes off, the roof deck (or sheathing) gets exposed. This is the part where you discover problems that weren't visible during the initial inspection.
Rotten or damaged plywood needs replacing before new materials can go on. That being things like water damage, old leaks, and structural issues. Sometimes it's just a few sheets of plywood near a valley or chimney. Other times (especially on older homes that haven't been maintained) you might need significant deck repairs.
Deck repairs add to your project cost and replacement plywood can vary based on each company per sheet including labor, and some projects require 5-10 sheets or more. Quality roofing companies won't skip this step just to keep costs down. A new roof installed over damaged decking fails quickly, and no warranty covers that kind of negligence.
Stage 6: Underlayment and Ice-Water Shield Installation

The underlayment acts as a secondary barrier between your roof deck and the shingles. Modern roofing uses synthetic underlayment in most areas and self-adhering ice-water shield in vulnerable spots.
Ice-water shield goes on first: along the eaves, in the valleys, around chimneys, and near skylights. These areas see the most water exposure and need extra protection while the rest of the deck gets covered with synthetic underlayment, which is lighter and more durable than old felt paper.
Proper underlayment installation matters more than most property owners realize. Wrinkles, gaps, or improper overlap can create weak points where water can and will someday penetrate. This stage takes most of a day for an average roof and sets the foundation for everything else, without it, you have a roof left unprotected
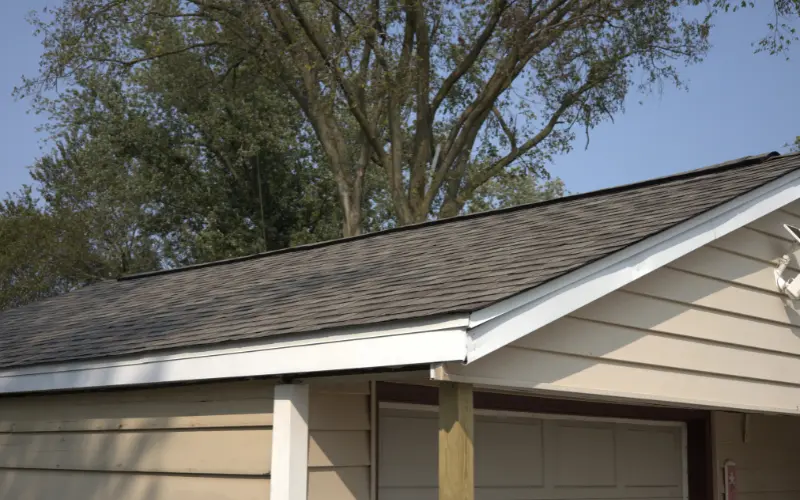
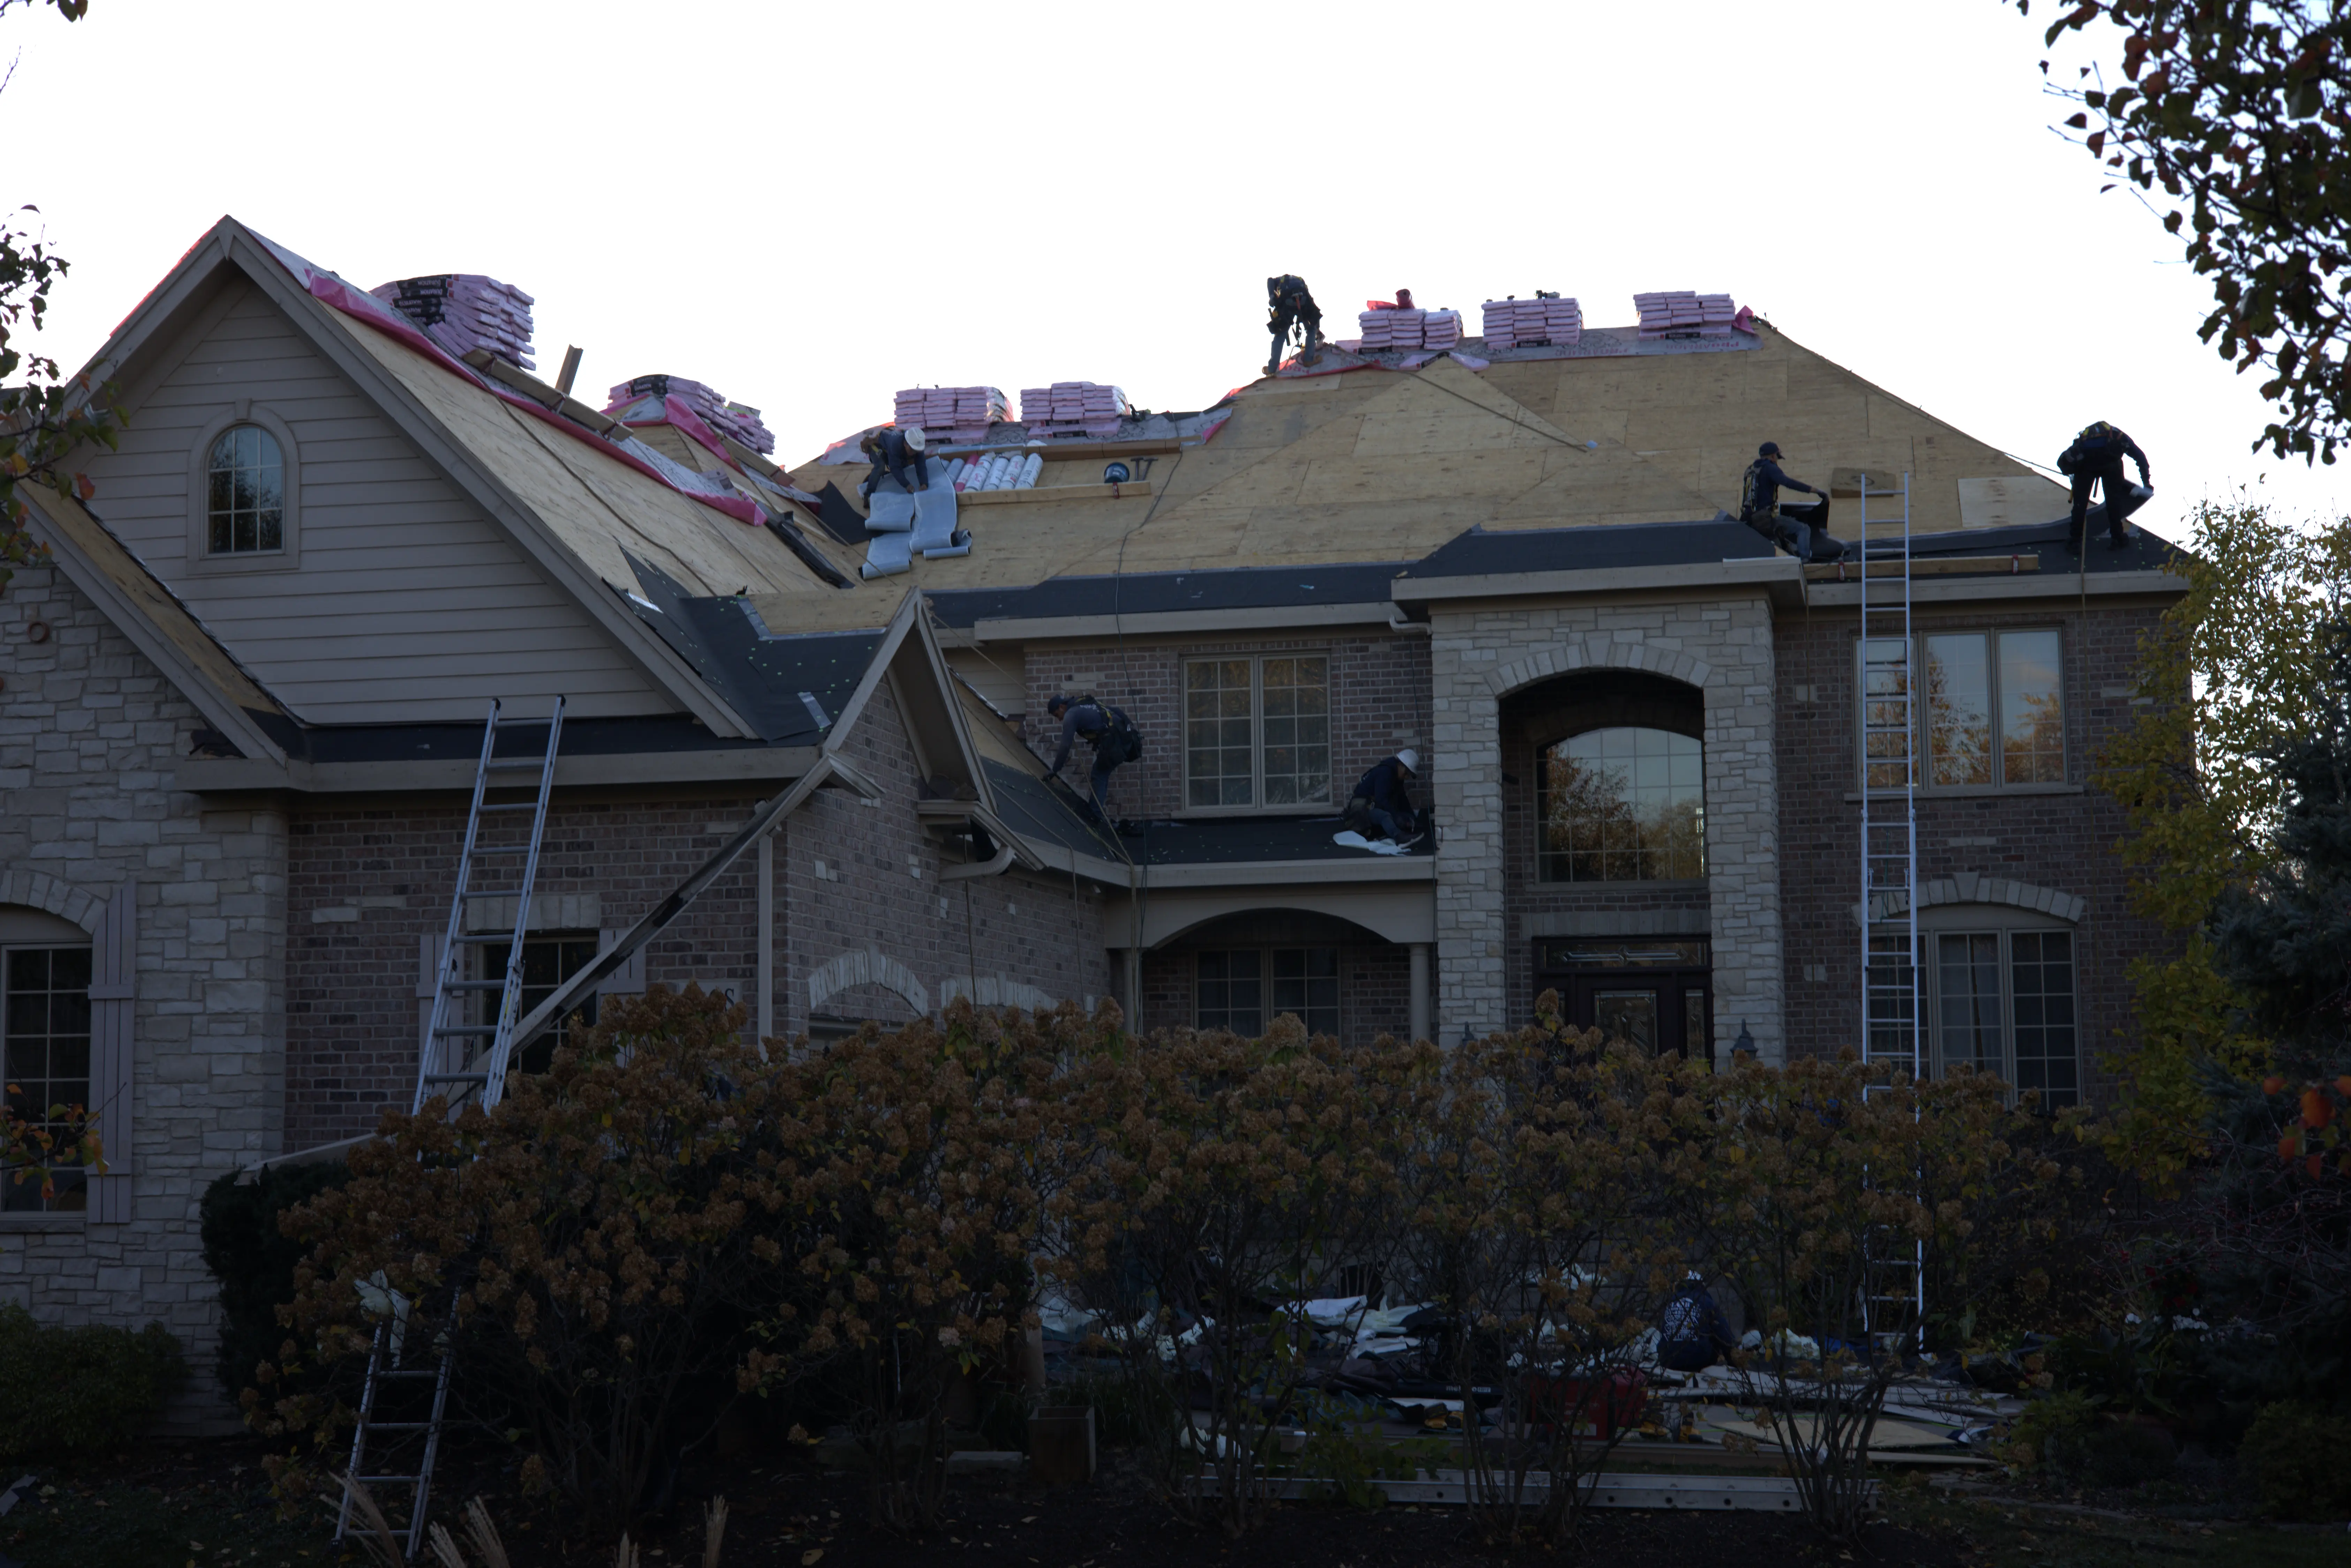
Stage 7: Shingle Installation and Flashing
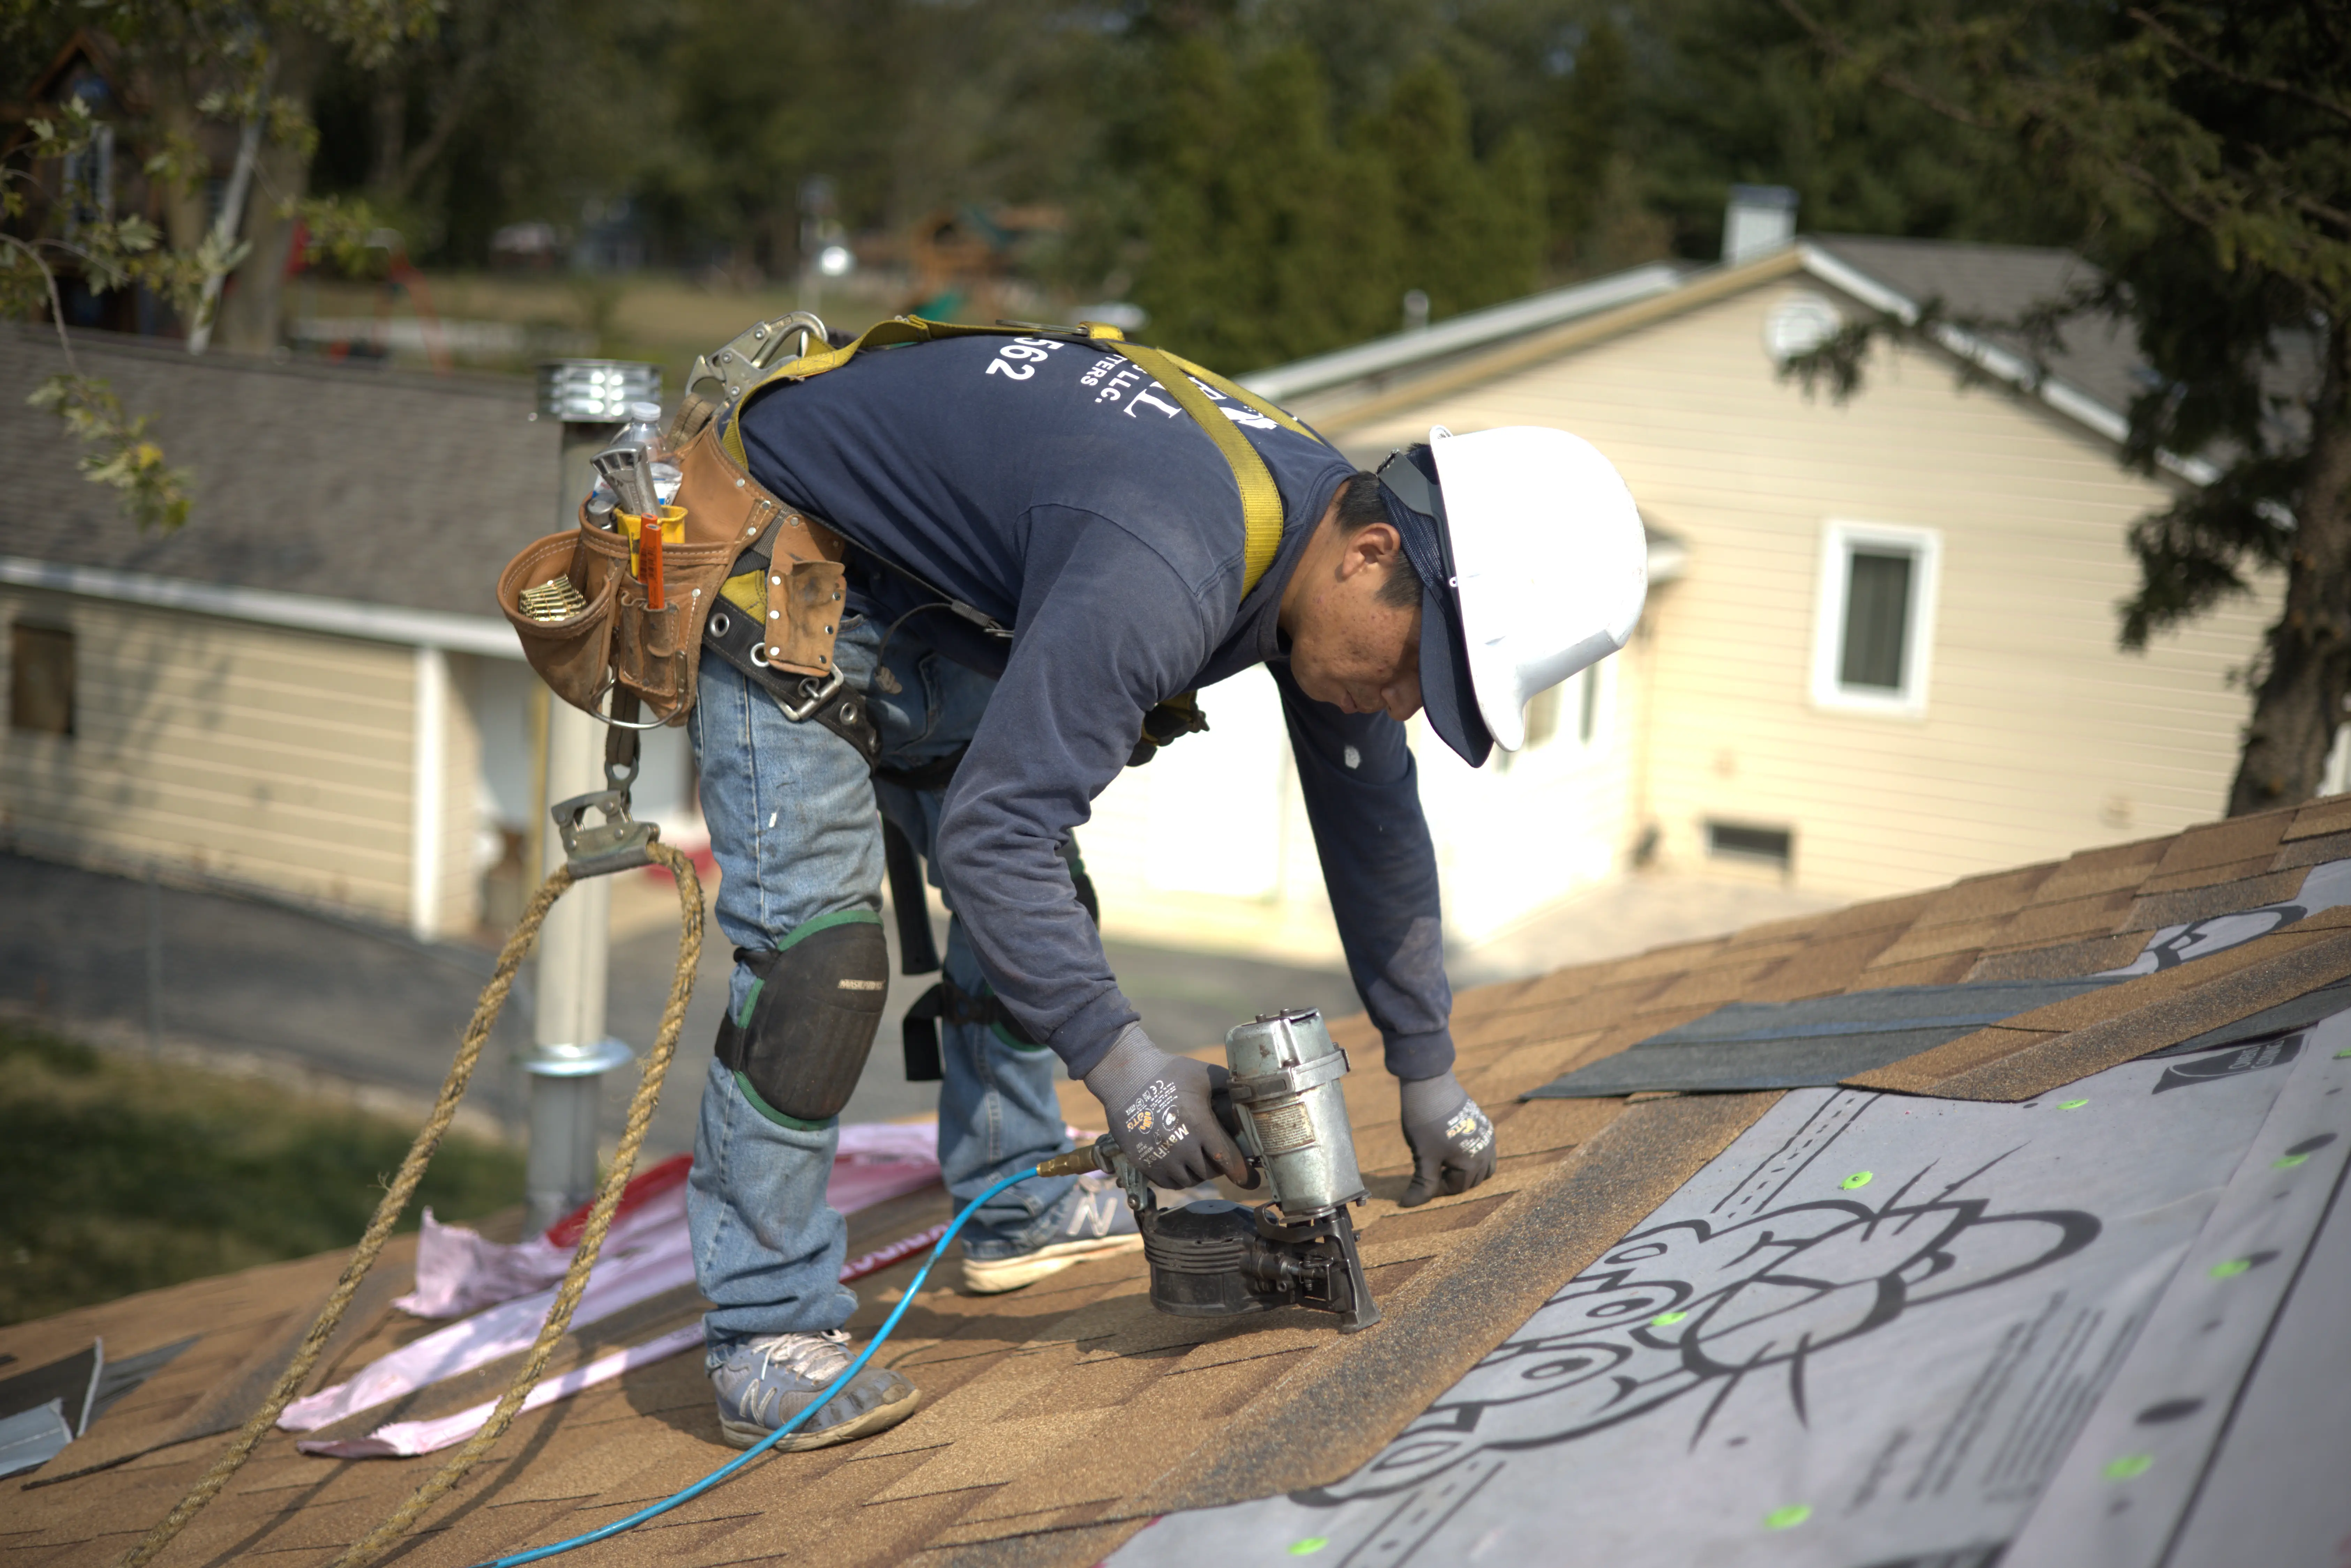
Alright, let's talk about the part everyone thinks of when they picture roof replacement: installing new shingles.
Installation starts at the eaves with starter strips, then works up the roof in courses. Each shingle gets nailed in specific locations (usually 4-6 nails per shingle), and rows overlap to create a watertight barrier. Proper nailing matters. Nails placed too high won't hold shingles down in wind. Nails driven too deep or at angles compromise the seal.
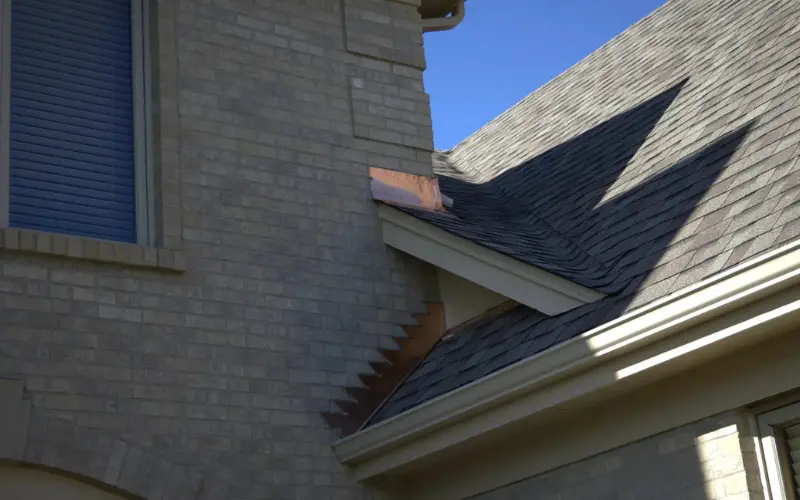
Flashing gets installed alongside shingles at penetrations and transitions. New step flashing goes in at walls and dormers. Counter-flashing wraps around chimneys. Valley flashing (either metal or woven shingles) channels water off the roof. This detail work separates quality installations from sloppy ones.
For asphalt shingle installation, expect 2-4 days depending on roof size, complexity, and weather. Metal and tile roofs take longer. Ridge cap shingles go on last, sealing the peak of your roof.
Stage 8: Ventilation, Final Inspection, and Cleanup
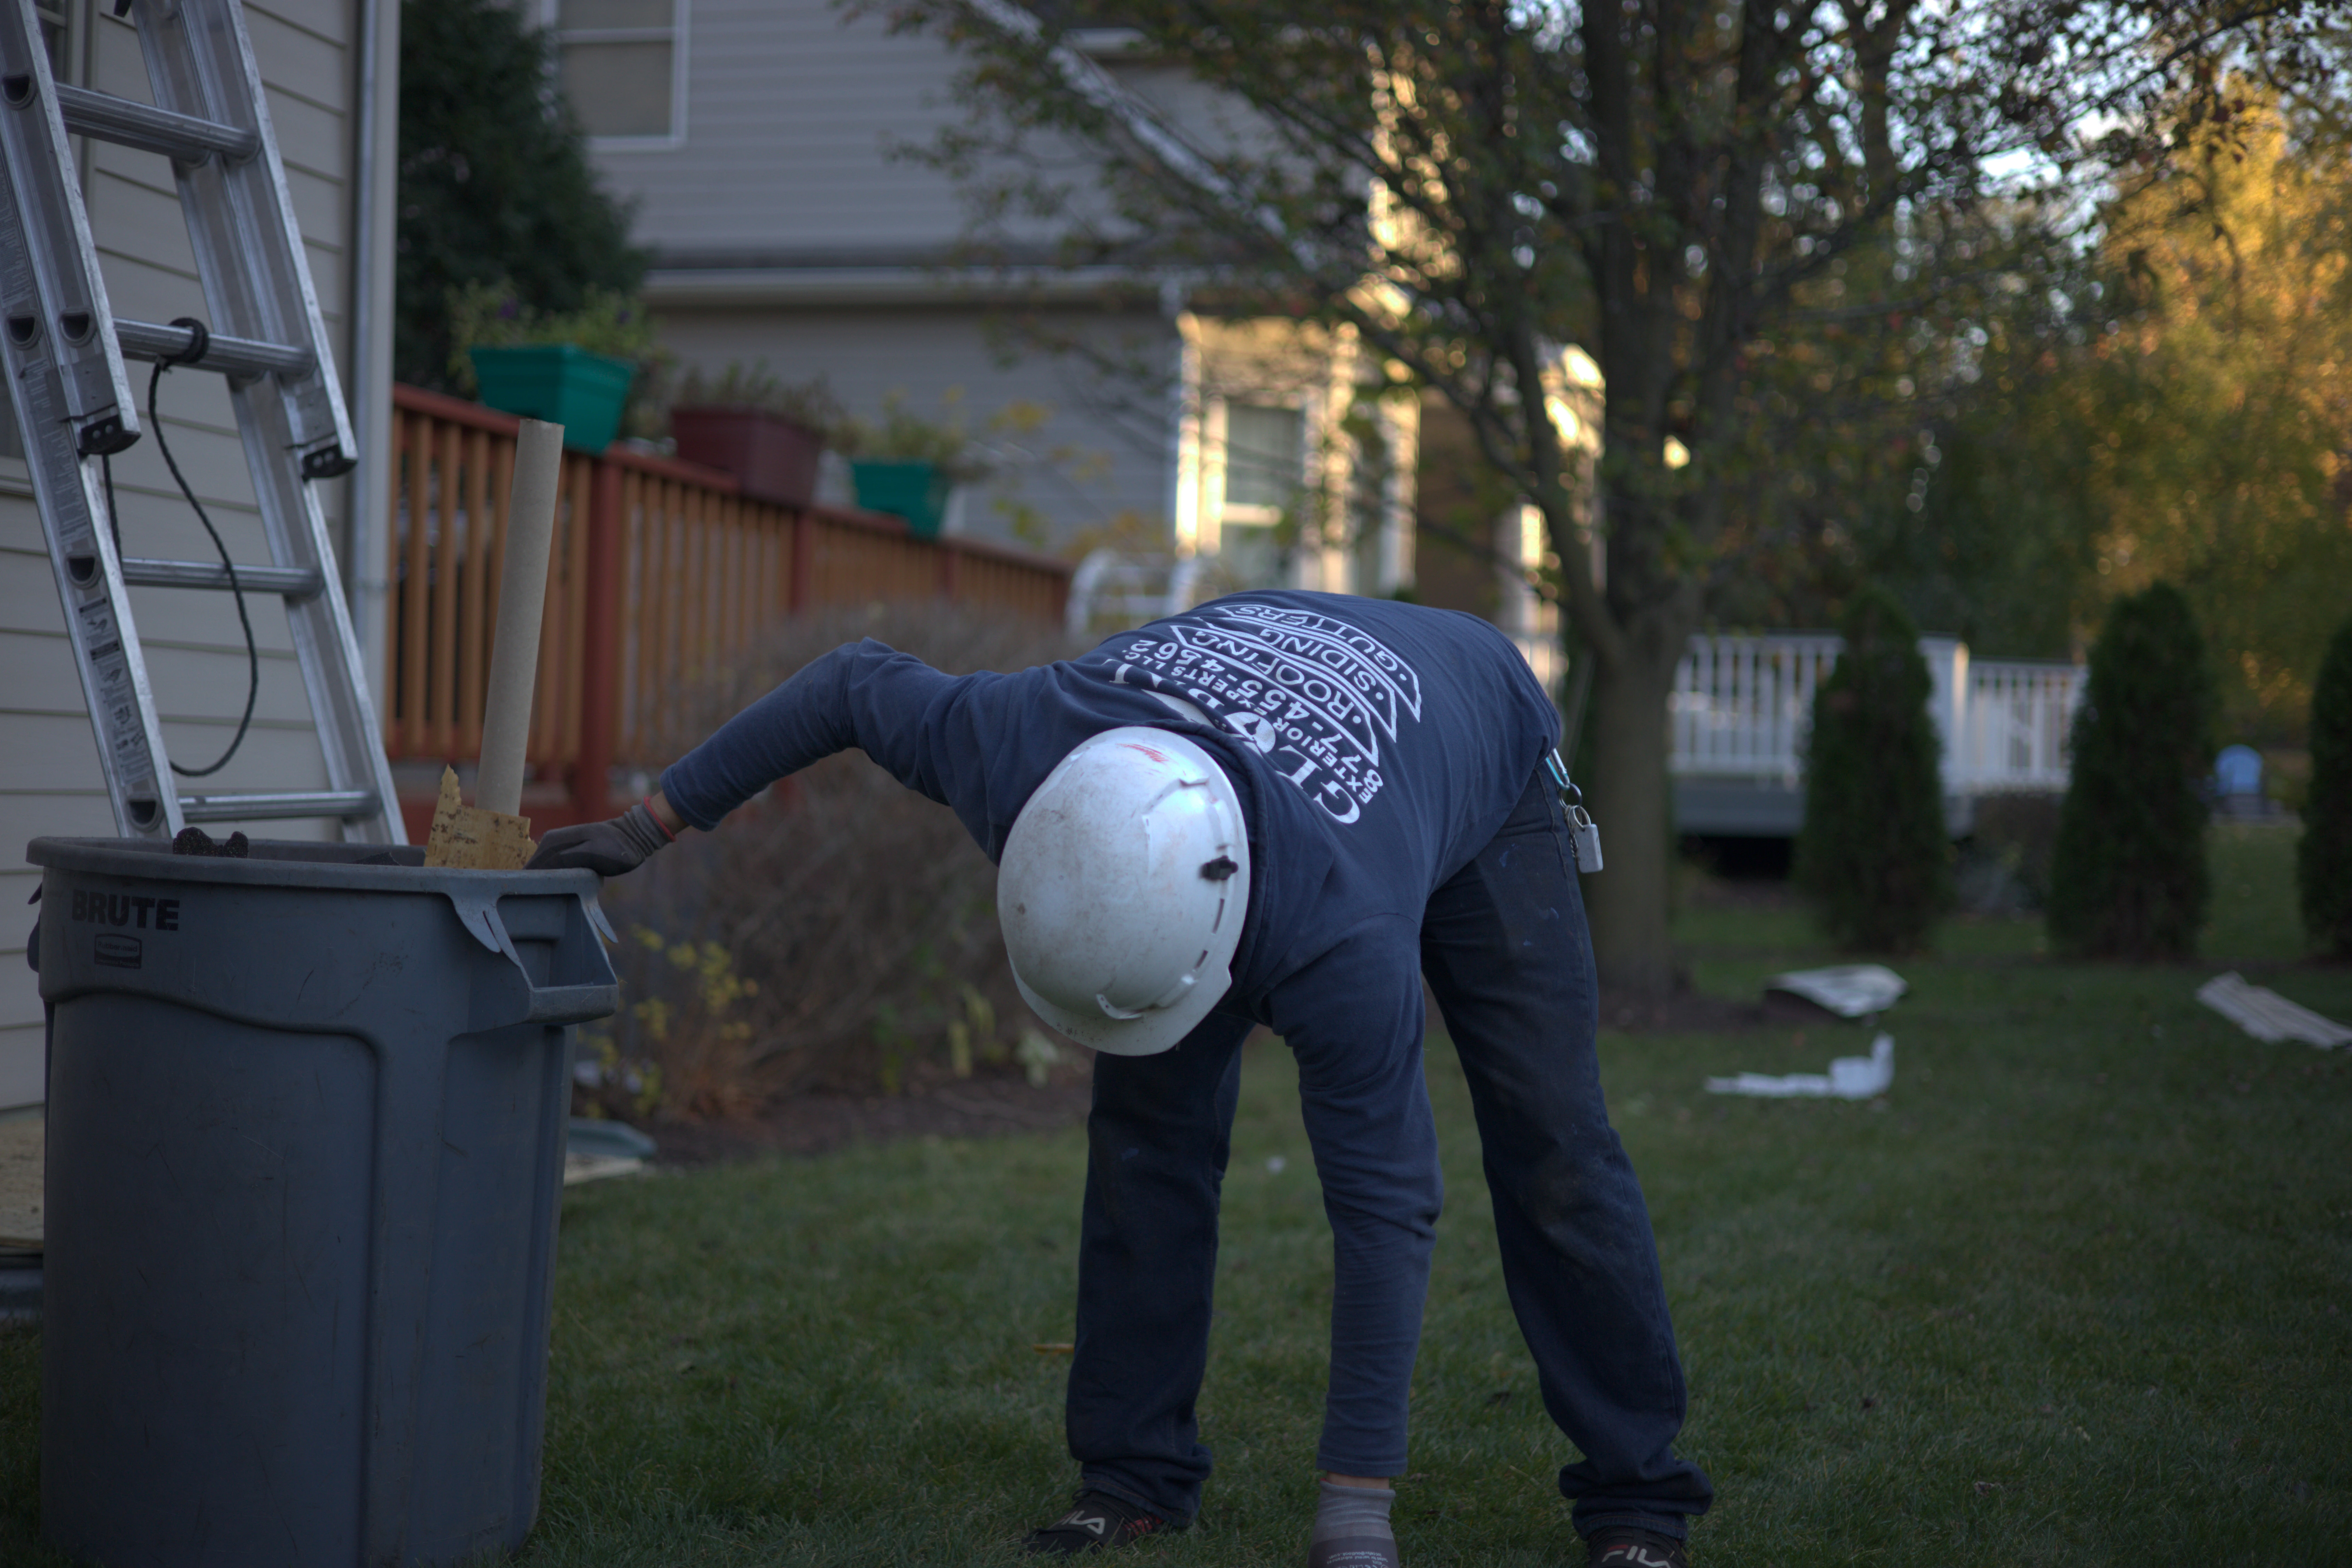
Ventilation often gets upgraded during roof replacement. Ridge vents, static vents, or powered attic fans all improve air circulation and extend your roof's life.
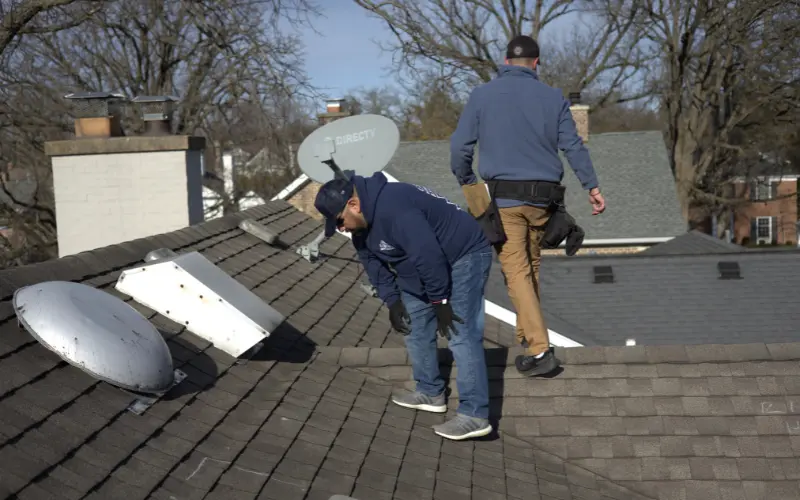
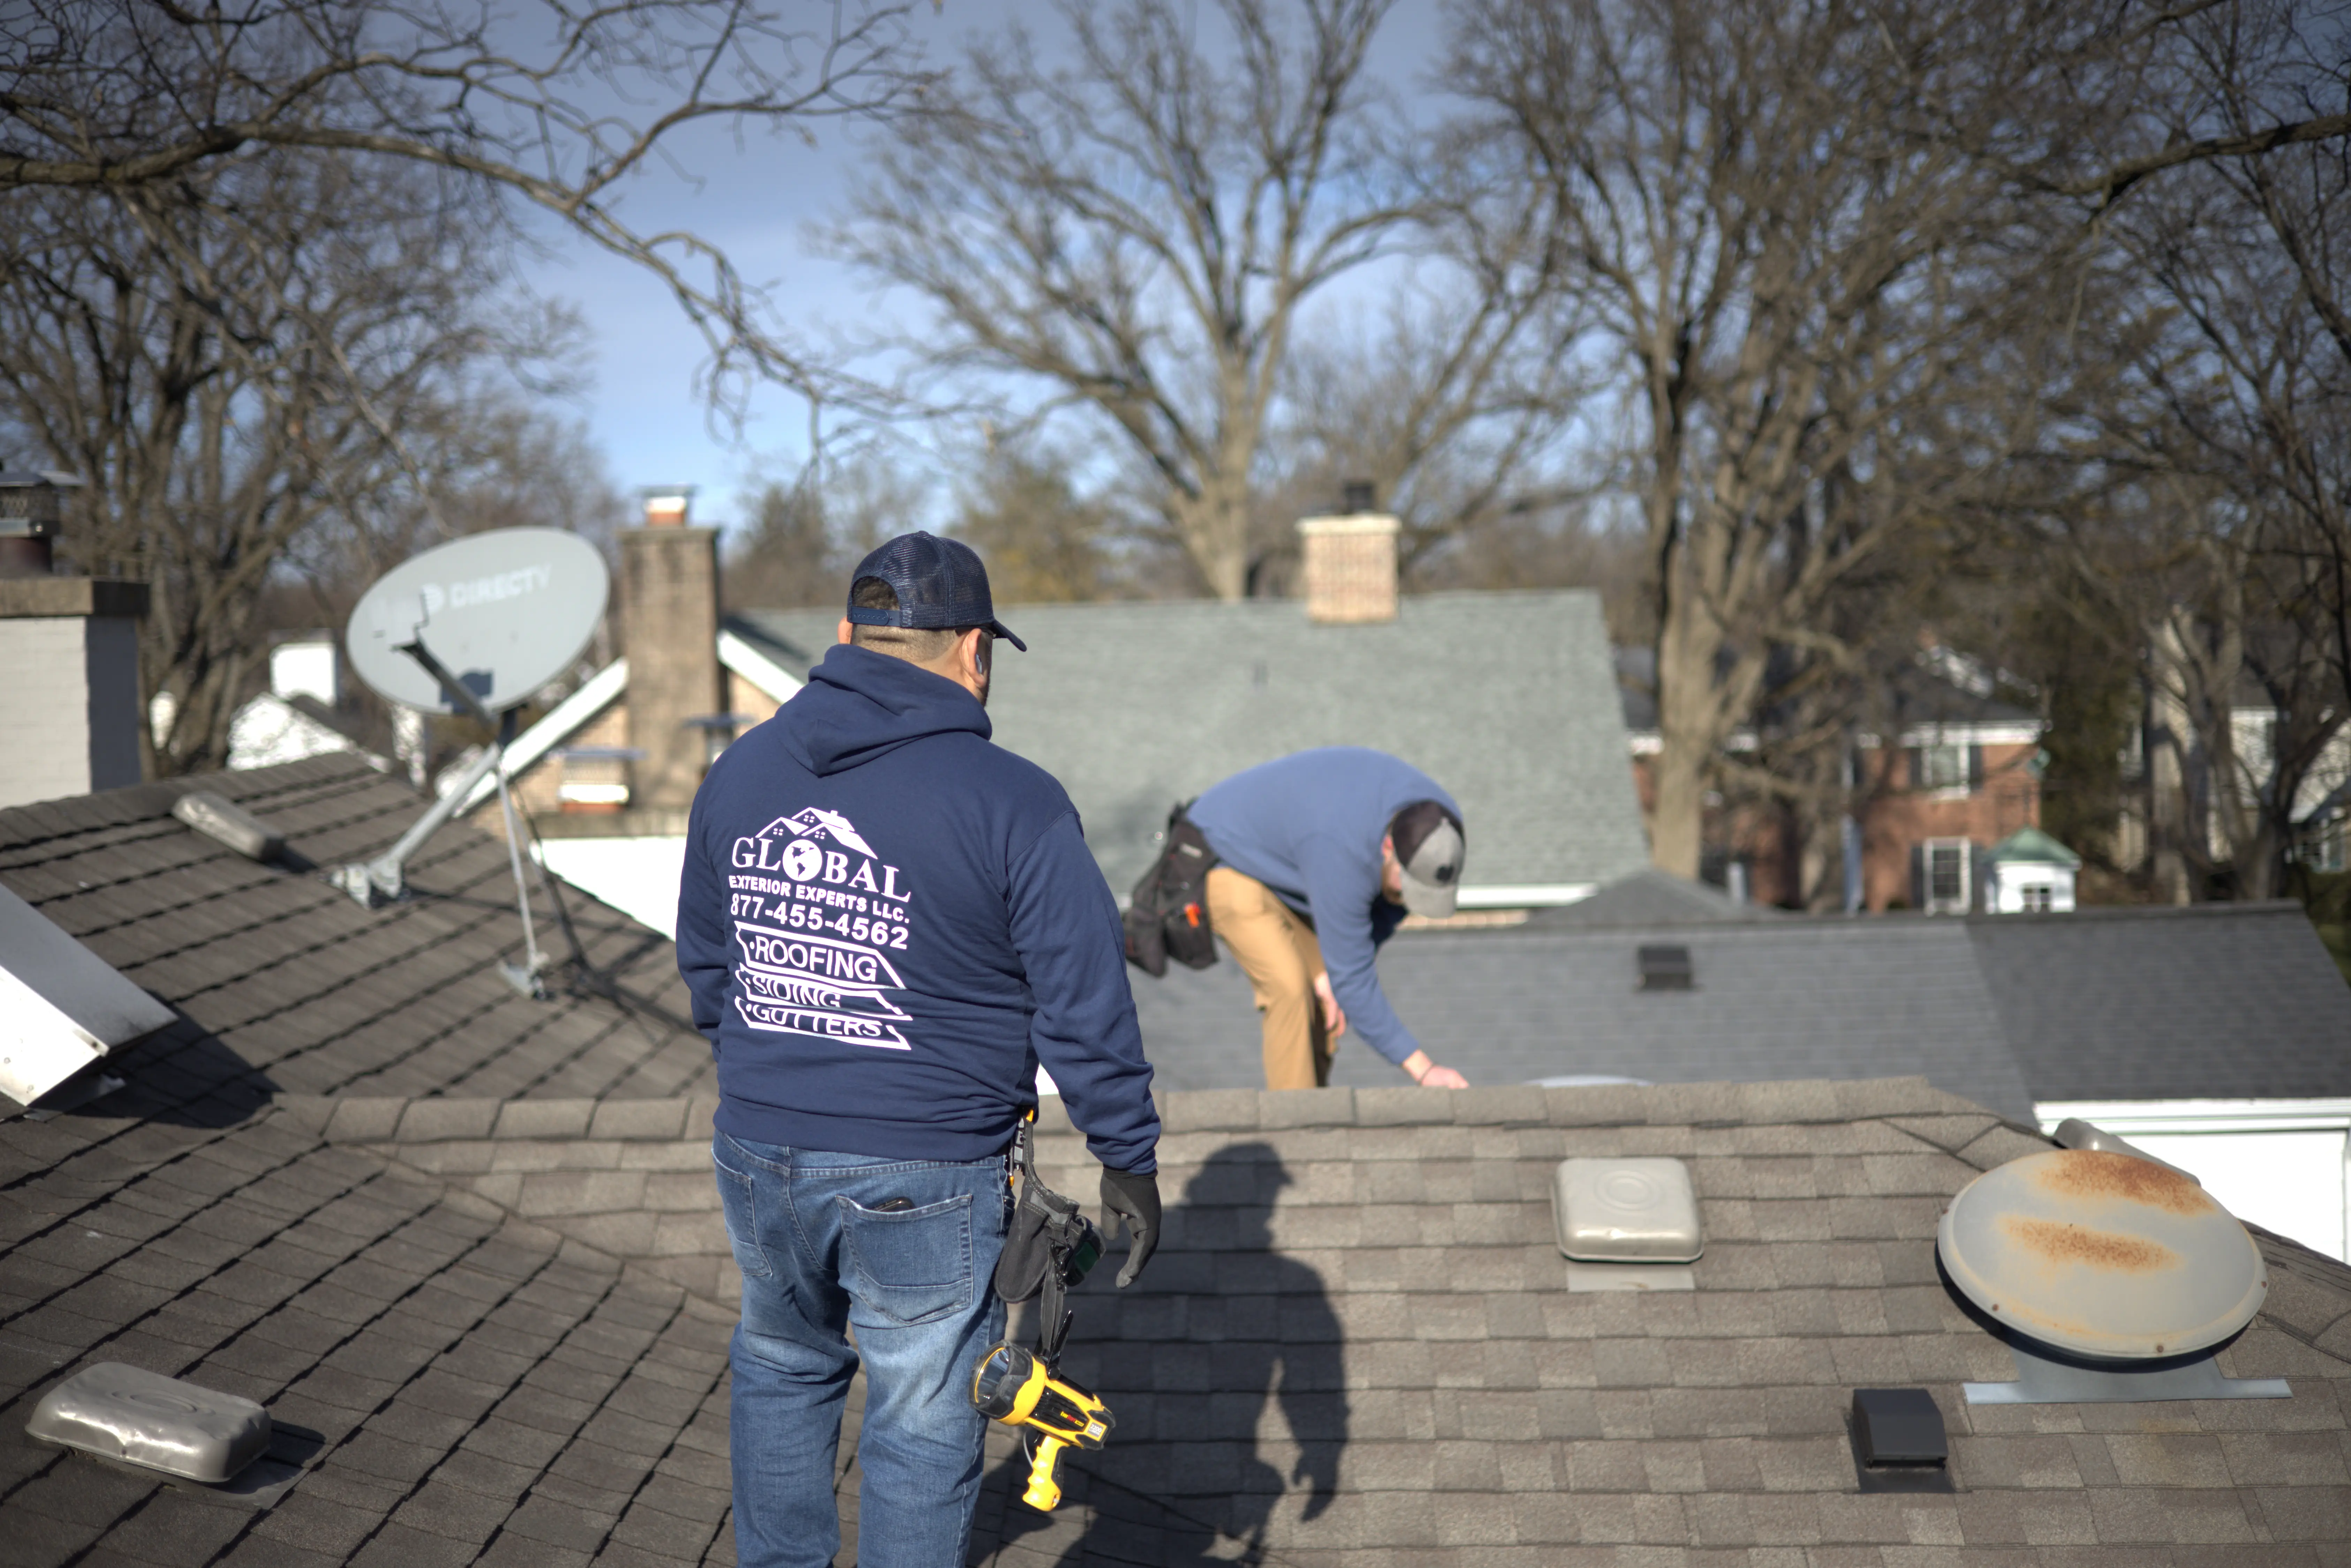
After all materials are installed, the crew does a thorough cleanup. Magnetic rollers pick up loose nails from your yard and driveway. Tarps get removed. The work area gets swept. A final walk-through checks for any missed details or installation issues.
Building inspectors usually need to sign off on the completed work. Your roofing company schedules this inspection, which verifies the installation meets local codes. Once approved, your permit gets closed out and your warranty activates.
Timeline and Cost Expectations
Most roof replacements take 3-5 days of actual work for standard homes. Complex roofs with multiple levels, steep pitches, or intricate details can take 7-10 days. Weather delays can extend timelines significantly (rain shuts down work completely).
Of course, none of this comes free. Full roof replacement costs $8,000-$25,000+ depending on size, materials, and regional labor rates. Asphalt shingles run $4-$7 per square foot installed. Premium materials like architectural shingles, metal, or tile cost significantly more but last longer and often improve property values.
Budget an extra 10-15% for unexpected repairs. Very few roof replacements happen without discovering at least some additional work once the old materials come off.
What Property Owners Should Do Next
Get multiple quotes from licensed roofing companies. Compare not just prices but also scope of work, materials specified, and warranty terms. The cheapest bid often cuts corners that cause problems later.
Ask about the specific materials being used. Not all shingles are created equal, and underlayment quality varies widely between manufacturers. Find out what warranties cover both materials and workmanship.
Plan for the disruption. Roof replacement is messy and loud, but it's temporary. Clear communication with your roofing company about scheduling, parking, and any special concerns makes the process smoother for everyone.
Check credentials before signing anything. Licensed contractors carry proper insurance and pull permits. They also stand behind their work with legitimate warranties. Unlicensed crews might charge less upfront, but you'll pay far more when problems surface and nobody takes responsibility.
The Bottom Line
A roof replacement follows predictable stages, each one building on the last. Understanding this process helps property owners make informed decisions, spot potential problems, and know what questions to ask their roofing company.
The work might seem straightforward, but each stage requires specific skills and attention to detail. Proper inspection identifies hidden damage. Careful material selection balances cost and longevity. Quality installation techniques ensure your new roof actually protects your property for the next 20-30 years or longer.
Take time to understand what you're paying for, ask questions when something doesn't make sense, and work with professionals who explain the process clearly. Your roof is too important to leave to chance or the lowest bidder.