.webp)
How Many Bundles of Shingles Do I Need Per Square?

Aaron Venegaz is the President and founder of Global Exterior Experts and has been in the construction / roofing industry for over 15+ years. He started the company back in 2010 and done everything from scheduling appointments to putting down roofs. He's also done everything from commercial roofing to residential roofing and has also worked with almost every single roofing material multiple times over the past 15 years.
Drip edge is a strip of bent metal flashing installed along the edges of your roof. It guides rainwater off the roof and into the gutter so water doesn't soak into the wood behind it. And yes, you need it. Building code requires it on most asphalt shingle roofs, and leaving it off creates slow, expensive damage.
Here's what drip edge does, what it costs, and how to make sure your next roof gets it right.
What Is Drip Edge?
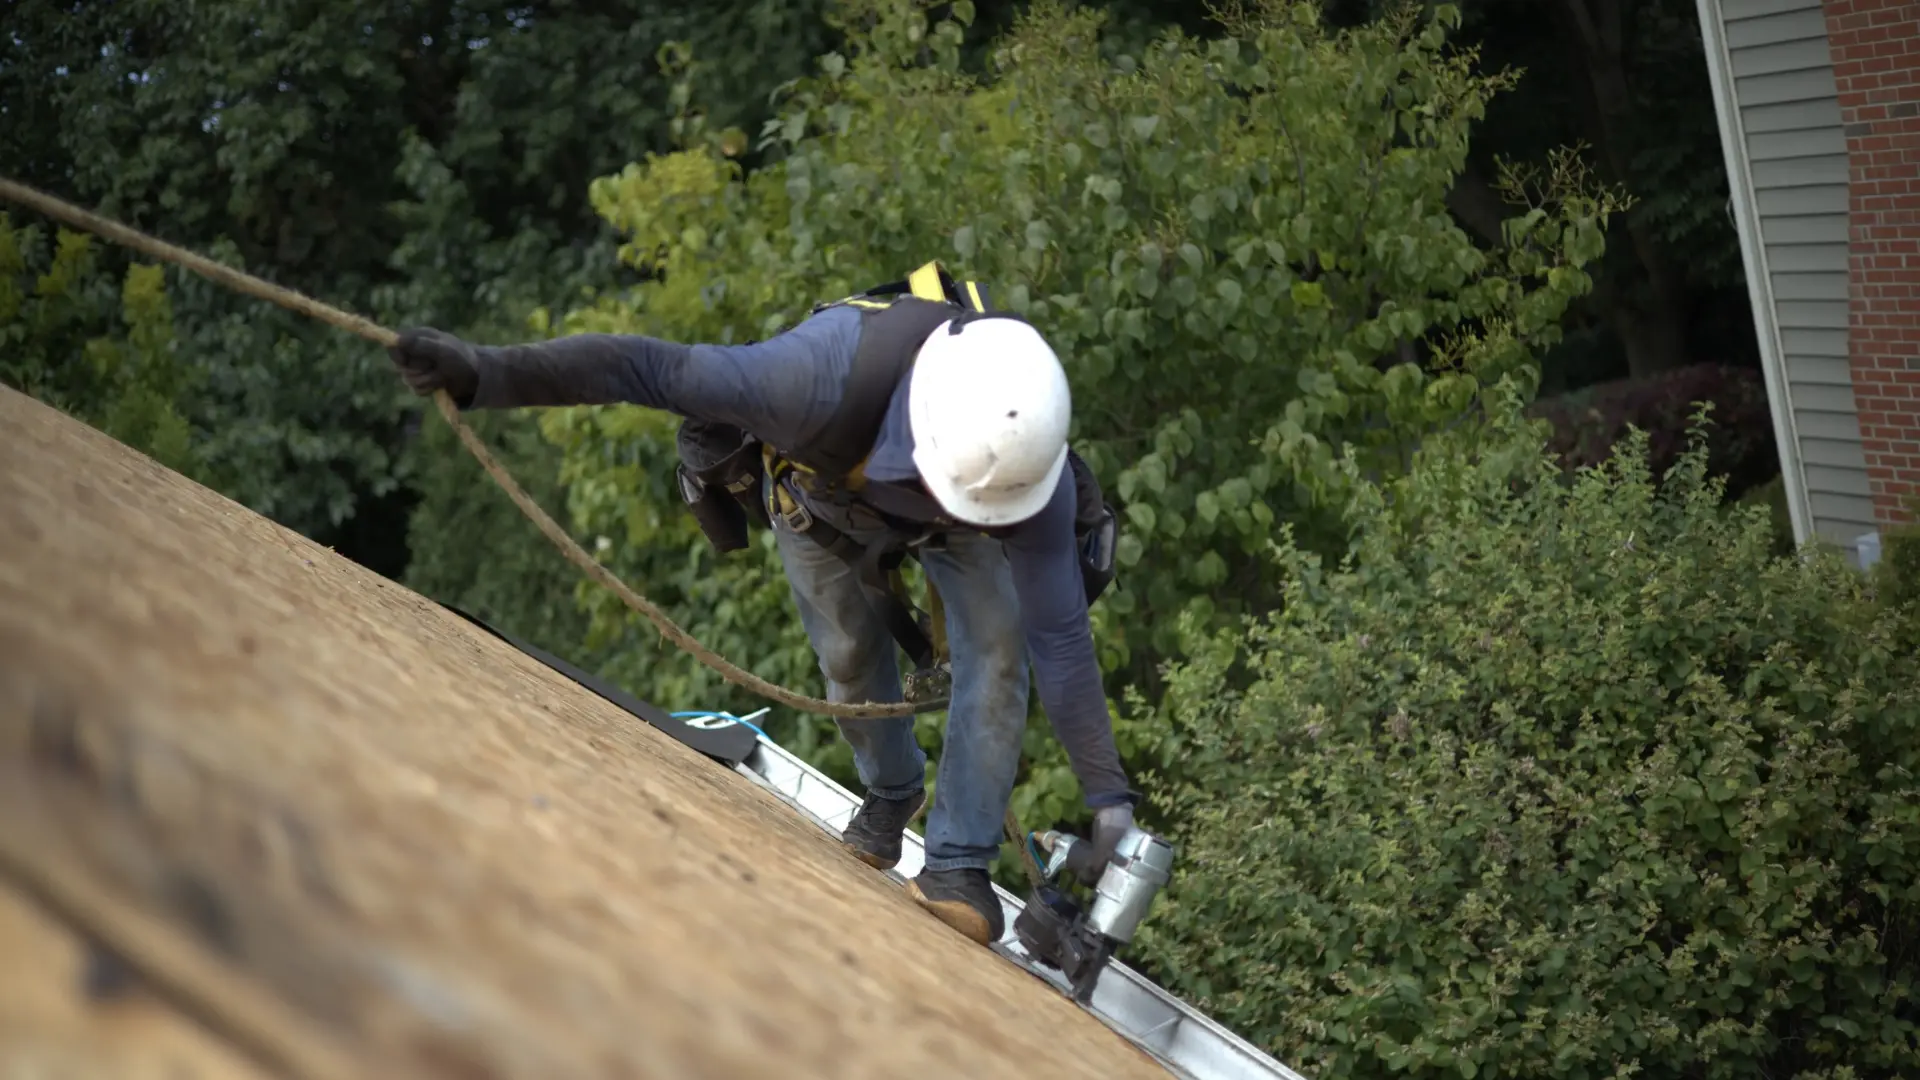
Drip edge is a metal flashing strip that runs along a roof's eaves (the bottom edges) and rakes (the sloped side edges). It sticks out slightly past the roof deck and bends down over the fascia board. That small kick-out lets water drip clear of your house instead of rolling back underneath the shingles.
It's usually made of aluminum or galvanized steel. From the ground, it looks like a thin trim line just under your shingles. Easy to miss, but it does real work.
What Drip Edge Actually Does
Here's the thing about water: it doesn't just fall off a roof edge. It clings to the bottom of the shingles and curls back toward the house. Drip edge breaks that path.
A properly installed drip edge:
- Keeps water off the fascia board and roof decking, which prevents rot
- Directs runoff into the gutter instead of behind it
- Blocks wind-driven rain from getting under the first row of shingles
- Closes the gap where insects, birds, and small critters like to sneak in
- Supports the shingle edge so it doesn't sag or curl over the gutter
- Gives the roofline a clean, finished look
That's a lot of protection from a piece of metal that costs a few dollars per foot.
Do You Need Drip Edge? The Short Answer Is Yes
The International Residential Code (section R905.2.8.5) requires drip edge at both eaves and rakes on asphalt shingle roofs. It must extend at least 2 inches onto the roof deck. Many towns and counties have adopted this rule, though local versions vary.
Now, here's a code surprise some homeowners run into. If your old roof never had drip edge, a building inspector may flag it during a roof replacement permit inspection. That means the work may not pass until it's added.
Shingle manufacturers also care. Many list drip edge in their installation instructions, and skipping it can put your shingle warranty at risk. (Not a great trade for saving a couple hundred dollars.)
The Main Types of Drip Edge
Alright, let's talk about shapes. Drip edge comes in a few standard profiles, and names can vary depending on who sells it.
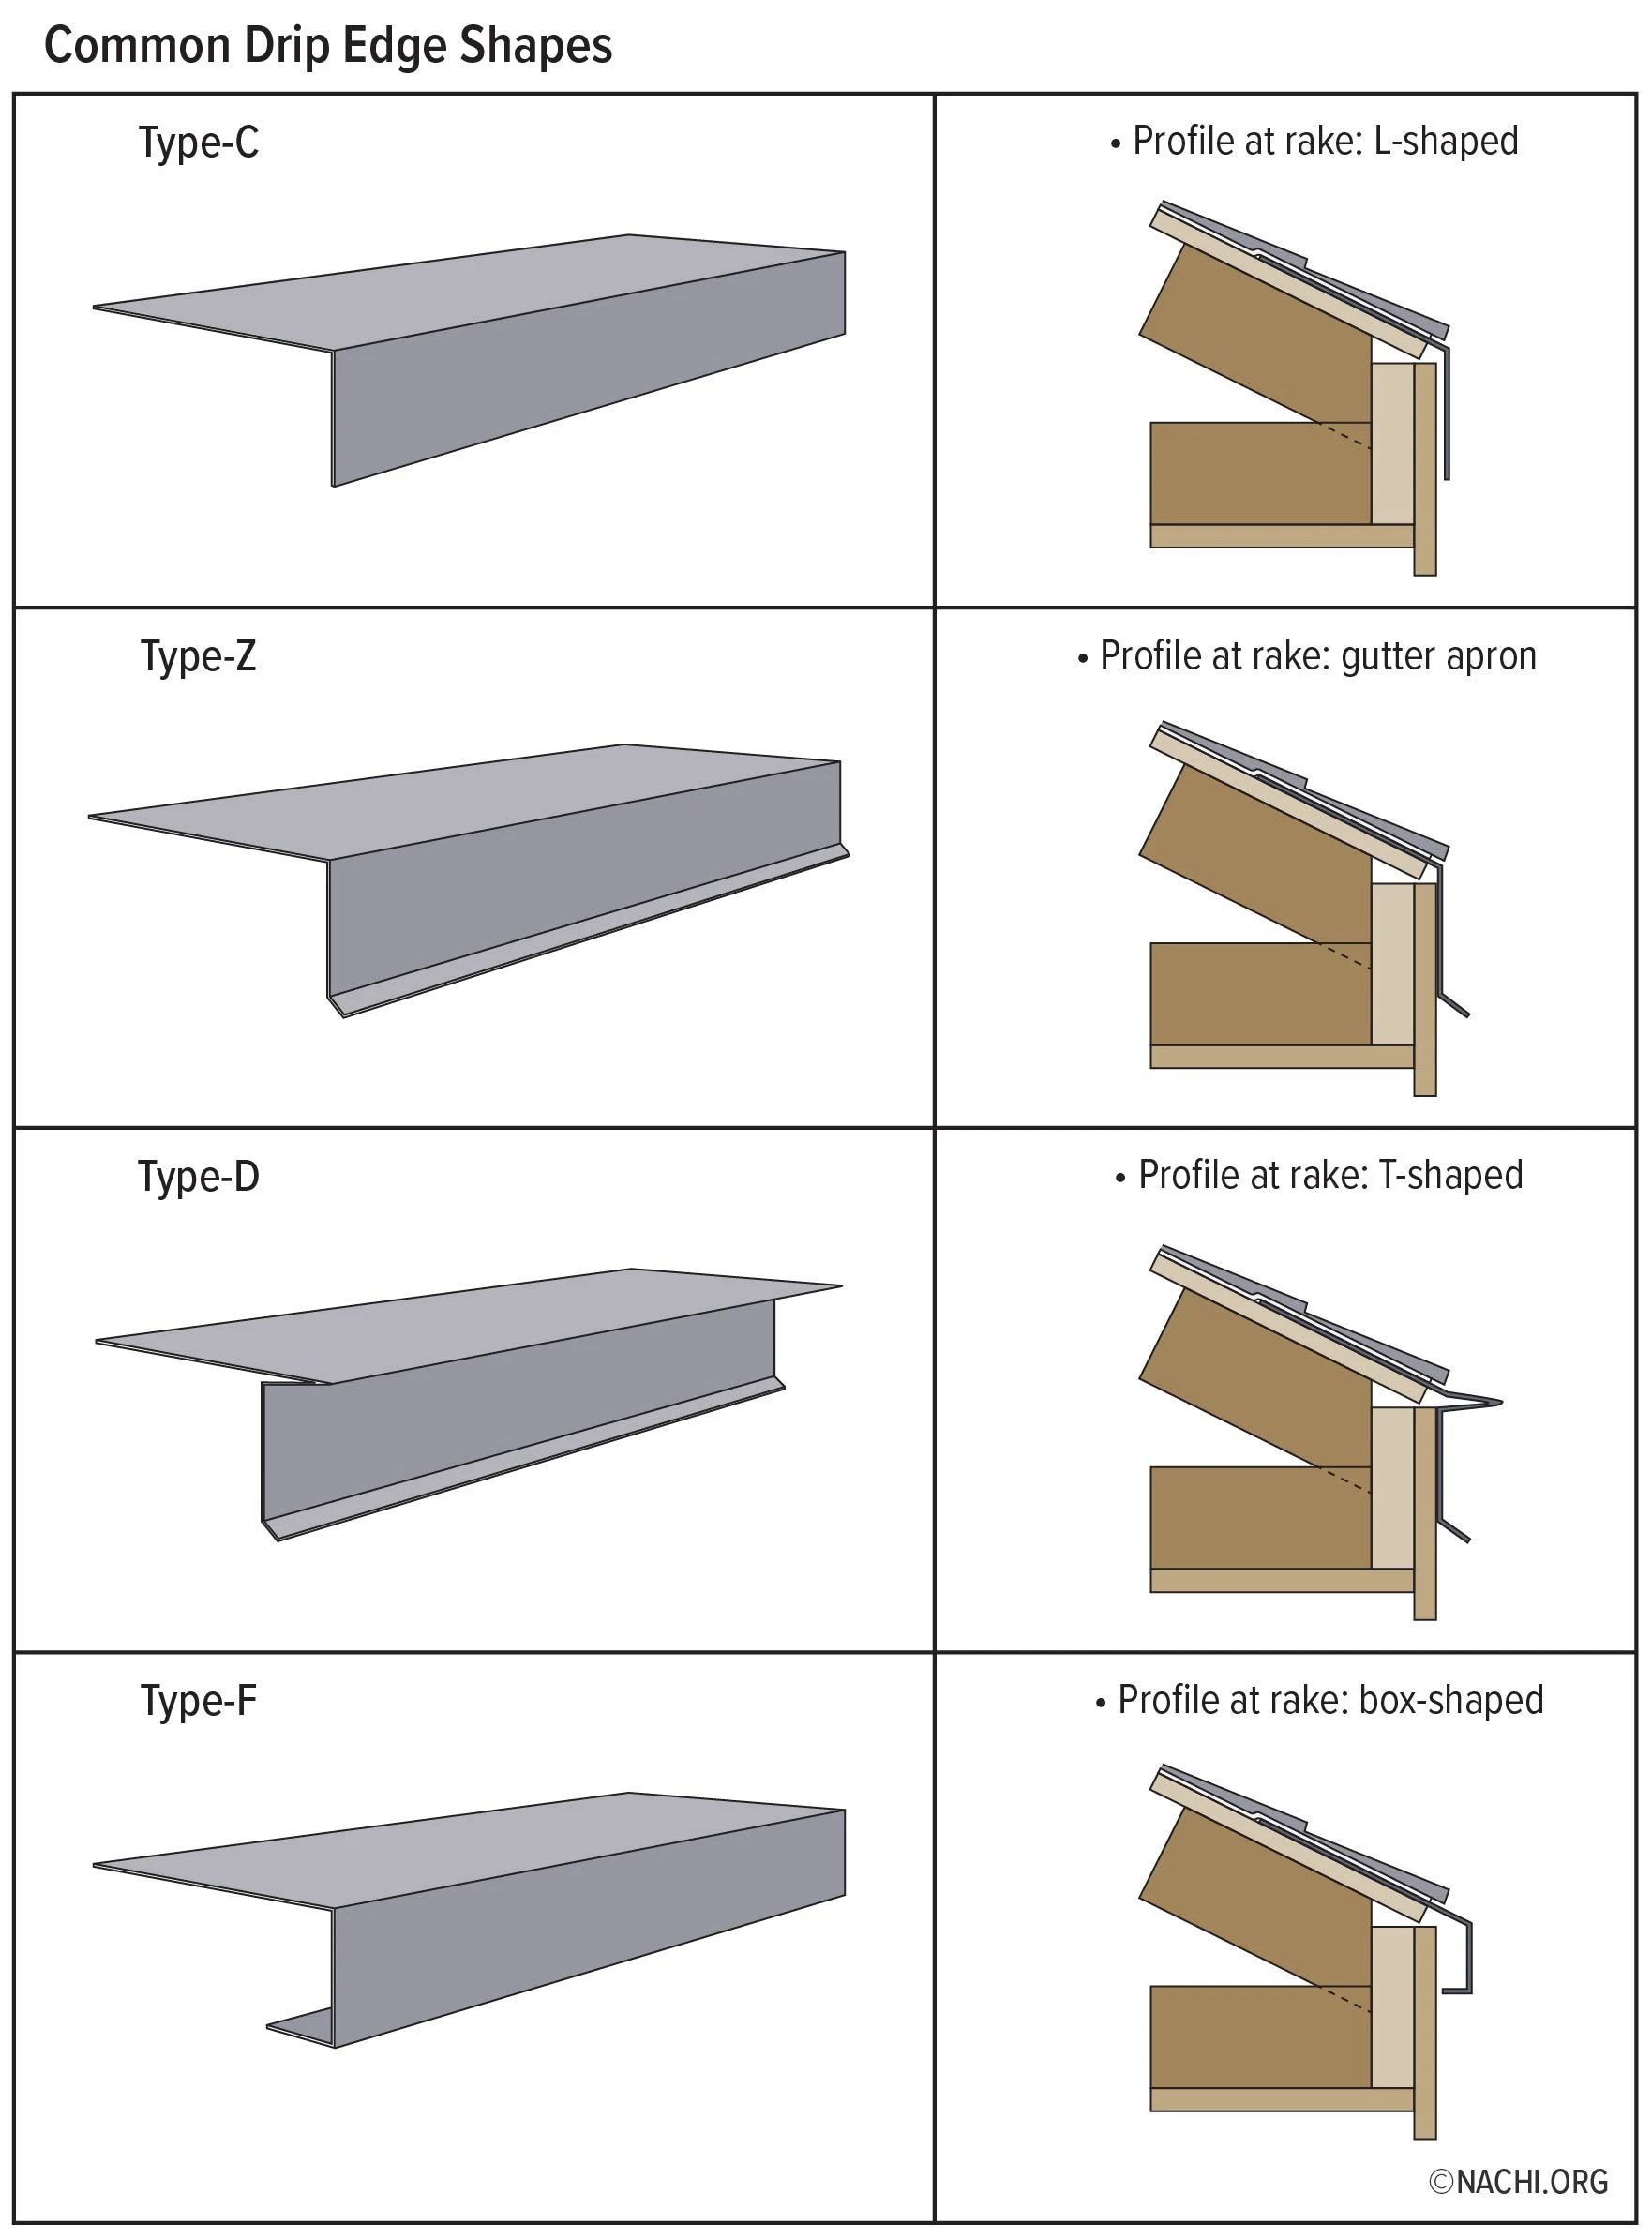
Type C (L-Style)
A simple 90-degree bend. It's the most basic and cheapest option. It works, but it has no kick-out at the bottom, so water can still roll back under it in heavy rain.
Type D (T-Style)
This one has an extra lip at the bottom that pushes water outward and away from the fascia. For most homes with asphalt shingles, this is our go-to profile.
Type F (Gutter Apron)
Type F has a longer leg that reaches down into the gutter. It's useful when adding drip edge to an existing roof or when there's a gap between the roof edge and the gutter.
Aluminum, Steel, or Copper?
Quick and simple:
- Aluminum: Light, rust-resistant, and available in many colors. The best fit for most homes.
- Galvanized steel: Stiffer and stronger on long runs. Can rust once the coating wears off.
- Copper: Beautiful and long-lasting, but expensive. Usually saved for high-end or historic homes.
Skip plastic or vinyl drip edge on a permanent roof. It cracks in the cold and breaks down in the sun.
How Drip Edge Should Be Installed
Drip edge only works if it's layered the right way. Water always has to flow over each layer, never behind it.
At the eaves, the drip edge goes down first, directly on the roof deck. The underlayment (or ice and water shield) goes on top of it. That way, any water that gets under the shingles runs over the metal and out.
At the rakes, the order flips. The underlayment goes down first, and the drip edge goes on top. This keeps wind from lifting the underlayment and pushing rain sideways.
A few other details we check on every install:
- Pieces overlap by at least 2 inches
- Fasteners go every 12 inches or so, high on the flange where shingles cover them
- Corners are cut and folded cleanly so water can't funnel behind the fascia
- Rake pieces overlap eave pieces at the corners, so water flows downhill
Get this order backward and you've built a hidden leak path. Who would've thought a few inches of metal could be so picky?
Signs Your Drip Edge Is Missing or Failing
You don't need to climb on the roof to check. Grab a pair of binoculars or stand on a ladder near the gutter and look for:
- Dark water stains or streaks on the fascia
- Peeling paint or soft, spongy wood along the roof edge
- Shingles hanging over the gutter with no metal under them
- Bent, rusted, or loose sections pulling away from the roof
- Water spilling behind the gutter during rain
One or two bent pieces can often be repaired. Widespread rust or a missing drip edge usually means it's time to replace it, often as part of a larger roof job.
What Drip Edge Costs
Of course, none of this comes free. But drip edge is one of the cheapest parts of any roof. These are broad ranges, and prices change by region and material.
- Materials: About $1 to $3 per linear foot for aluminum or steel. Copper can run $8 to $15 or more per foot.
- During a roof replacement: Often already included in the quote. If listed on its own, expect roughly $300 to $1,000 for a typical home with 150 to 250 feet of roof edge.
- Adding it to an existing roof: Usually $800 to $2,000 or more. The first rows of shingles must be lifted carefully, which takes more time and care.
- Hidden damage: If rotted fascia or decking is found once the edge is opened up, repairs add to the cost.
Compare that to replacing rotted fascia, decking, and soffit later. The math isn't close.
Timelines and Planning Advice
During a Roof Replacement
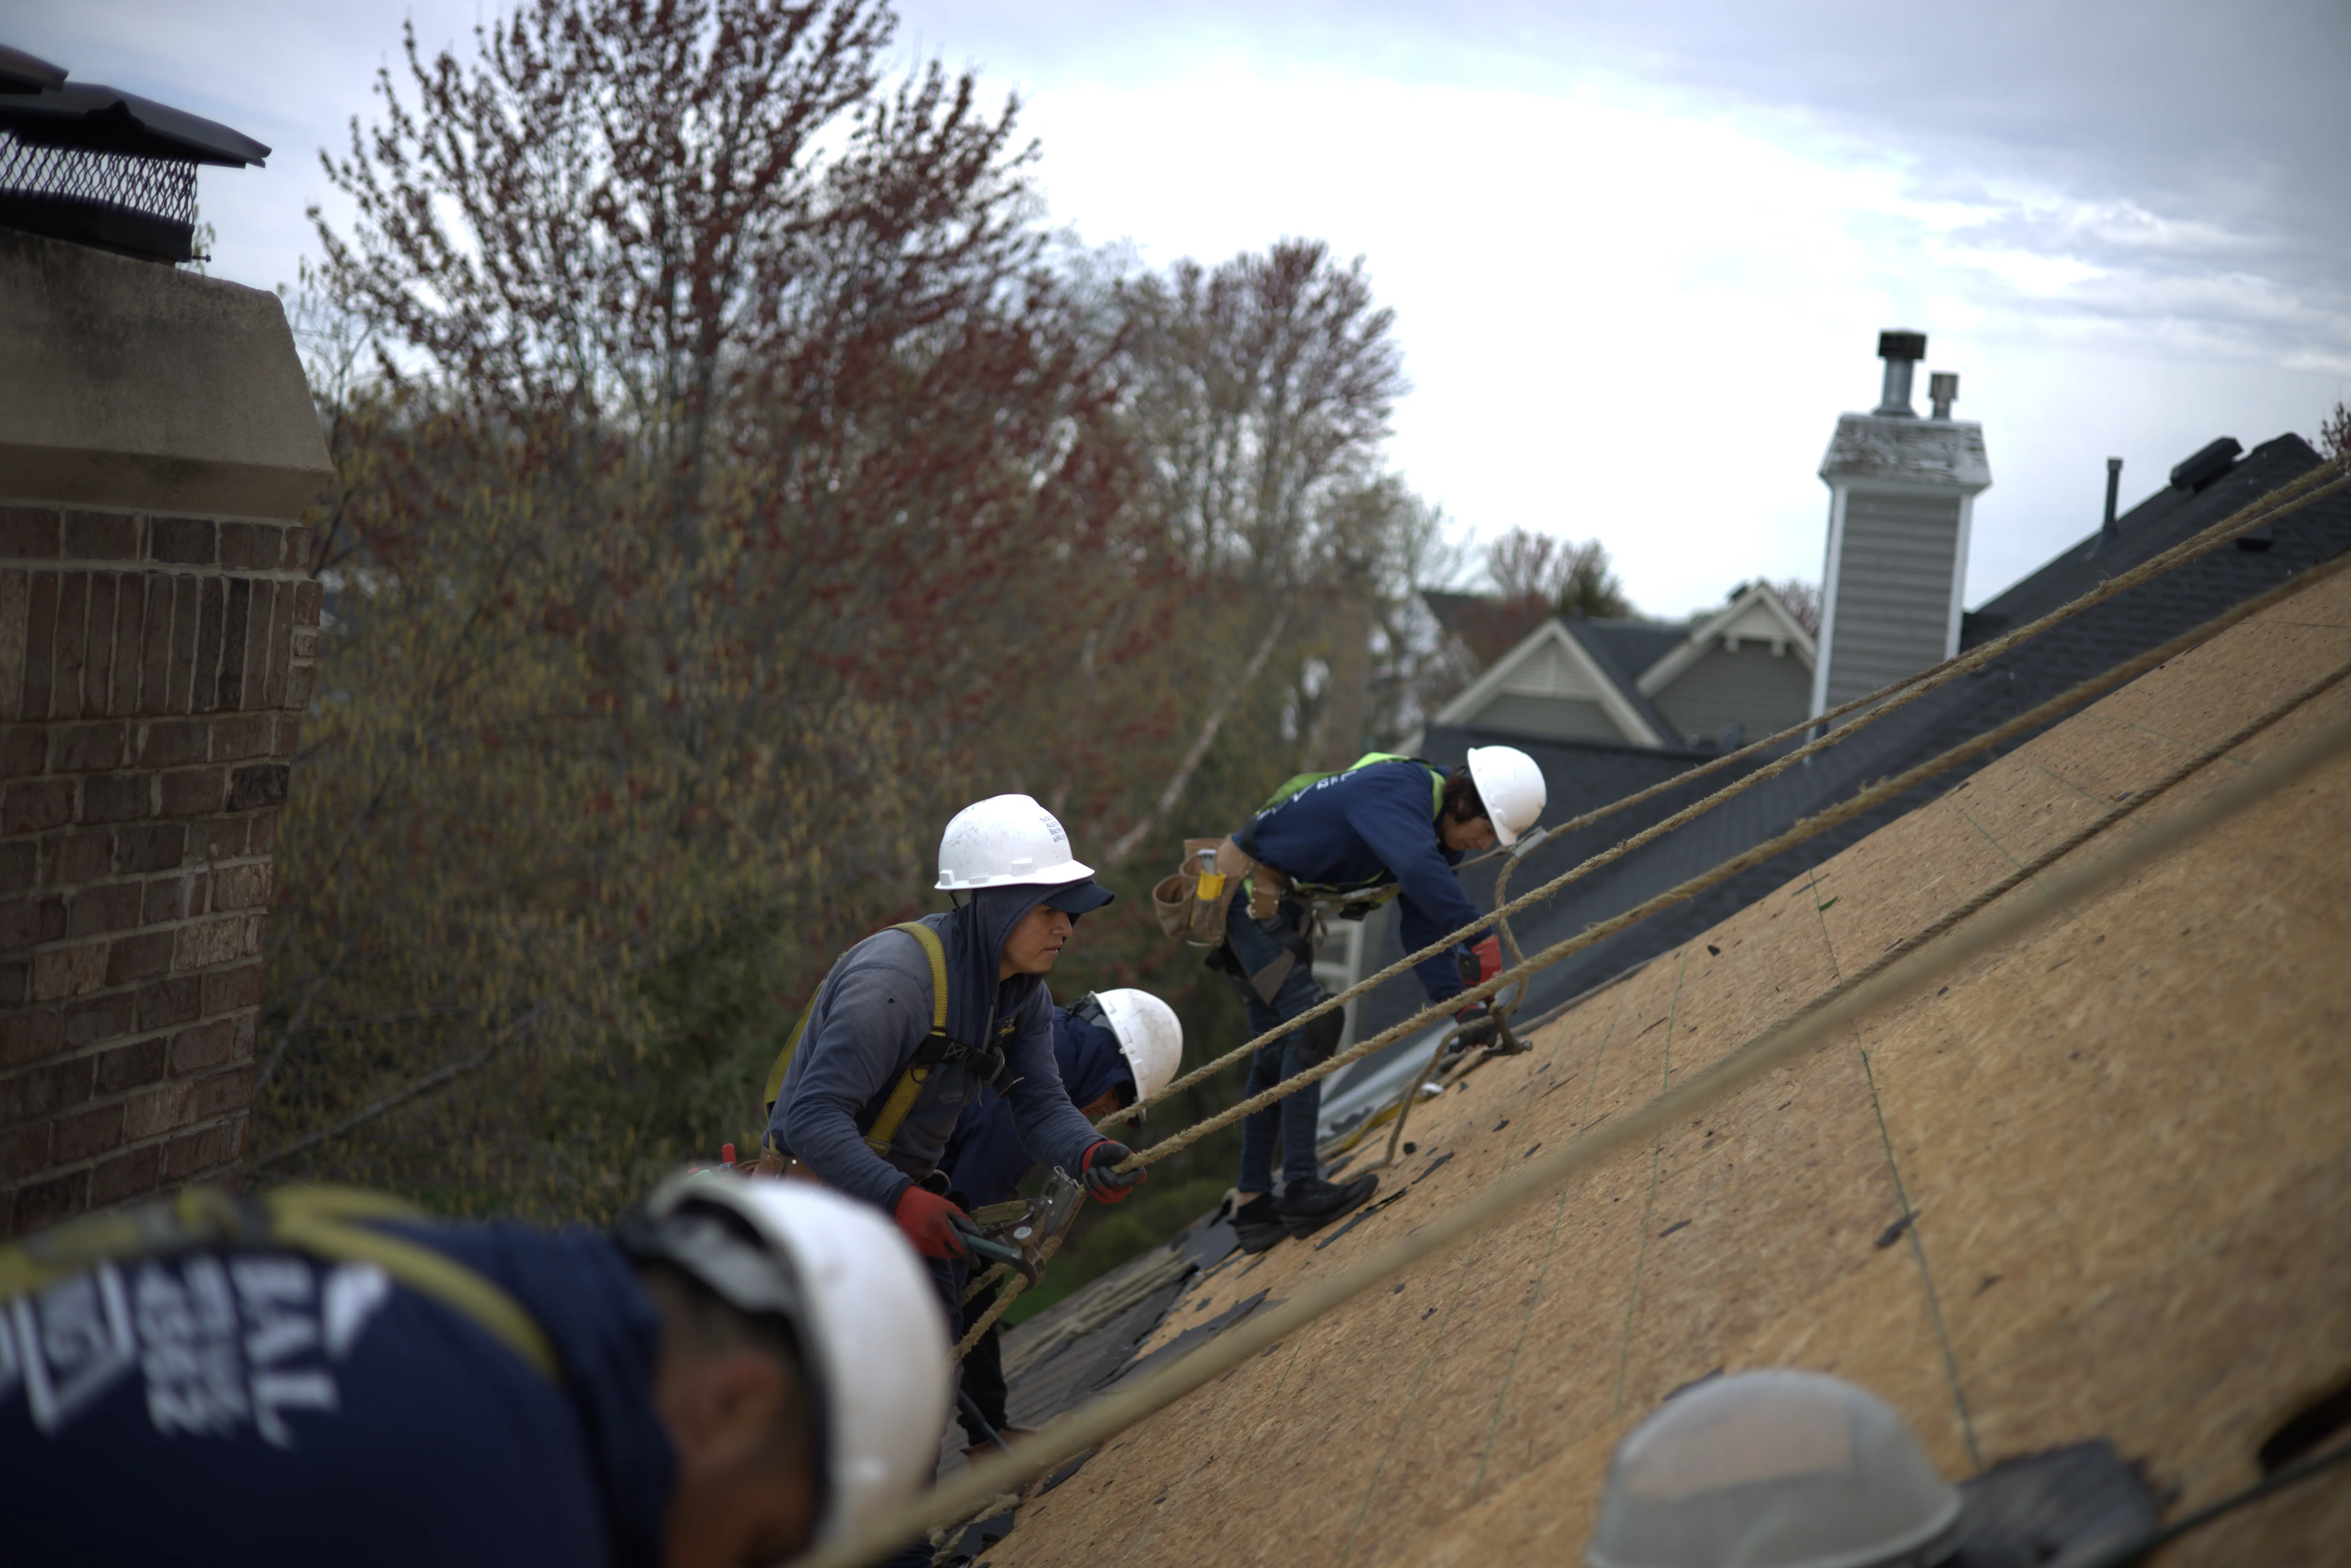
This is the best time to install drip edge. The roof is already stripped, so it adds very little time, usually just a few hours on a standard home. Your roof replacement timeline stays about the same.
Adding It to an Existing Roof
Expect about half a day to a full day for most homes. It depends on roof size, pitch, and how brittle the old shingles are. Older shingles can crack when lifted, which sometimes means small repairs.
Watch for Material Delays
Standard white, brown, and black drip edge is usually easy to get. Custom colors matched to your gutters or trim can take one to two weeks, sometimes longer during busy storm seasons. Pick your color early.
Your Next Steps
Here's how to protect yourself before work starts:
- Check your current roof. Look for stains, rot, or missing metal along the edges.
- Ask for drip edge as a line item. Any roofing company quote for a roof replacement should list the profile, material, and whether it covers both eaves and rakes.
- Ask about permits. Confirm a permit will be pulled and that the install will meet local code.
- Choose your color early. Match it to your gutters or fascia to avoid delays.
- Plan for surprises. Set aside a small budget for possible fascia or decking repairs.
The Bottom Line
Drip edge is a small strip of metal that keeps water off your fascia, decking, and siding. It's required by code on most shingle roofs, it's inexpensive, and it's easiest to install during a roof replacement. Skipping it saves very little and can cost a lot later.
If your roof is aging or you're seeing stains along the roof edge, now is the time to get it inspected. Ask your roofing company exactly what drip edge they'll use and where it goes, so your next roof is protected from the edges in.