.webp)
What Size Hail Puts Enough Damage for a Roof Claim?

Aaron Venegaz is the President and founder of Global Exterior Experts and has been in the construction / roofing industry for over 15+ years. He started the company back in 2010 and done everything from scheduling appointments to putting down roofs. He's also done everything from commercial roofing to residential roofing and has also worked with almost every single roofing material multiple times over the past 15 years.
Replacing damaged shingles means breaking the adhesive seals, removing nails from multiple courses, installing new materials correctly, and resealing everything to maintain your roof's weather resistance. This process can take anywhere from 2 to 4 hours for a small section (under 10 shingles), but understanding what's involved helps you decide whether to tackle it yourself or call in professionals.
Why Damaged Shingles Need Immediate Attention
Here's the thing about roof damage: it compounds fast. One missing shingle creates a vulnerability that lets water reach the underlayment. Once moisture gets in there you're looking at potential deck rot, insulation damage, and interior ceiling stains within a few months.
The cost of ignoring the problem? A $200 shingle replacement can quickly turn into a $3,000 deck repair added onto the cost of a roof replacement. Beyond that the compromised roof integrity means higher energy bills, potential mold growth in your attic space, and reduced home value if you're thinking about selling.
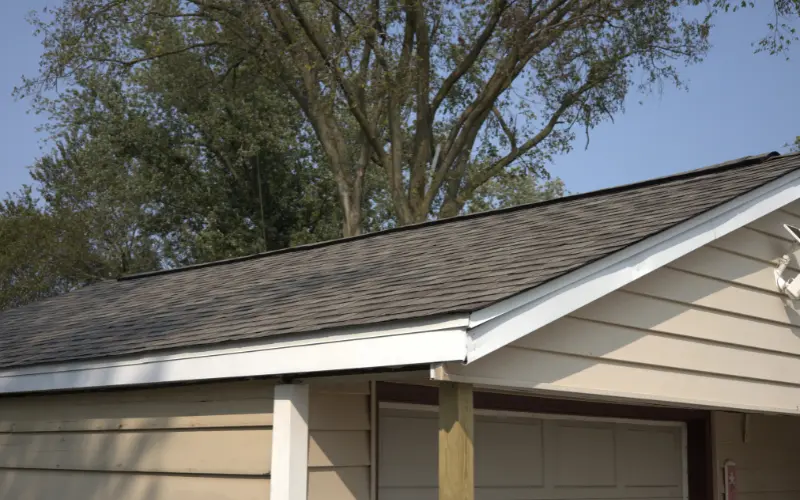
Asphalt shingles typically last 20-25 years, but individual shingles can fail early from storm damage, falling branches, or simple manufacturing defects. Catching these failures early matters.
What You Need Before Starting
Alright, let's talk about gear. You can't do this job with a hammer and hope.
Essential tools include:
- Flat pry bar (for breaking seals and lifting shingles)
- Claw hammer or roofing nailer
- Utility knife with extra blades
- Roofing nails (1¼-inch minimum for most applications)
- Roofing cement or adhesive
- Replacement shingles the match your existing roof
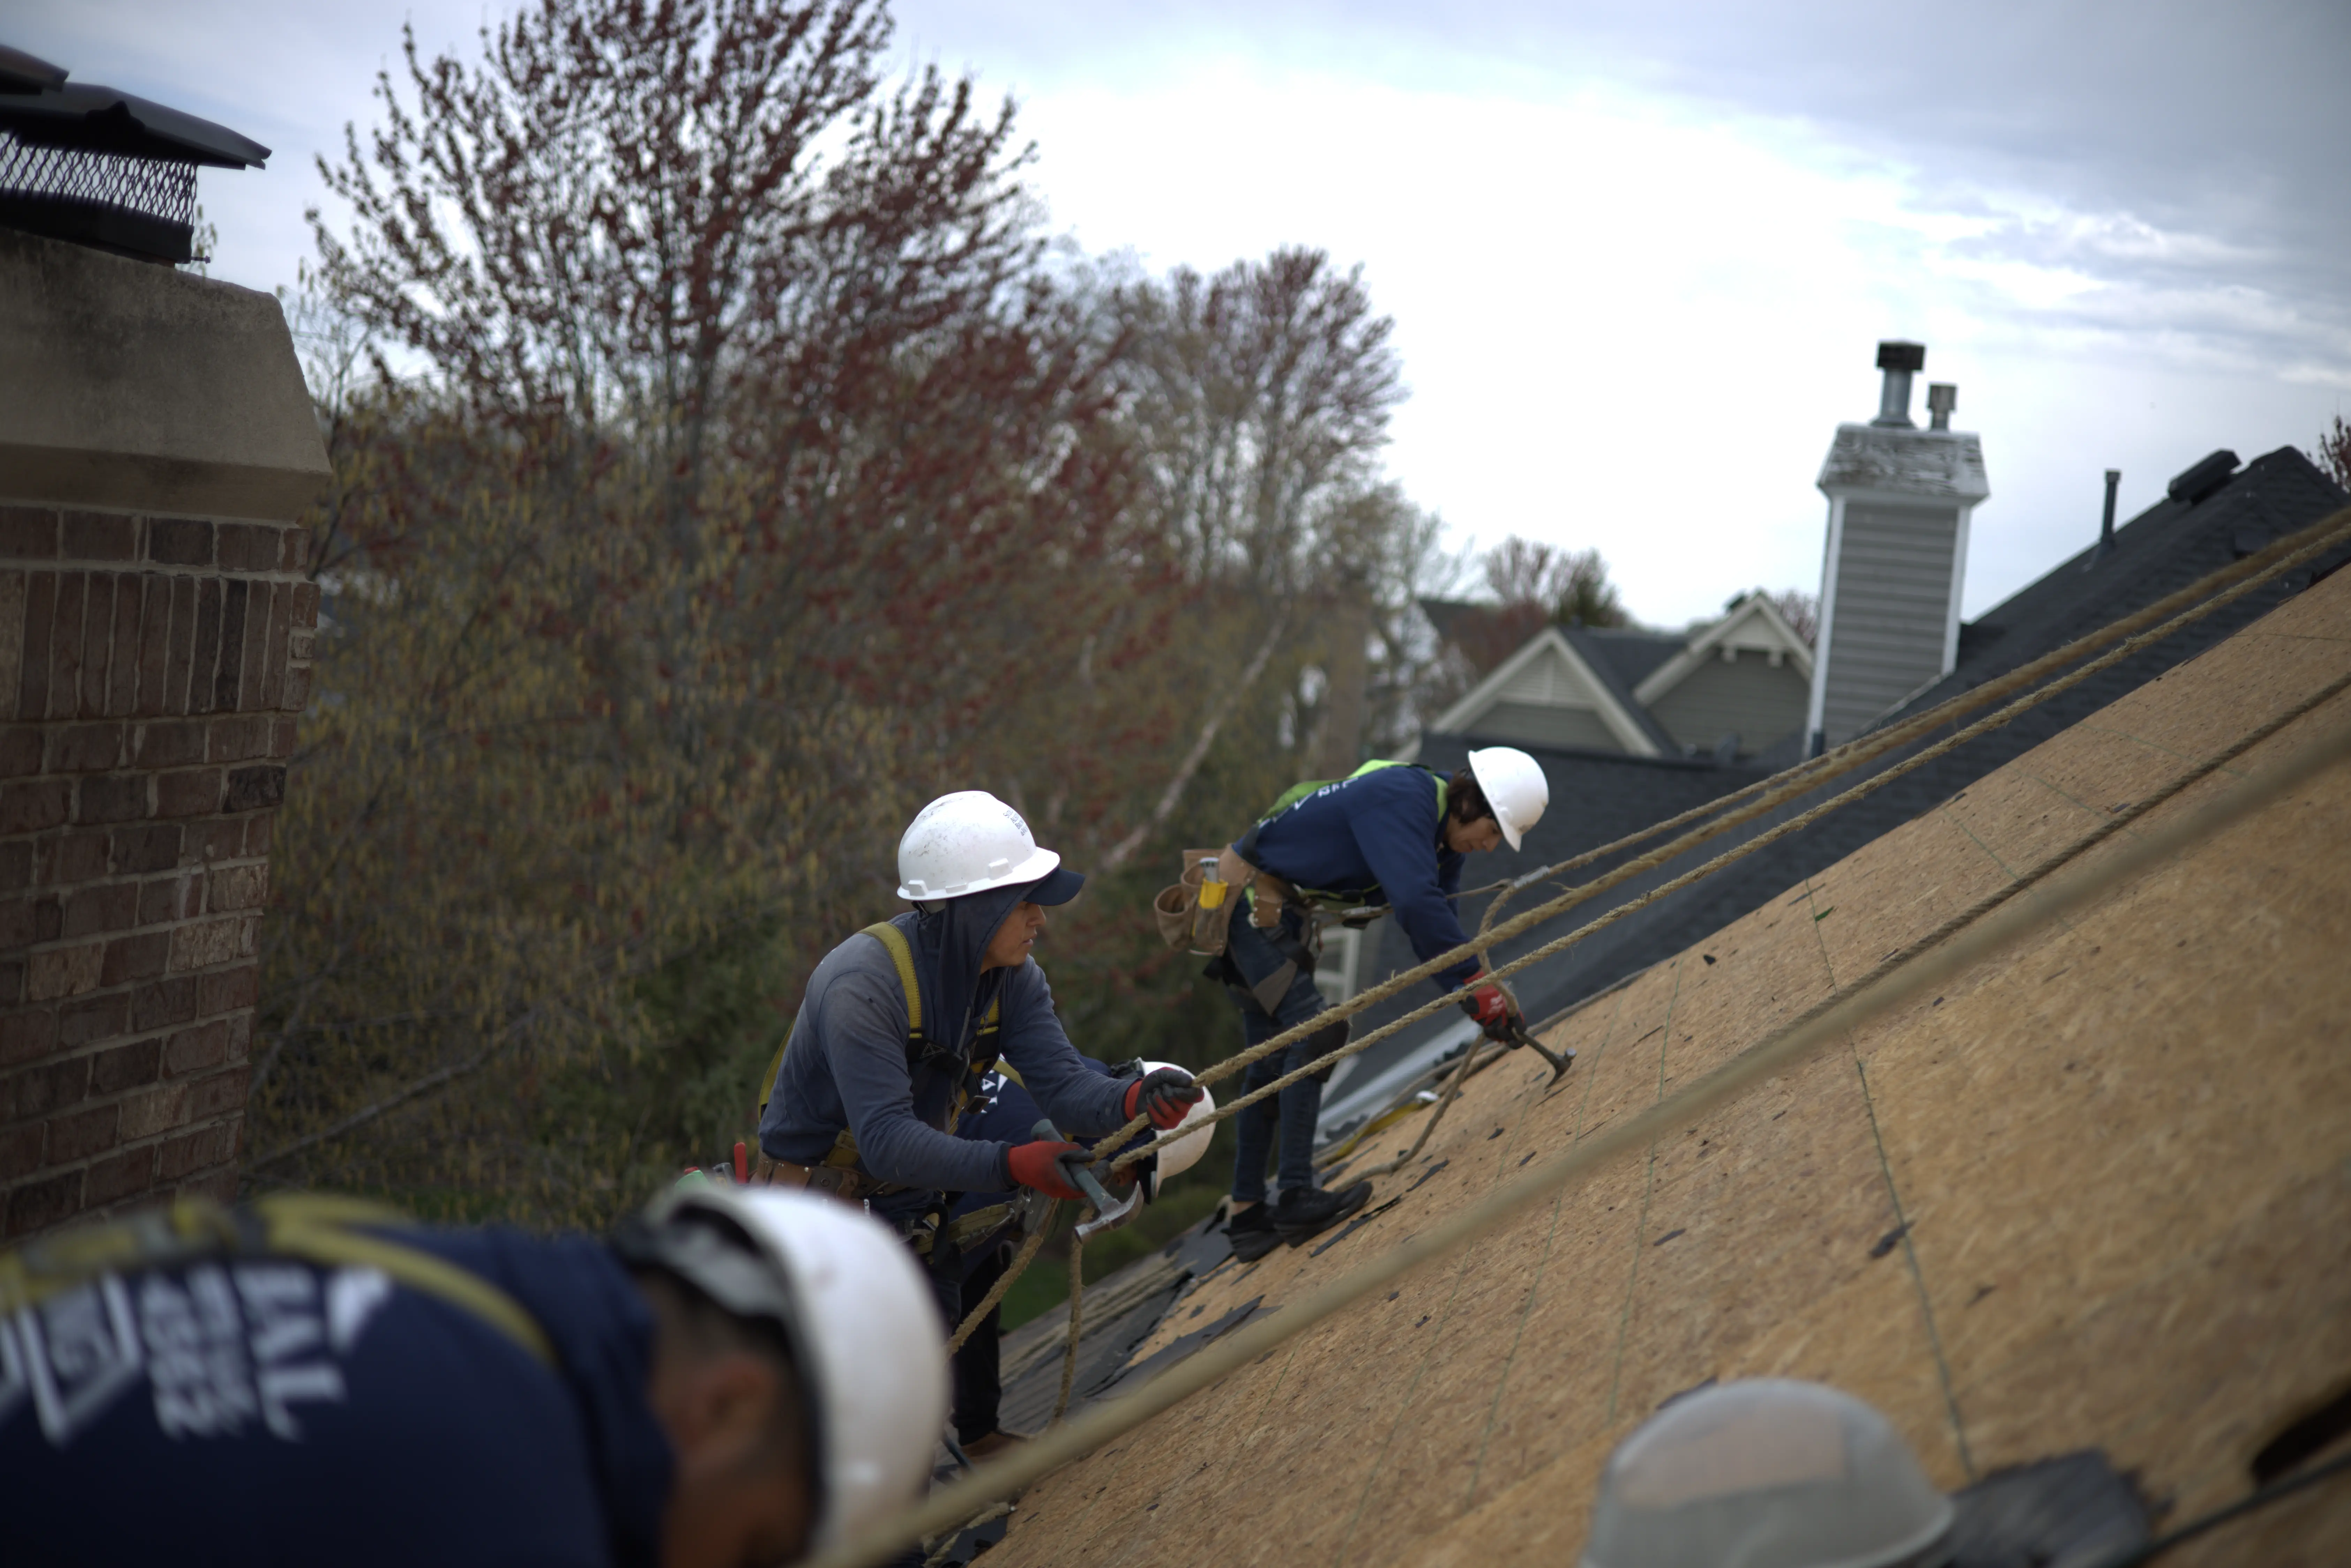
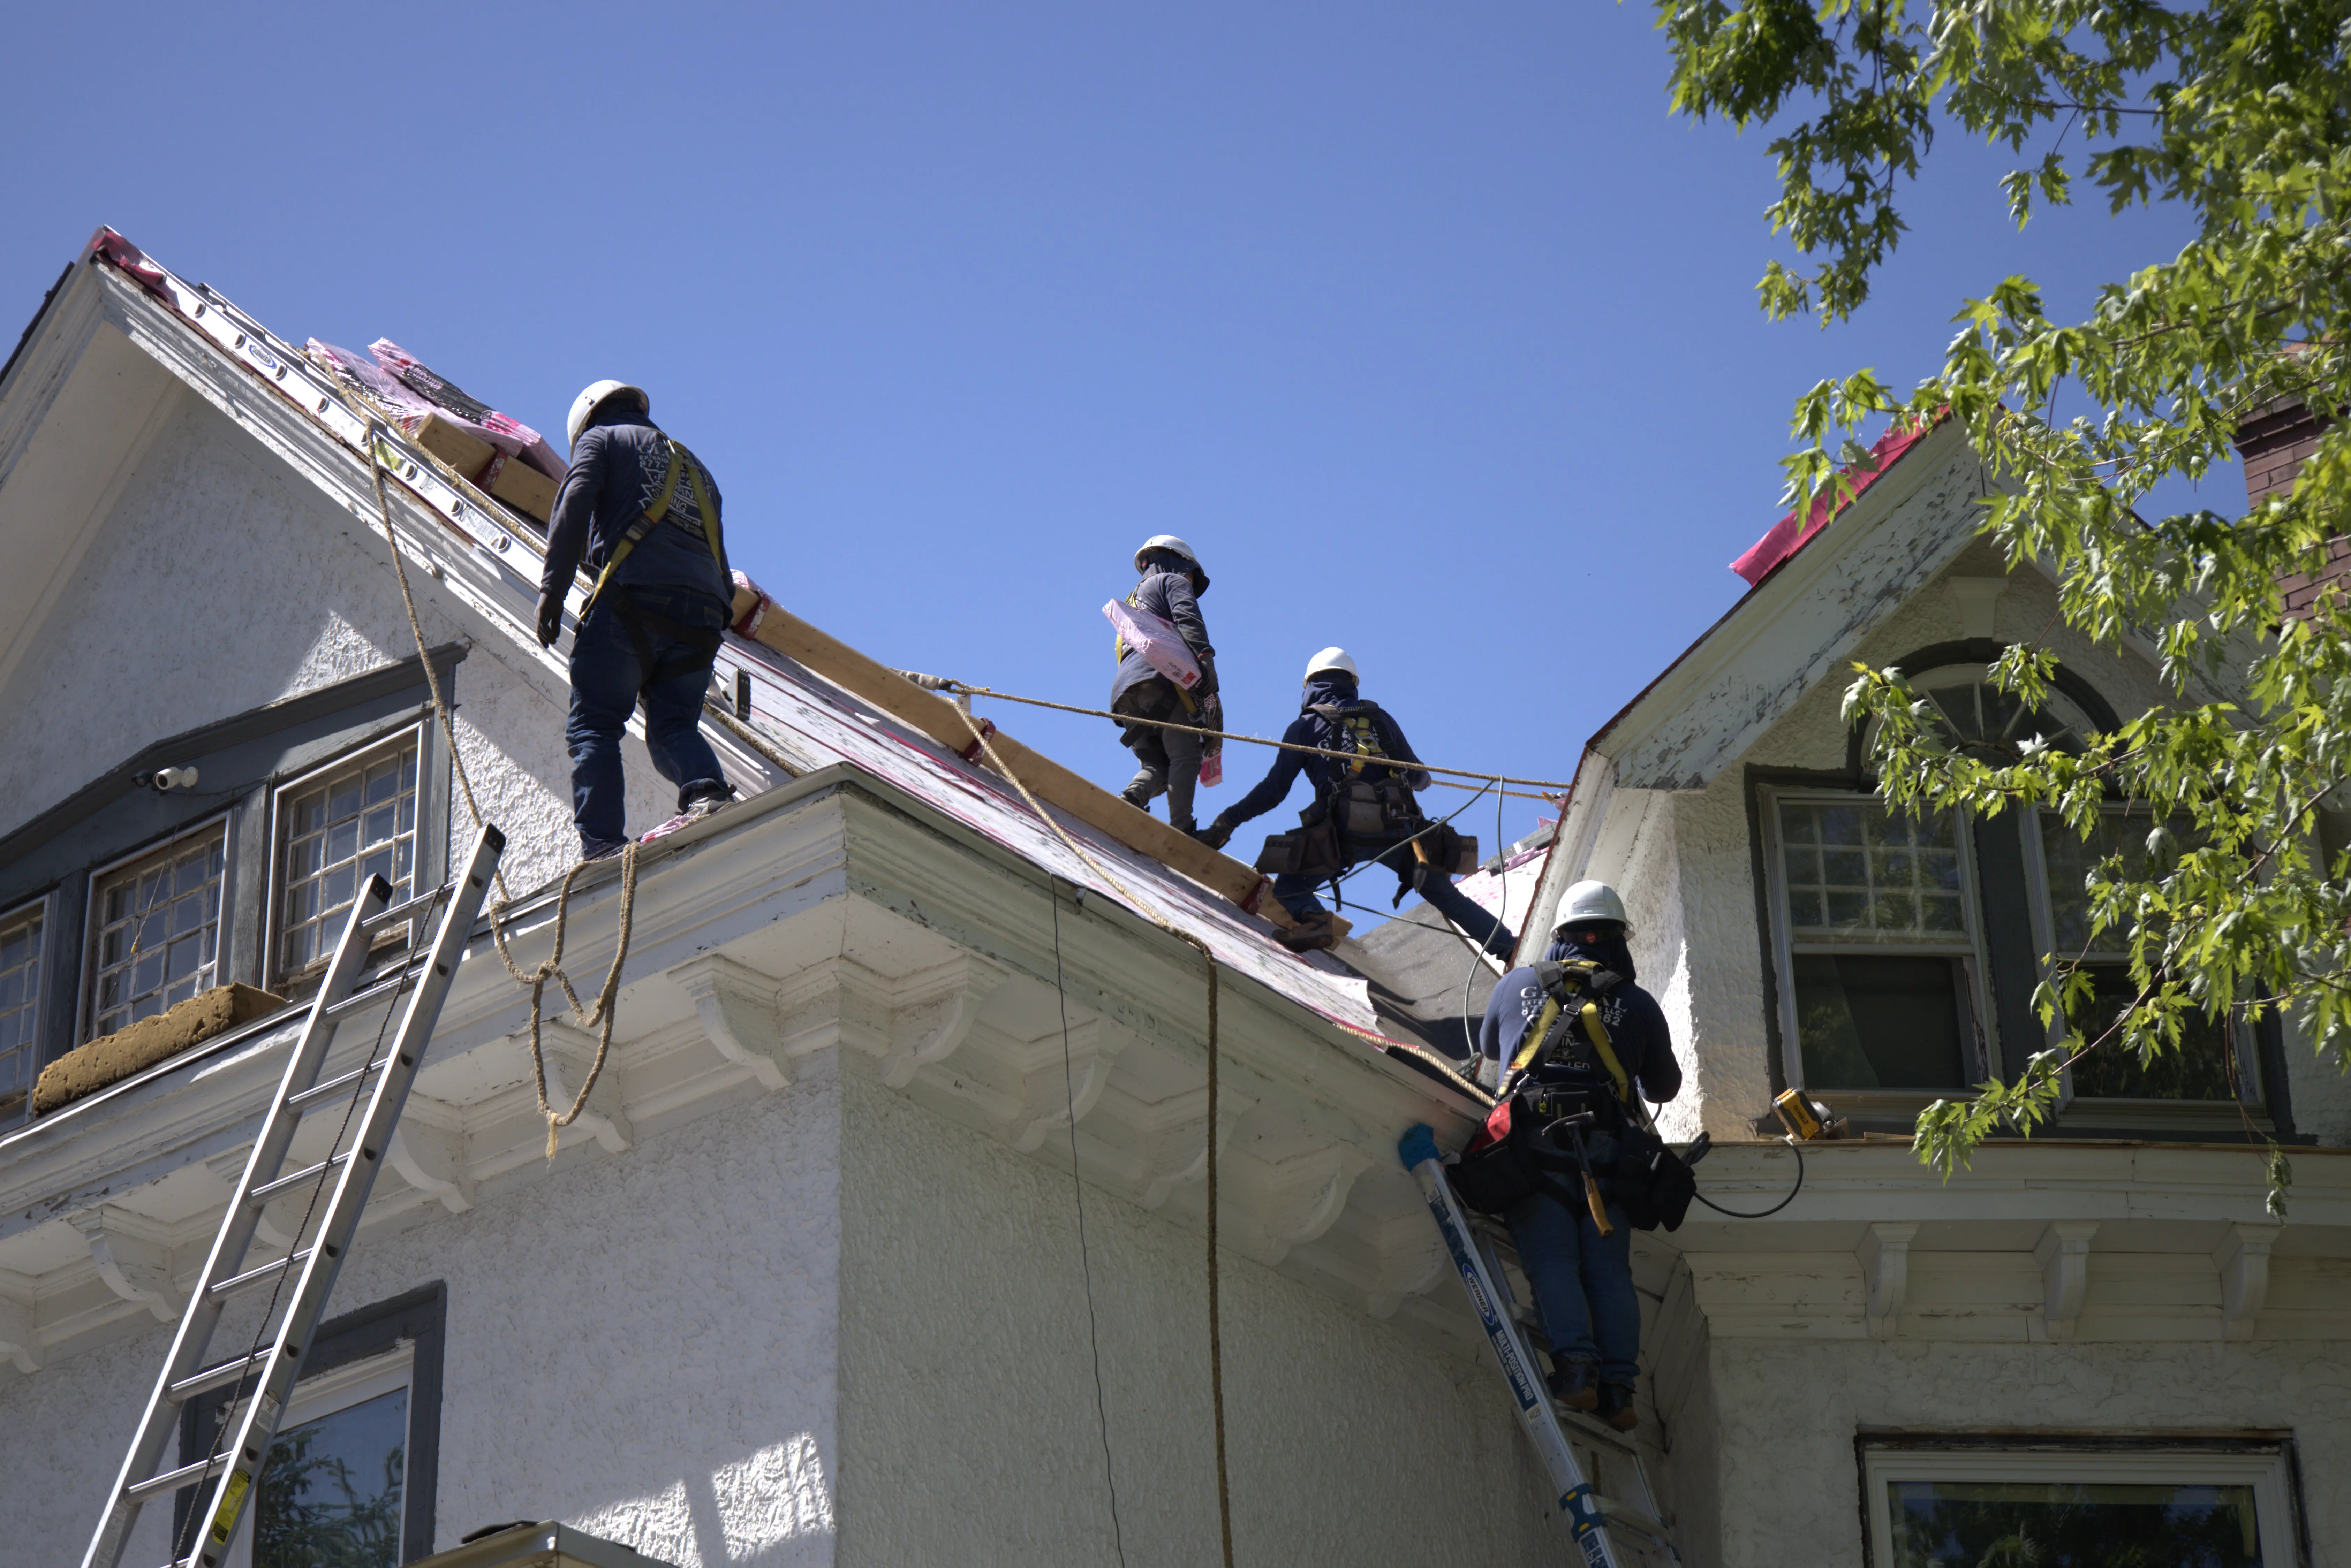
Safety equipment is non-negotiable:
- Roofing harness and anchor points for steep roofs
- Non-slip boots with good tread
- Heavy-duty work gloves
- Safety glasses
Temperature matters more than you'd think. Cool days that are between 50-70 F make the job easier because shingles are pliable but not too sticky. Hot weather turns asphalt into gooey adhesive that's hard to separate cleanly. Cold weather makes shingles brittle and prone to cracking when you lift them.
Budget $150-$300 for a DIY repair covering 10-15 shingles, including all materials and tool rentals. Professional installation runs $200-$600 for the same area, depending on roof access and pitch.
Step 1: Assess the Full Scope of Damage
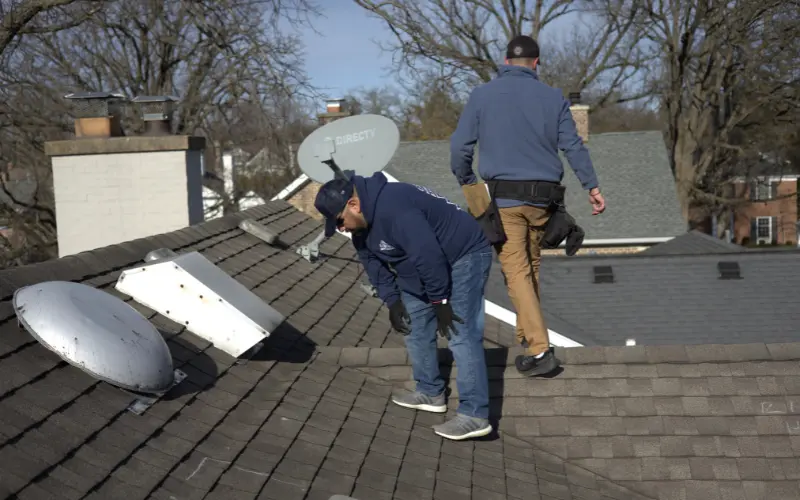
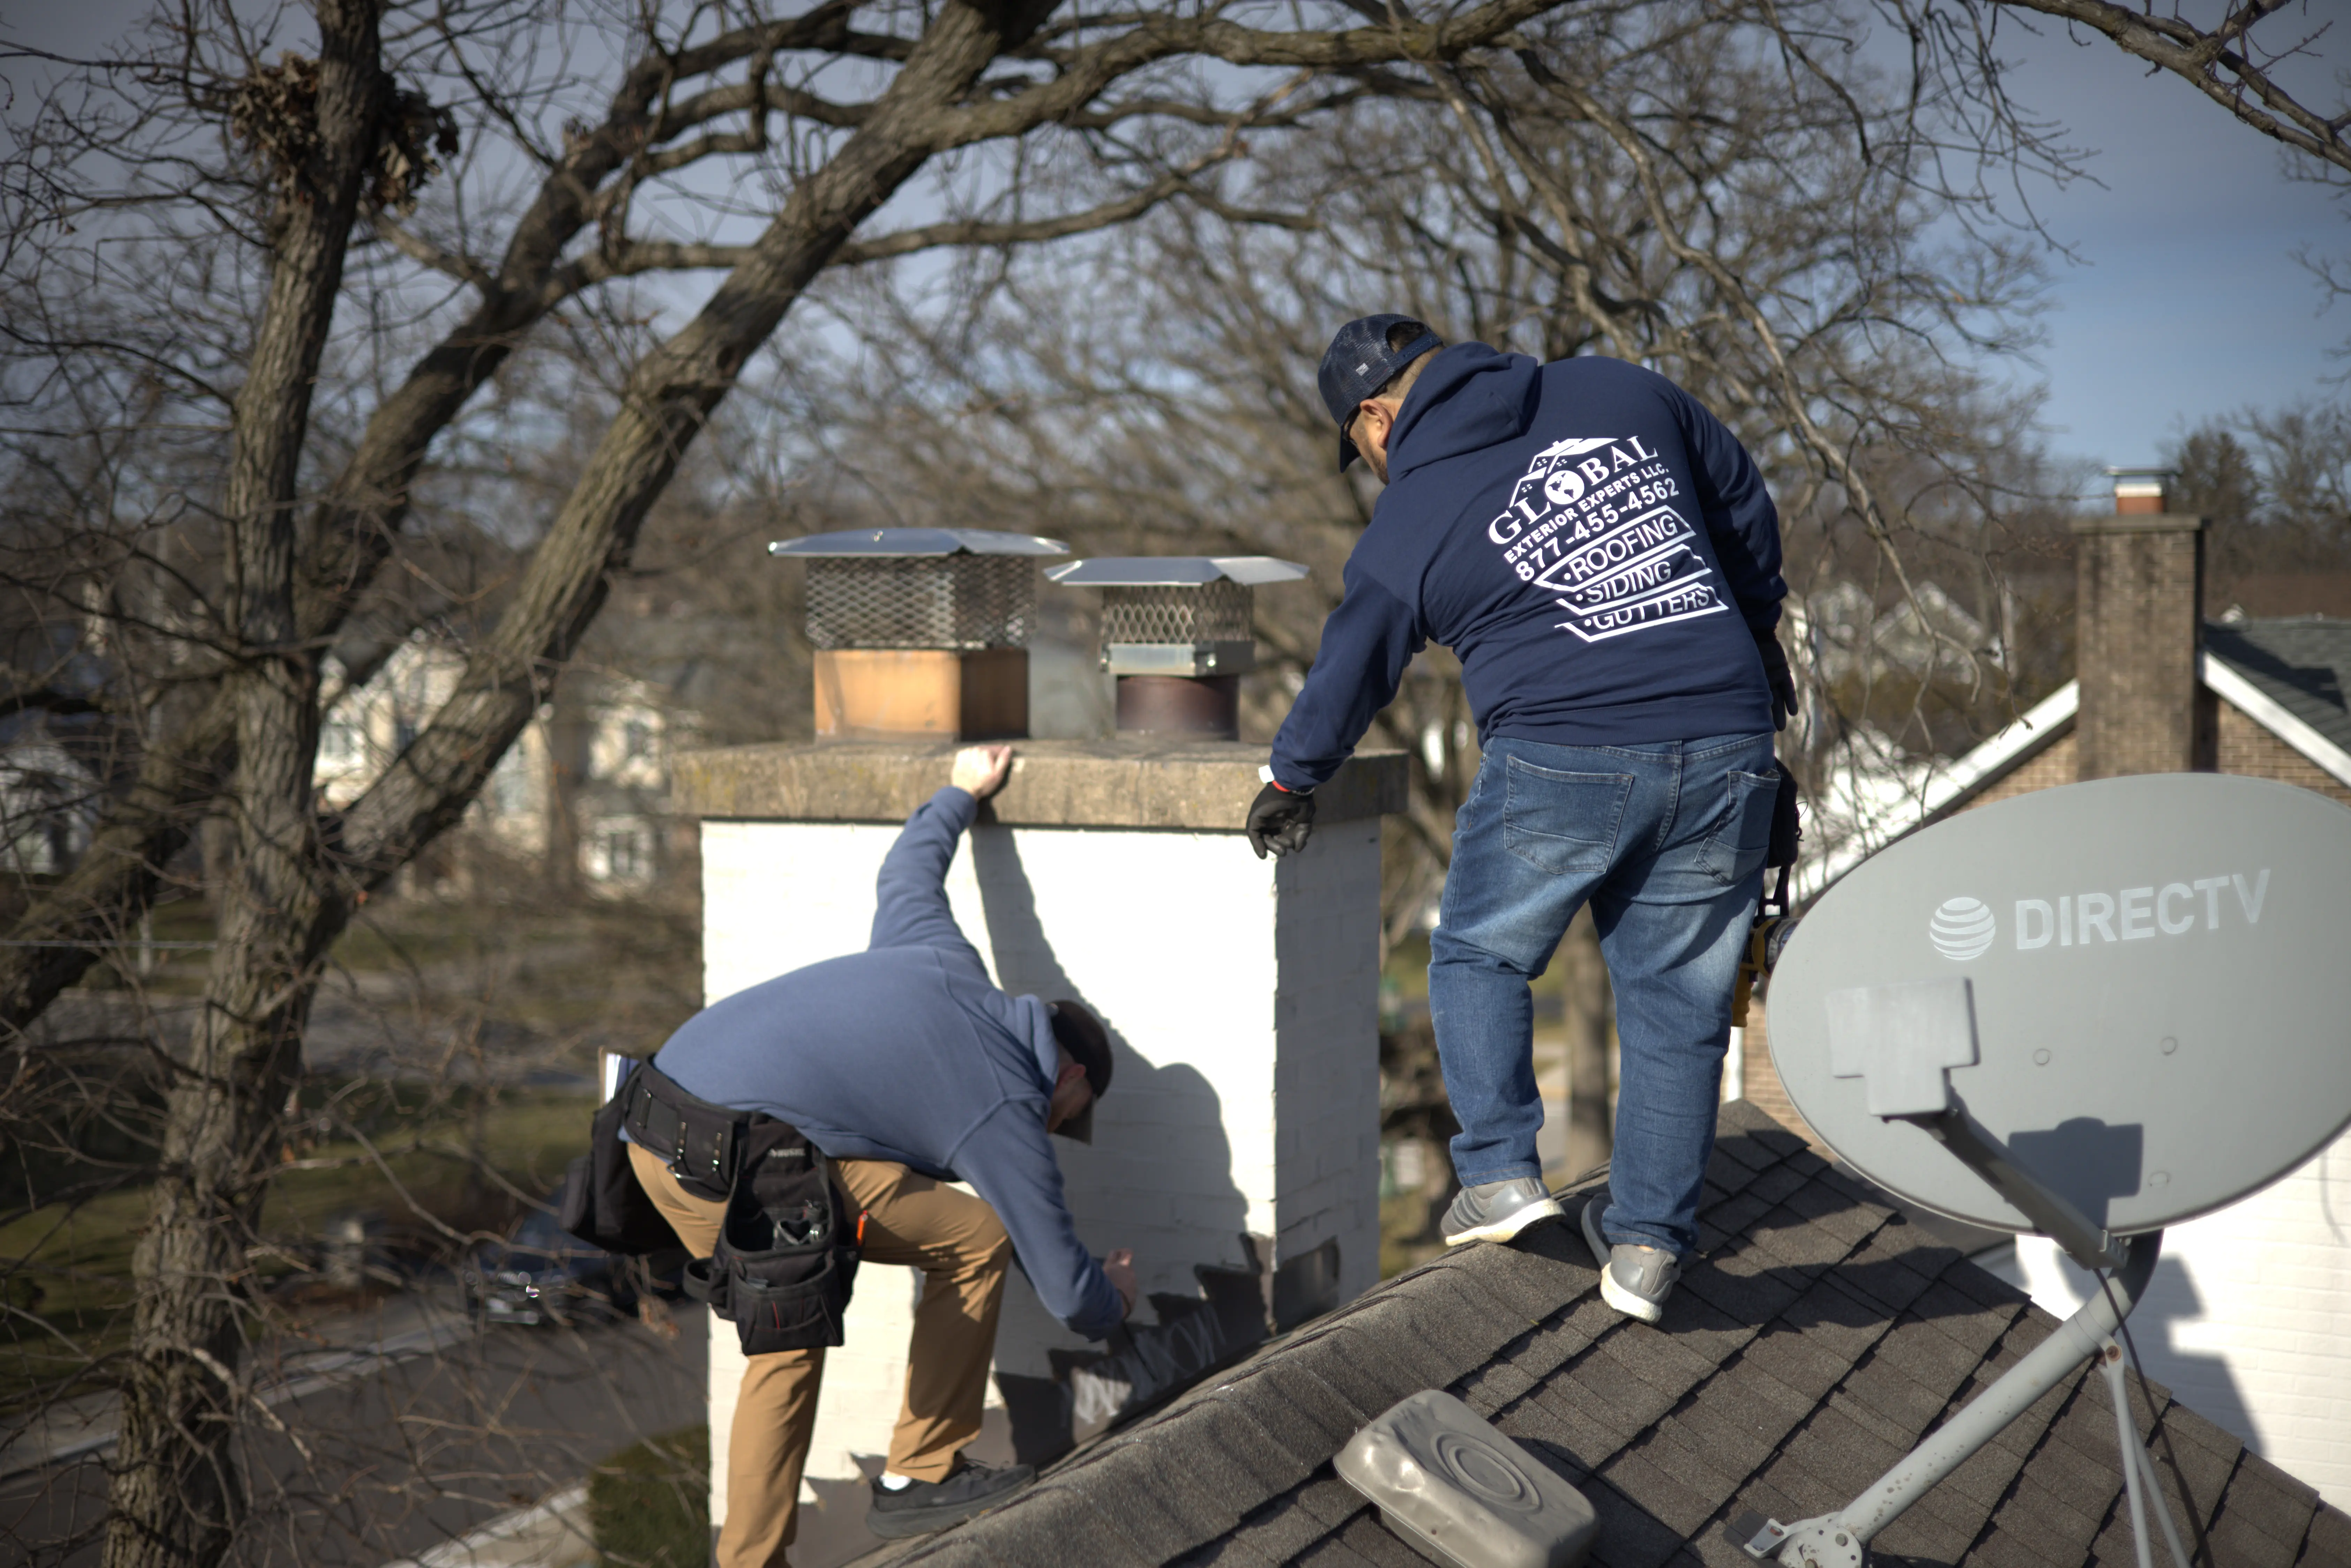
Don't just fix what you can see from the ground. Get up there (safely) and inspect the entire area around the obvious damage.
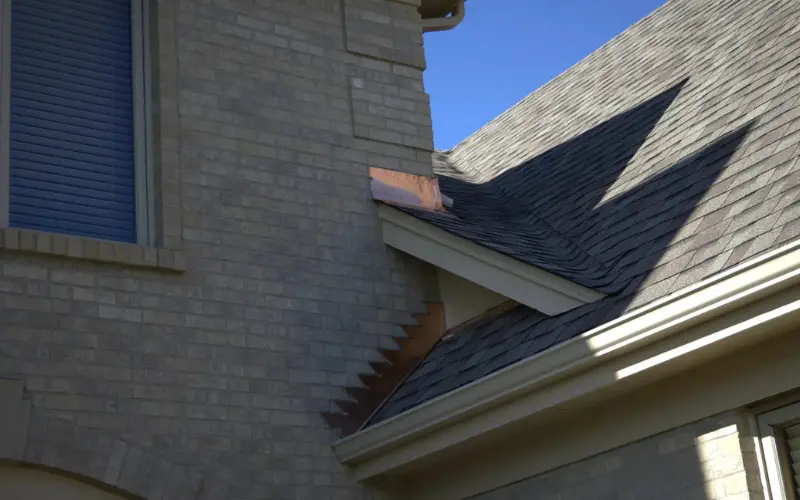
Look for curling edges, granule loss, cracked corners, and lifting seams. Check the shingles two rows above and below the damaged area. Wind damage rarely affects just one shingle.
While you're up there also examine the flashing around chimneys, vents, and roof valleys. Compromised flashing causes more leaks than damaged shingles, is more common, and fixing one without the other just wastes time.
If you're seeing damage across 30% or more of a roof section, replacement beats patching. Multiple small repairs cost more than systematic replacement when you factor in labor and future maintenance.
Step 2: Break the Seal and Expose the Target Shingle
Each shingle bonds to the one below it through adhesive strips. These shingle seals provide wind resistance but need breaking before you can lift anything up to inspect.
Slide your pry bar gently under the edge of the damaged shingle then work slowly to avoid tearing the shingle above. The seal should release with steady pressure. If it fights you, the adhesive is too hot or too cold for easy separation.
You'll also need to break the seal on the shingle directly above your target. Remember, shingles overlap, so the upper course covers the nails holding your damaged piece in place.
Step 3: Remove All Securing Nails
Here's where people make mistakes: they try to pry nails straight out from above the shingle. That damages the granular surface and creates new problems.
Instead, lift the shingle and the nail together. Slide your pry bar up tight against each nail location and pry upward on the shingle itself. The nail comes out of the deck while staying attached to the shingle material. This will result in less force and a cleaner result.
You're removing eight nails total: four that secure the damaged shingle directly, and four more from the course above (those nails penetrate the top edge of your target shingle for double security).
Let's not forget though, nails rust, heads break off, and sometimes you'll snap a nail shank instead of pulling it clean. Keeping a nail set handy to drive broken fasteners below the deck surface.
Step 4: Install the Replacement Shingle
Make sure when repairing or replacing shingles that you match your replacement exactly: same style, same color, same thickness. Architectural shingles can't replace three tab shingles and vice versa. The pattern won't align, and the roof looks patched from the street.
Slide the new shingle into position, aligning the bottom edge with the course line. The replacement should sit flush with surrounding shingles, no gaps or overlaps.
Nail it down using four nails placed in the manufacturer's marked nail strip. Position nails 6 inches from each end and space the middle two evenly.
Drive nails straight down until the head sits flush with the shingle surface. Overdriven nails that have been shot on too much pressure create holes that leak. Underdriven nails which are shot on too little pressure punch through the shingles above when you seal them down.
Step 5: Secure Upper Course and Reseal Everything
The shingles above your repair still need their nails replaced so install new nails through the same holes or slightly offset if the original penetrations look compromised.
Then seal it all up. Apply three small spots of roofing cement under each shingle tab you lifted: one near each end and one in the middle and press down firmly for five seconds to bond.
Common oversight here: people forget to reseal the shingles two courses up that they disturbed during nail removal. Those need cement too, or you've created new wind vulnerabilities while fixing the old damage.
When to Hire a Roofing Company Instead
Let's be honest about limitations. Some repairs need professional equipment and experience.
Call pros when you're facing:
- Roof pitch over 6/12 (rises 6 inches for every 12 inches of horizontal run)
- Damage covering more than 100 square feet
- Multiple roof levels or complex valleys
- Flashing repairs around chimneys or skylights
- Any job requiring scaffolding or special access equipment
A professional roofing company repairs typically take half a day for moderate damage and include warranty coverage on both materials and labor. That peace of mind might cost $45-$85 per hour for labor, plus materials.
Realistic Timeline for Shingle Replacement
Plan on 2 to 4 hours for replacing up to 10 damaged shingles on an accessible single story roof. That includes setup, safety checks, the actual repair work, and cleanup.
Larger Repairs that might be 20-30 shingles may stretch to 6-8 hours because you're dealing with more adhesive bonds and nail removal. Add time for steep roofs, difficult access, or weather delays.
Who would've thought weather impacts timing this much? Rain obviously stops work and so does the extreme heat because when it gets too hot shingles become too soft and when it gets too cold the shingles start to crack.
Preventing Future Shingle Damage
Maintenance beats repair every time so make sure you walk your roof twice yearly looking for any loose shingles, damaged flashing, and debris accumulation in valleys.
Trim overhanging tree branches before they drop heavy limbs during storms. Clean gutters regularly so water doesn't back up under shingle edges during heavy rain.
Consider algae resistant shingles if you're in a humid climate. Those black streaks aren't just cosmetic; they're algae growth that holds moisture against the shingle material and accelerates degradation.
Professional inspections every three years catch problems before they become emergencies. A roof inspection can costs anywhere from $200 $400 (While ours are free roof inspections) but potentially saves thousands in prevented damage.
The Bottom Line on Roof Replacement vs. Repair
Small scale shingle replacement makes sense for isolated damage affecting less than 15% of your roof area. Beyond that threshold, you're better off considering a full roof replacement.
A complete roof replacement can run anywhere from $5,500-$12,000 for a typical home, depending on roof size and material choice. Sounds expensive until you compare it to patching the same roof repeatedly over two years while underlying damage spreads.
Consider the age of your existing roof too. If your shingles are already 18-20 years old, investing in repairs kicks the can down the road maybe 3-5 more years before replacement becomes necessary anyway. Sometimes the smart money goes toward replacement now rather than temporary fixes.