What Is Roofing Underlayment and Why Does It Matter?

Aaron Venegaz is the President and founder of Global Exterior Experts and has been in the construction / roofing industry for over 15+ years. He started the company back in 2010 and done everything from scheduling appointments to putting down roofs. He's also done everything from commercial roofing to residential roofing and has also worked with almost every single roofing material multiple times over the past 15 years.
Ice and water shield is a waterproof, peel-and-stick membrane that goes directly on your roof deck, under the shingles. It protects the spots where leaks start first: the eaves, valleys, and anything that cuts through the roof. If your roof sees snow, ice, or heavy wind-driven rain, this layer matters.
Here's what it does, where it goes, and what to plan for.

What Is Ice and Water Shield?
Ice and water shield is a self-adhering membrane made from rubberized asphalt. One side is sticky. You peel off the backing, and it bonds tight to the plywood or OSB deck.
The key difference from regular underlayment:
- It's waterproof, not just water-resistant. Standard underlayment sheds water. Ice and water shield blocks it.
- It seals around nails. When a roofing nail goes through it, the asphalt grips the nail and closes the hole.
- It sticks instead of being stapled. No fastener holes for water to follow.
You'll also hear it called a leak barrier, ice barrier, or "peel and stick." Same job, different name.
Why Your Roof Needs It
Here's the thing: shingles are designed to shed water running downhill. They aren't built to stop water moving sideways or uphill. Two common problems push water that way.
Ice dams. Heat from your attic melts snow on the upper roof. That water runs down to the cold eave and freezes. A ridge of ice forms, and new meltwater backs up behind it, right under your shingles.
Wind-driven rain. Strong storms can force rain up and under shingle edges. Without a sealed layer underneath, that water reaches the deck.
Either way, the damage shows up later as rotted decking, wet insulation, stained ceilings, or mold. (Usually long after the storm that caused it.)
Where Does Ice and Water Shield Go?
This is the part that matters most. We install it in every spot where water collects, slows down, or finds a gap.
Eaves
The bottom edge of the roof is where ice dams form. We run ice and water shield from the edge up to at least 24 inches past the inside of your exterior wall. On many homes, that means one or two rows, roughly 3 to 6 feet up the roof.
Valleys
Valleys are where two roof slopes meet. They carry more water than any other part of the roof. Every valley gets a full-width run of membrane, centered down the middle.
Penetrations
Anything that cuts through the roof needs extra protection under the flashing:
- Chimneys
- Skylights
- Plumbing vent pipes
- Dormers and sidewalls
- Exhaust vents
Low-Slope Sections
Roof areas with a shallow pitch drain slowly. Water and snow sit longer. Porch roofs and low-pitch additions often get full coverage.
Rake Edges (Sometimes)
In high-wind areas, we add a strip along the sloped side edges of the roof, too.
Over or Under? Getting the Order Right
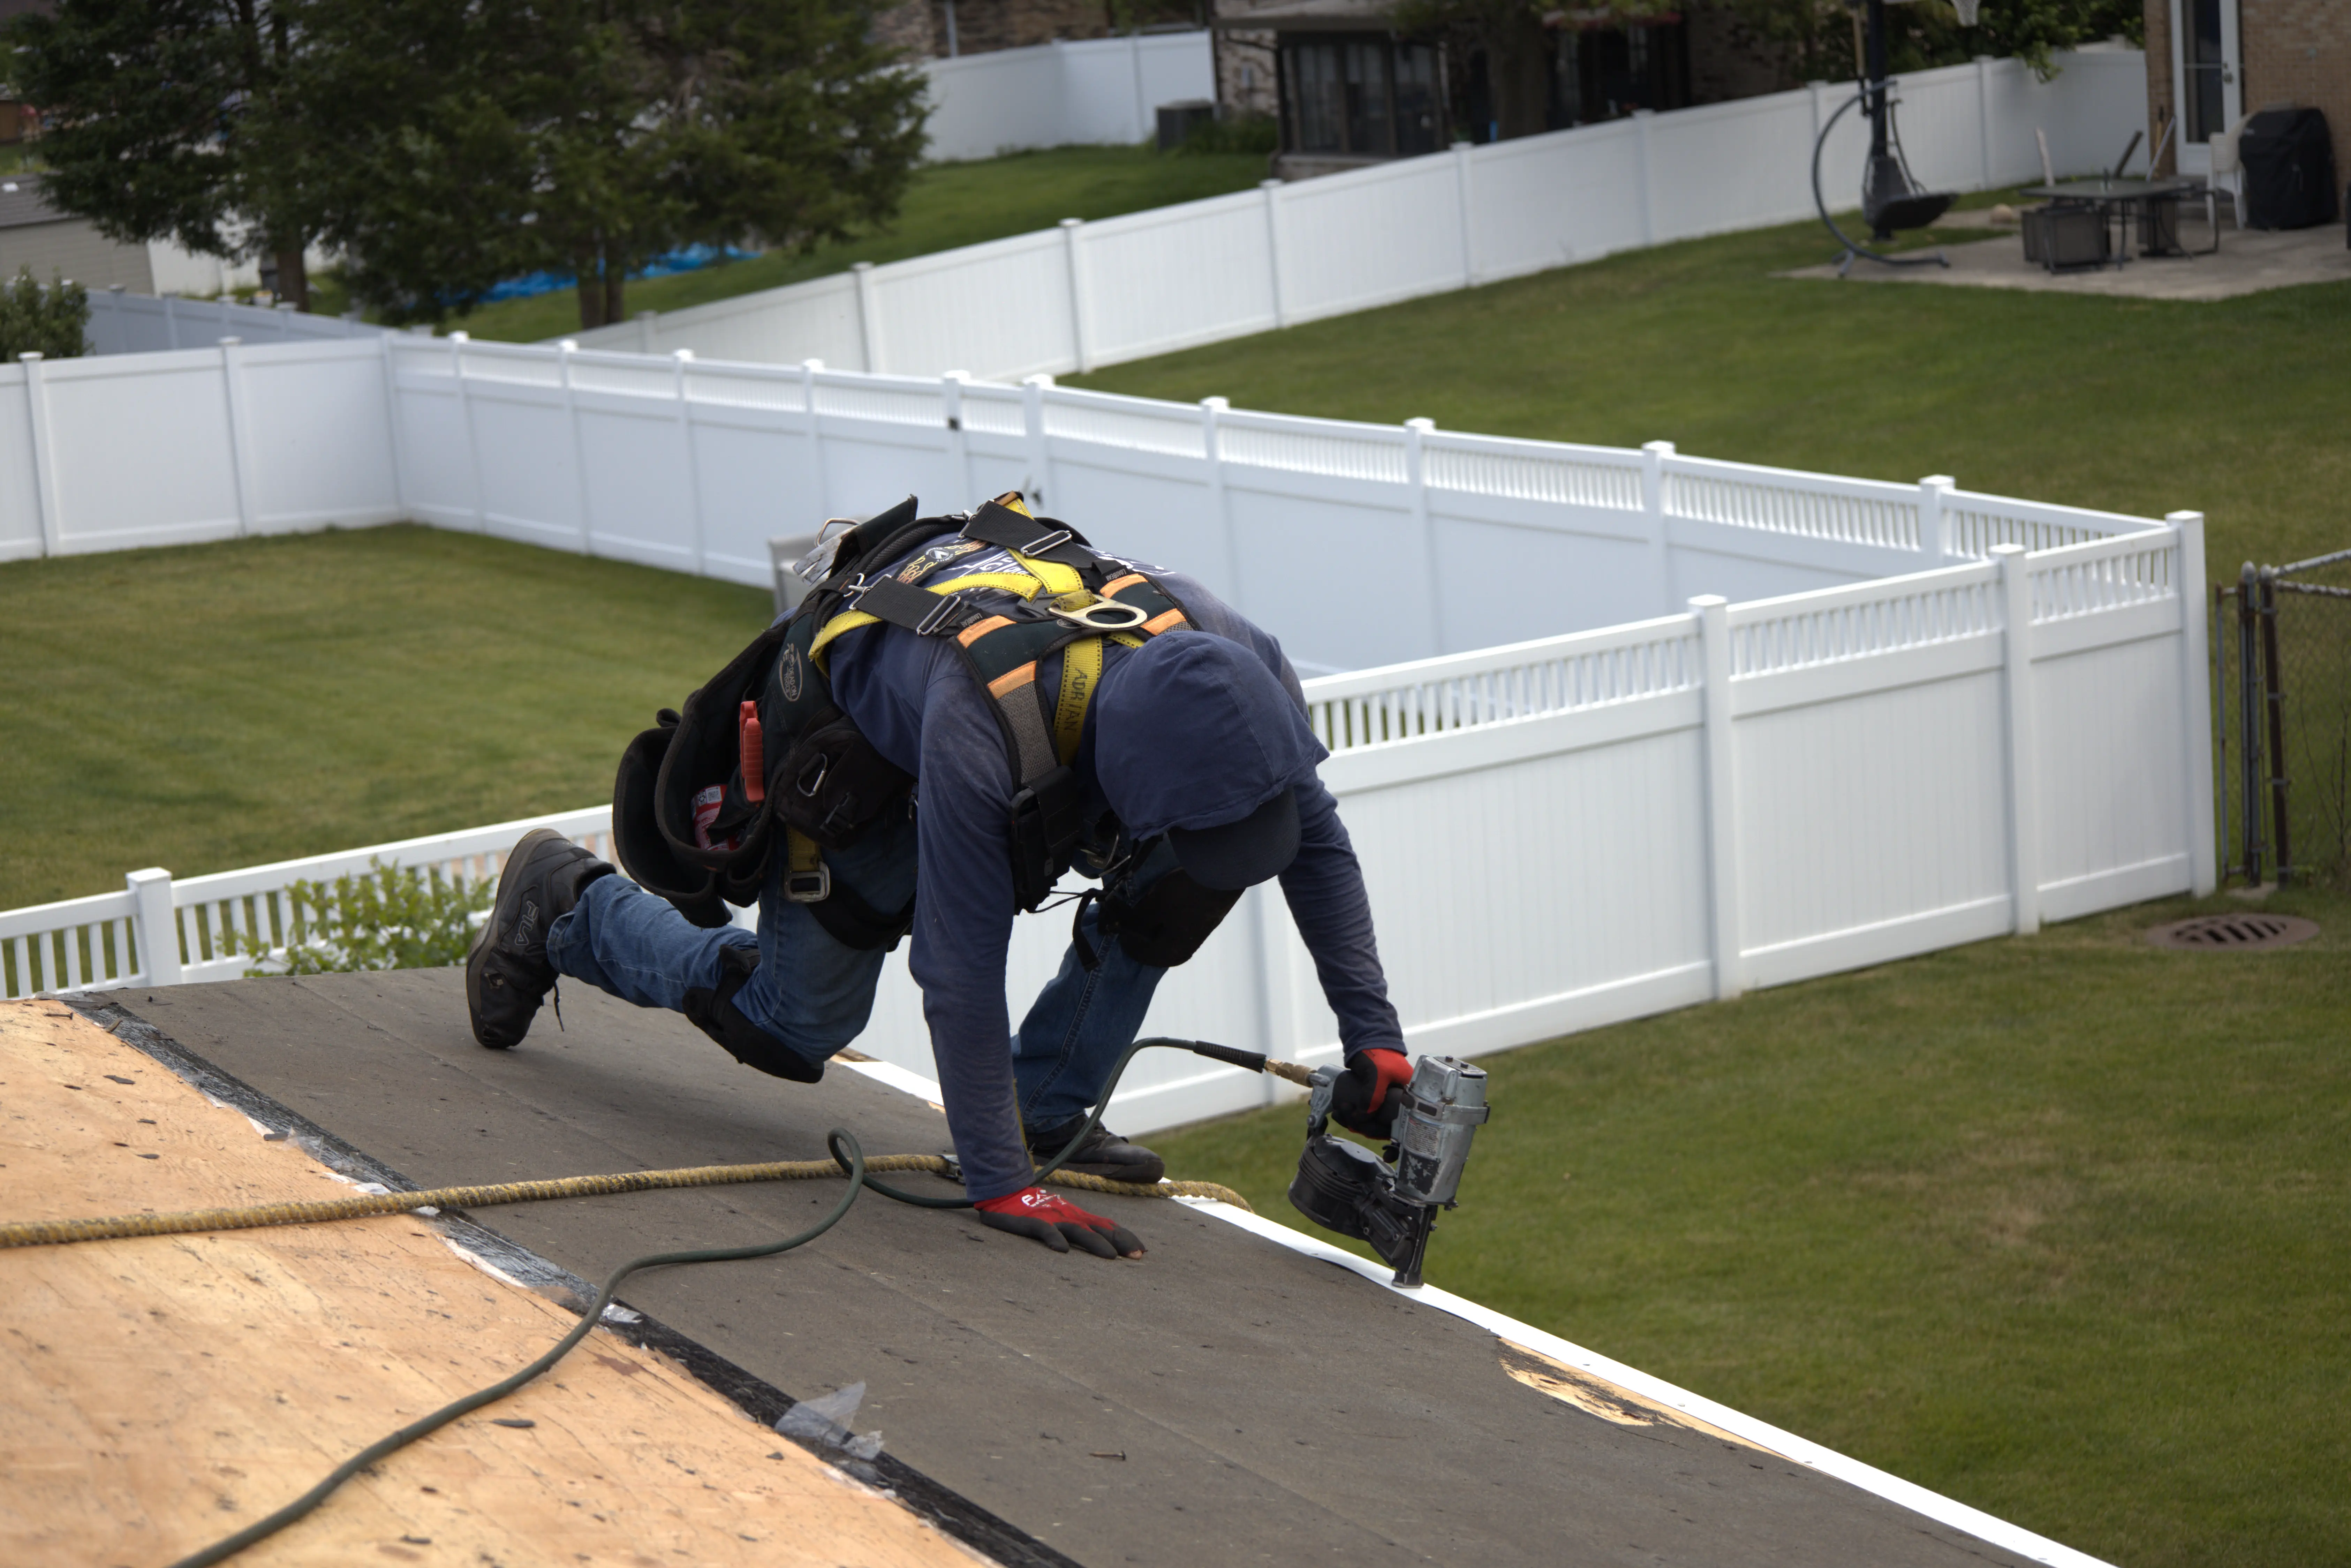
Quick answer: ice and water shield goes directly on the bare deck, before the regular underlayment.
At the eaves, the drip edge goes on first, and the membrane laps over it. That way, water drains into the gutter, not behind it. At the rake edges, it flips: membrane first, then drip edge on top. The regular synthetic underlayment then covers the rest of the roof and overlaps onto the membrane's top edge.
Small detail, big difference. Get the order wrong, and you're channeling water behind the metal.
Should You Cover the Entire Roof?
You can, but it's usually not the right call for a standard-pitch roof.
Ice and water shield acts like a vapor barrier. Cover every inch, and moisture from your attic has nowhere to go if ventilation is weak. That can lead to the very rot you were trying to prevent. (Who would've thought more protection could cause problems?)
Full coverage makes sense for very low-slope roofs, coastal areas with hurricane exposure, or homes where local code requires it. For most homes, targeted coverage plus solid attic ventilation is the smarter setup.
What Building Code Says
The International Residential Code requires an ice barrier at the eaves in areas with a history of ice damming. But your town may have adopted a different version of the code, or added its own rules.
A few surprises property owners run into:
- Inspections before shingles. Some towns want to see the ice barrier before the roof is covered. Missing that inspection can stall a job.
- Wider coverage on steep roofs. Steeper pitches may need coverage further up the slope.
- Warranty requirements. Major shingle manufacturers require leak barrier at the eaves and valleys for their upgraded warranties. Skip it, and you may lose coverage you paid for.
Code is the minimum, not the goal. In freeze-thaw climates, we treat eave and valley coverage as standard on every roof replacement.
How Much Does Ice and Water Shield Cost?
Of course, none of this comes free. But it's one of the cheapest parts of a roof for the protection it gives.
Broad, realistic ranges:
- Material: about $0.50 to $1.75 per square foot, depending on brand
- Eaves and valleys on a typical home: about $300 to $1,500 added to a roof replacement
- Full-deck coverage: roughly $2,000 to $5,000 more, depending on roof size
- Adding it to an existing roof: requires removing shingles at the eaves, often $800 to $2,500 for a partial redo
That's a small slice of a full roof replacement, which often runs $10,000 to $25,000 or more. Compare that to replacing rotted decking and drywall after a leak.
How Long Does Installation Take?
Alright, let's talk about timing. On a roof replacement, ice and water shield adds a few hours, not days. The full job usually takes 1 to 3 days for an average home.
What can slow things down:
- Cold weather. The adhesive needs warmth to bond. Below about 40°F, crews may wait for the deck to warm up or use a cold-weather product.
- Wet decking. It can't go on over dew, frost, or rain. Morning starts sometimes get pushed back.
- Material delays. Premium brands aren't always in stock at local suppliers. A special order can add a few days.
- Permit timing. Waiting on a mid-job inspection can add a day.
Planning Your Roof Replacement: Next Steps
Before you sign with any roofing company, use this checklist:
- Look for it on the quote. Ice and water shield should be listed as its own line item, with locations noted.
- Ask how far up the eaves it goes. "One row" may not meet your local code.
- Confirm valleys and penetrations are covered. Eaves-only is the most common shortcut.
- Ask about attic ventilation. Ventilation and ice barrier work as a team against ice dams.
- Check the warranty terms. Make sure the system qualifies for the manufacturer's coverage.
- Plan around the season. Fall and spring offer the best install weather in cold climates.
The Bottom Line
Ice and water shield is a waterproof, self-sealing membrane that protects your roof's weakest spots. It belongs at the eaves, in every valley, around chimneys, skylights, and vents, and on low-slope areas. It costs a few hundred to a couple thousand dollars on most jobs, adds little time, and prevents the leaks that cause the most expensive hidden damage.
If you're planning a roof replacement, start by reviewing your quote for ice and water shield coverage, checking your local code, and asking about attic ventilation. Those three steps will tell you whether your new roof is built for the weather it will face.