.webp)
ACV vs. RCV Roof Coverage: What Homeowners Need to Know Before the Next Storm

Aaron Venegaz is the President and founder of Global Exterior Experts and has been in the construction / roofing industry for over 15+ years. He started the company back in 2010 and done everything from scheduling appointments to putting down roofs. He's also done everything from commercial roofing to residential roofing and has also worked with almost every single roofing material multiple times over the past 15 years.
A roofing system has 9 layers: roof decking, drip edge, underlayment, ice and water shield, starter shingles, the main roofing material, flashing, ridge capping, and ventilation. Every layer has one job, and if even one is missing or installed wrong, water finds a way in. It always does.
Here's the thing. When you look at your roof from the driveway, you see one layer: the shingles. But when a roofing company builds your estimate, you're paying for a complete system. Knowing what's under those shingles helps you compare quotes, catch corners being cut, and understand what you're actually buying during a roof replacement.
Let's walk through it, bottom to top.
1. Roof Decking: The Foundation
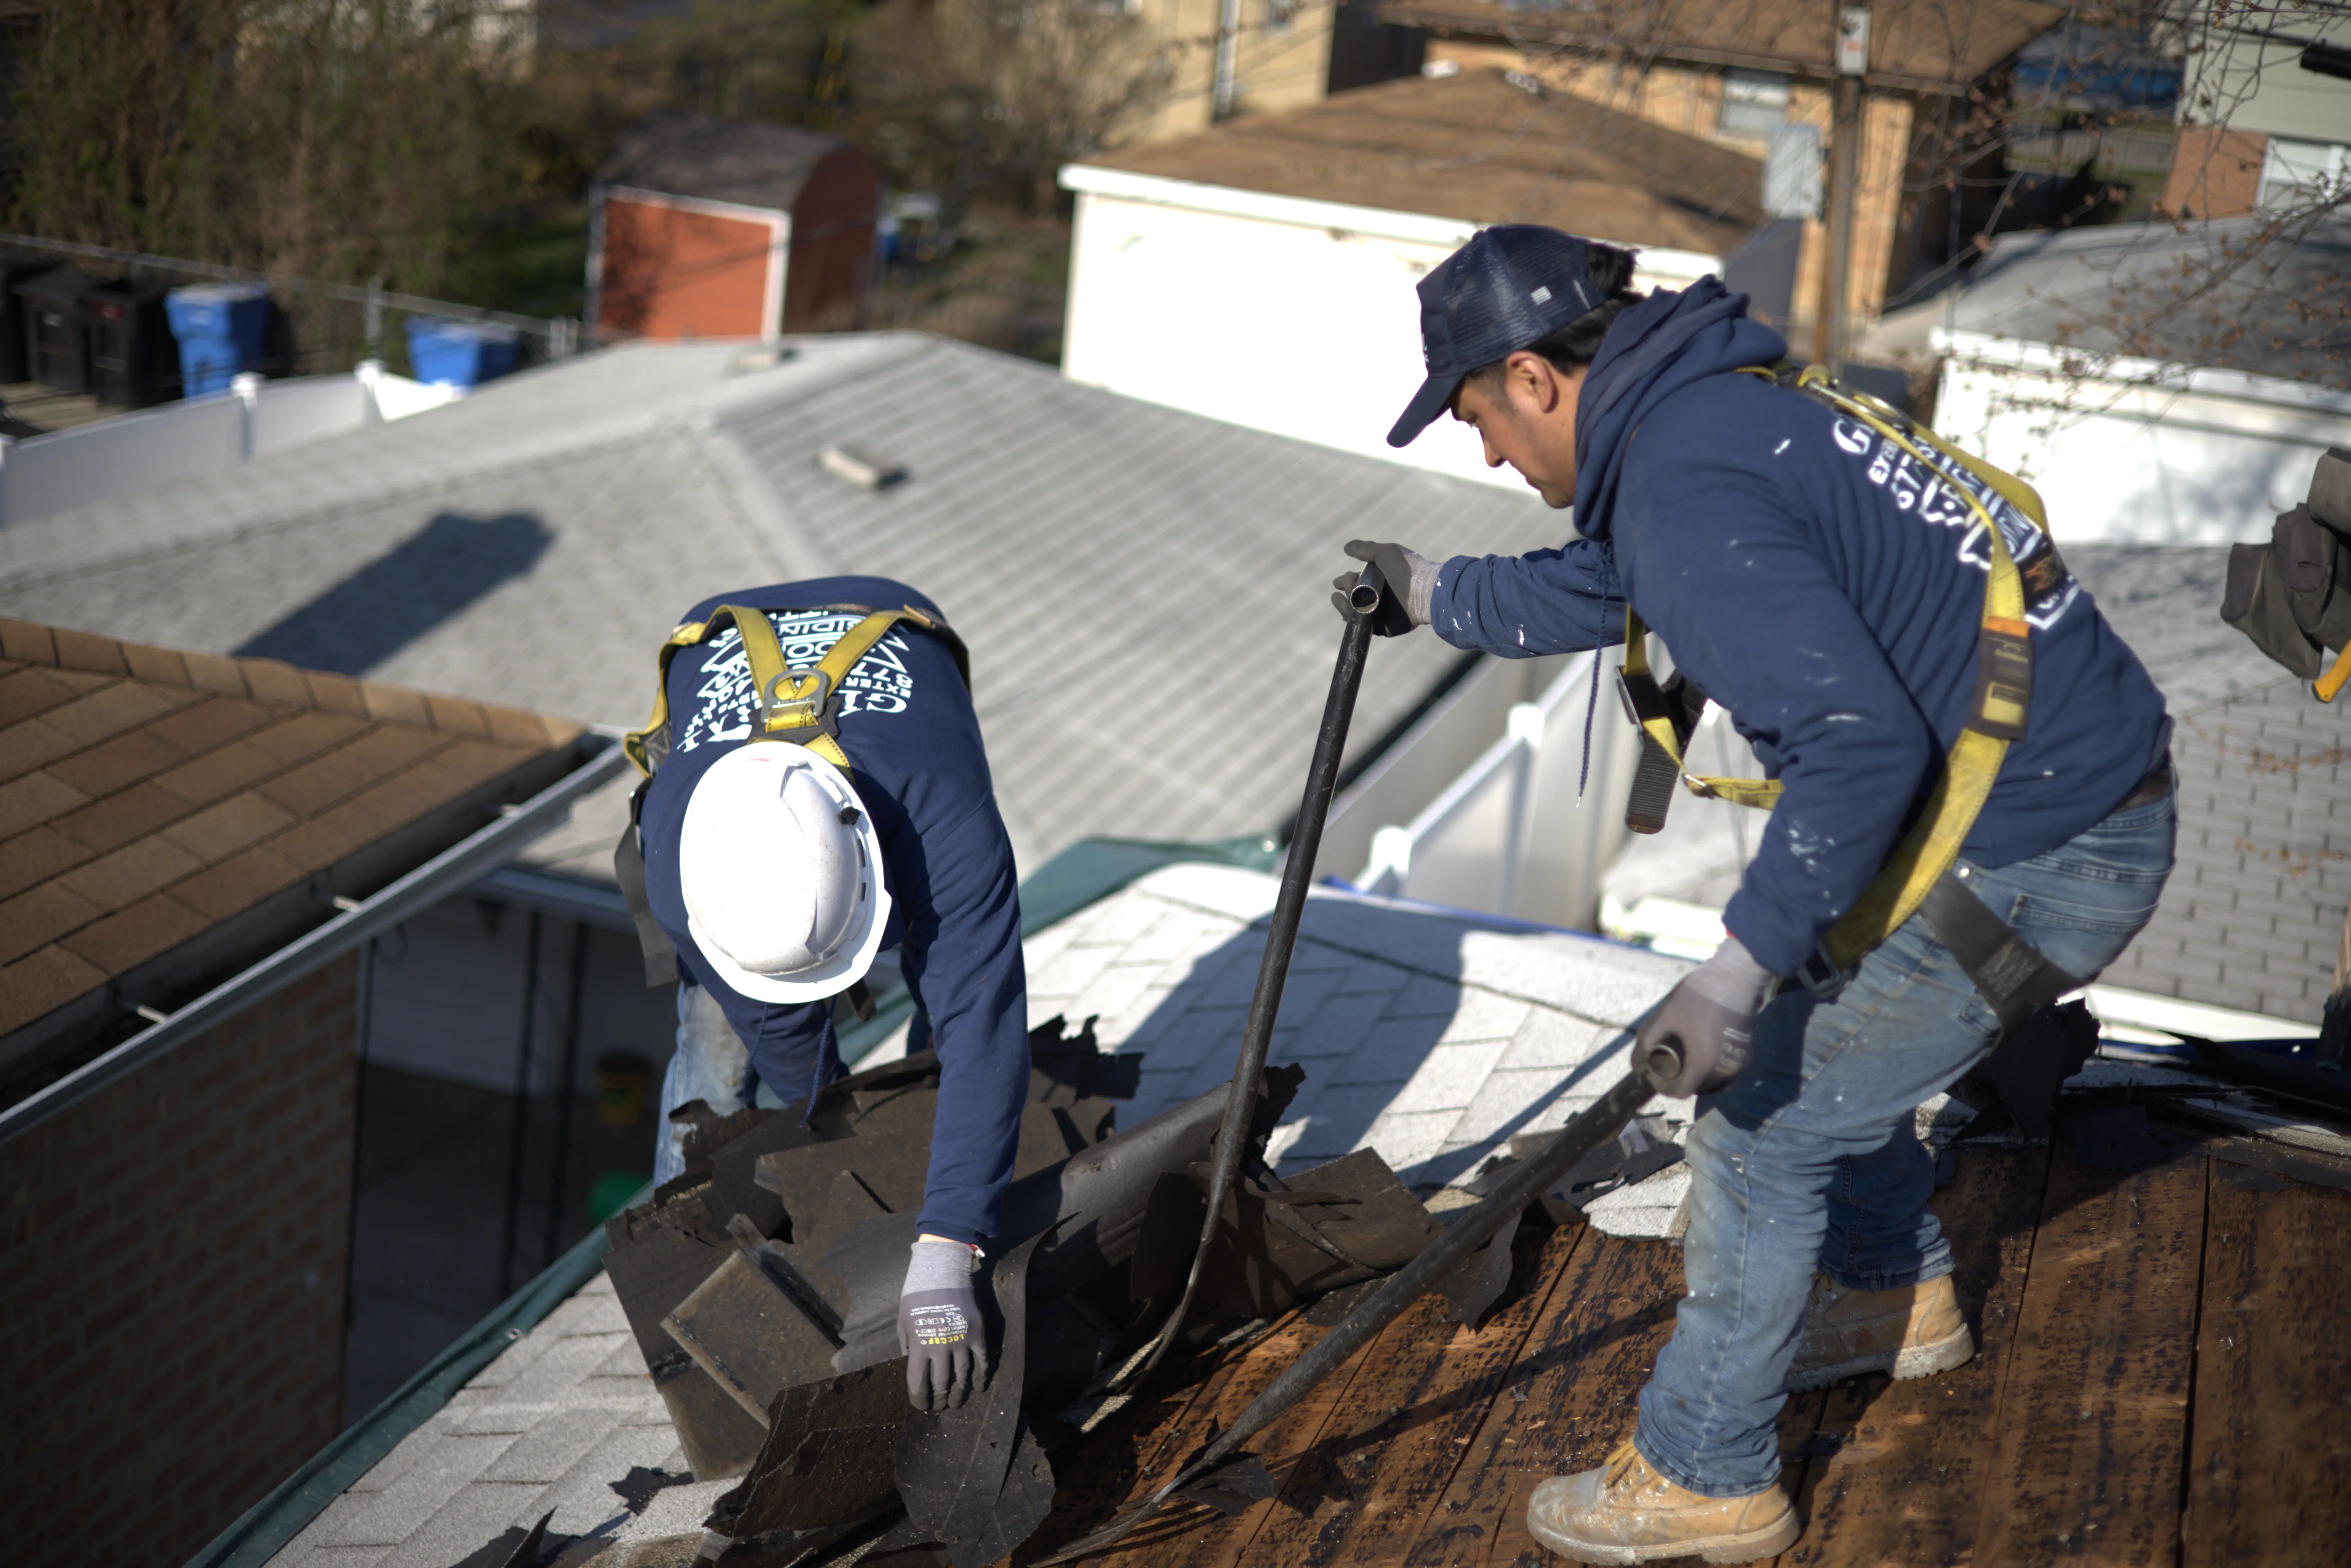
Roof decking (also called sheathing) is the wood layer everything else attaches to. On most homes it's OSB or plywood sheets. Older houses often have plank decking, individual boards nailed across the rafters.
Decking has to be solid before anything goes on top of it. Rotted or sagging boards get replaced during a roof replacement, and this is where surprise costs show up. Nobody knows the true condition of the decking until the old roof comes off. Expect $70 to $125 per sheet replaced, and budget for a few sheets on any older home. It beats getting blindsided mid-project.
2. Drip Edge: Small Metal, Big Job
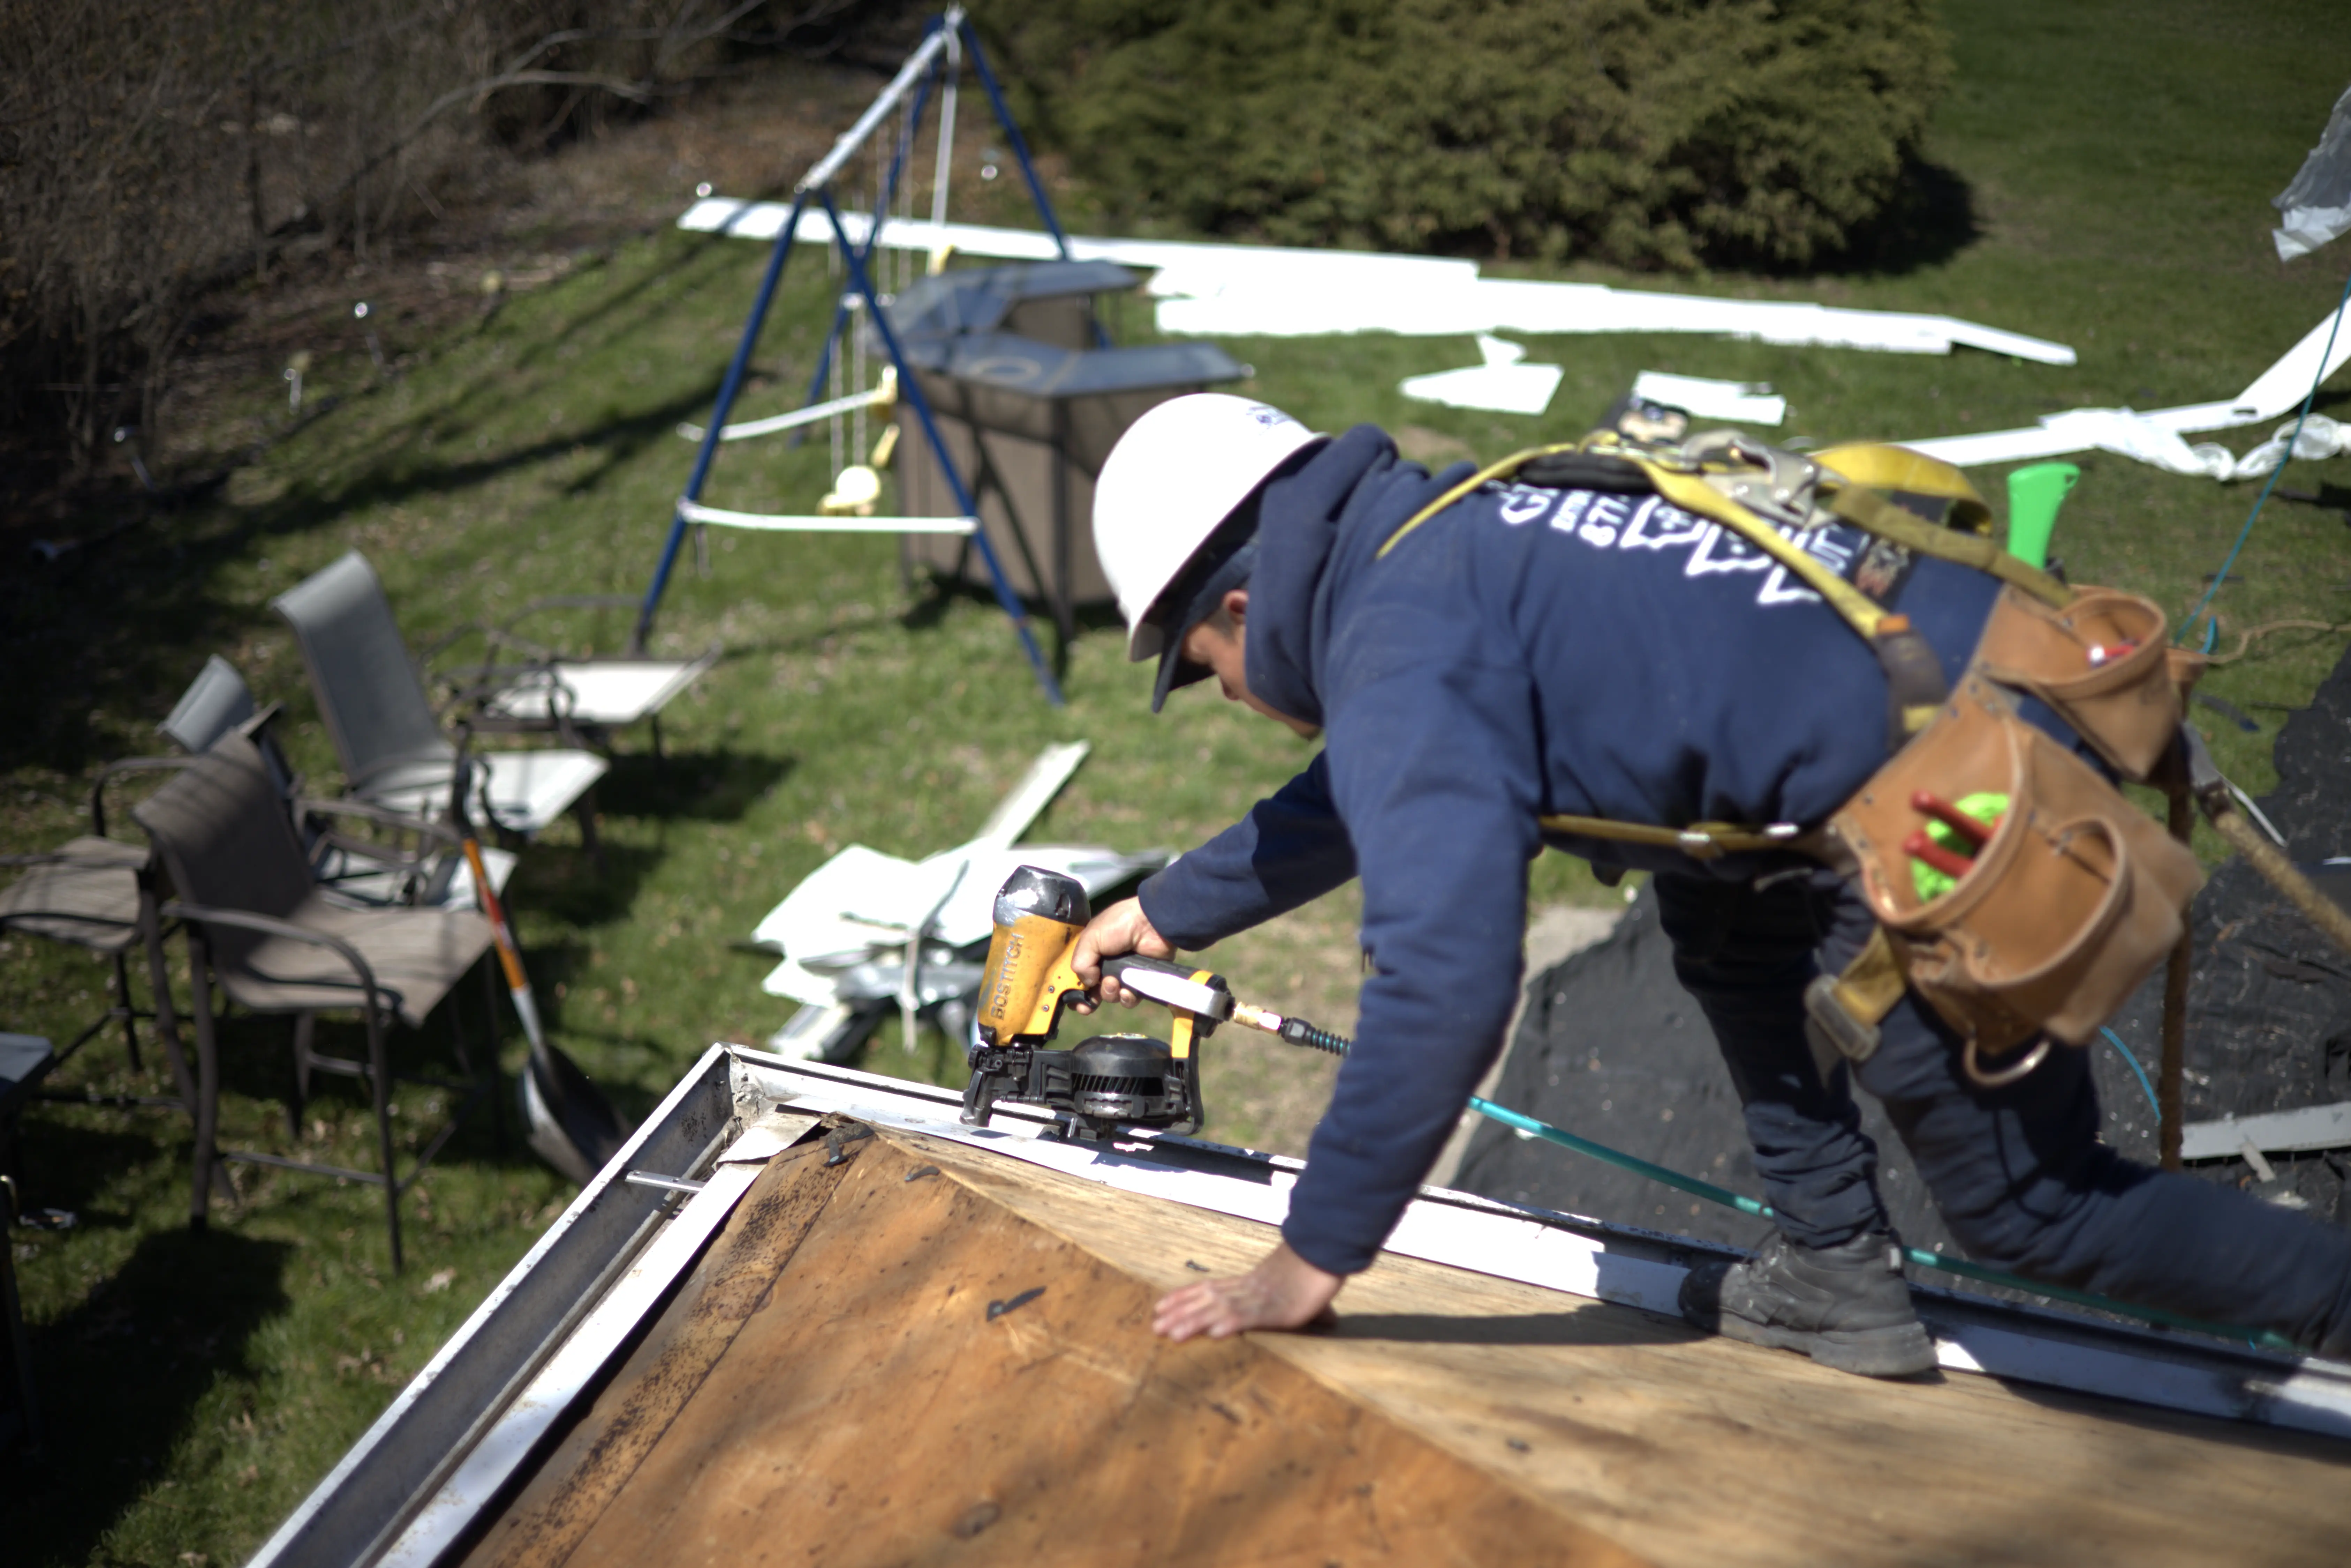
Drip edge is metal flashing installed along the eaves and rakes. It directs water off the roof edge and into your gutters instead of behind them, where it would rot your fascia and decking.
It's required by code in most areas, and inspectors do check for it. Yet plenty of roofs out there still don't have it, usually because someone trimmed it from a bid to hit a lower number. If an estimate doesn't list drip edge as a line item, ask why.
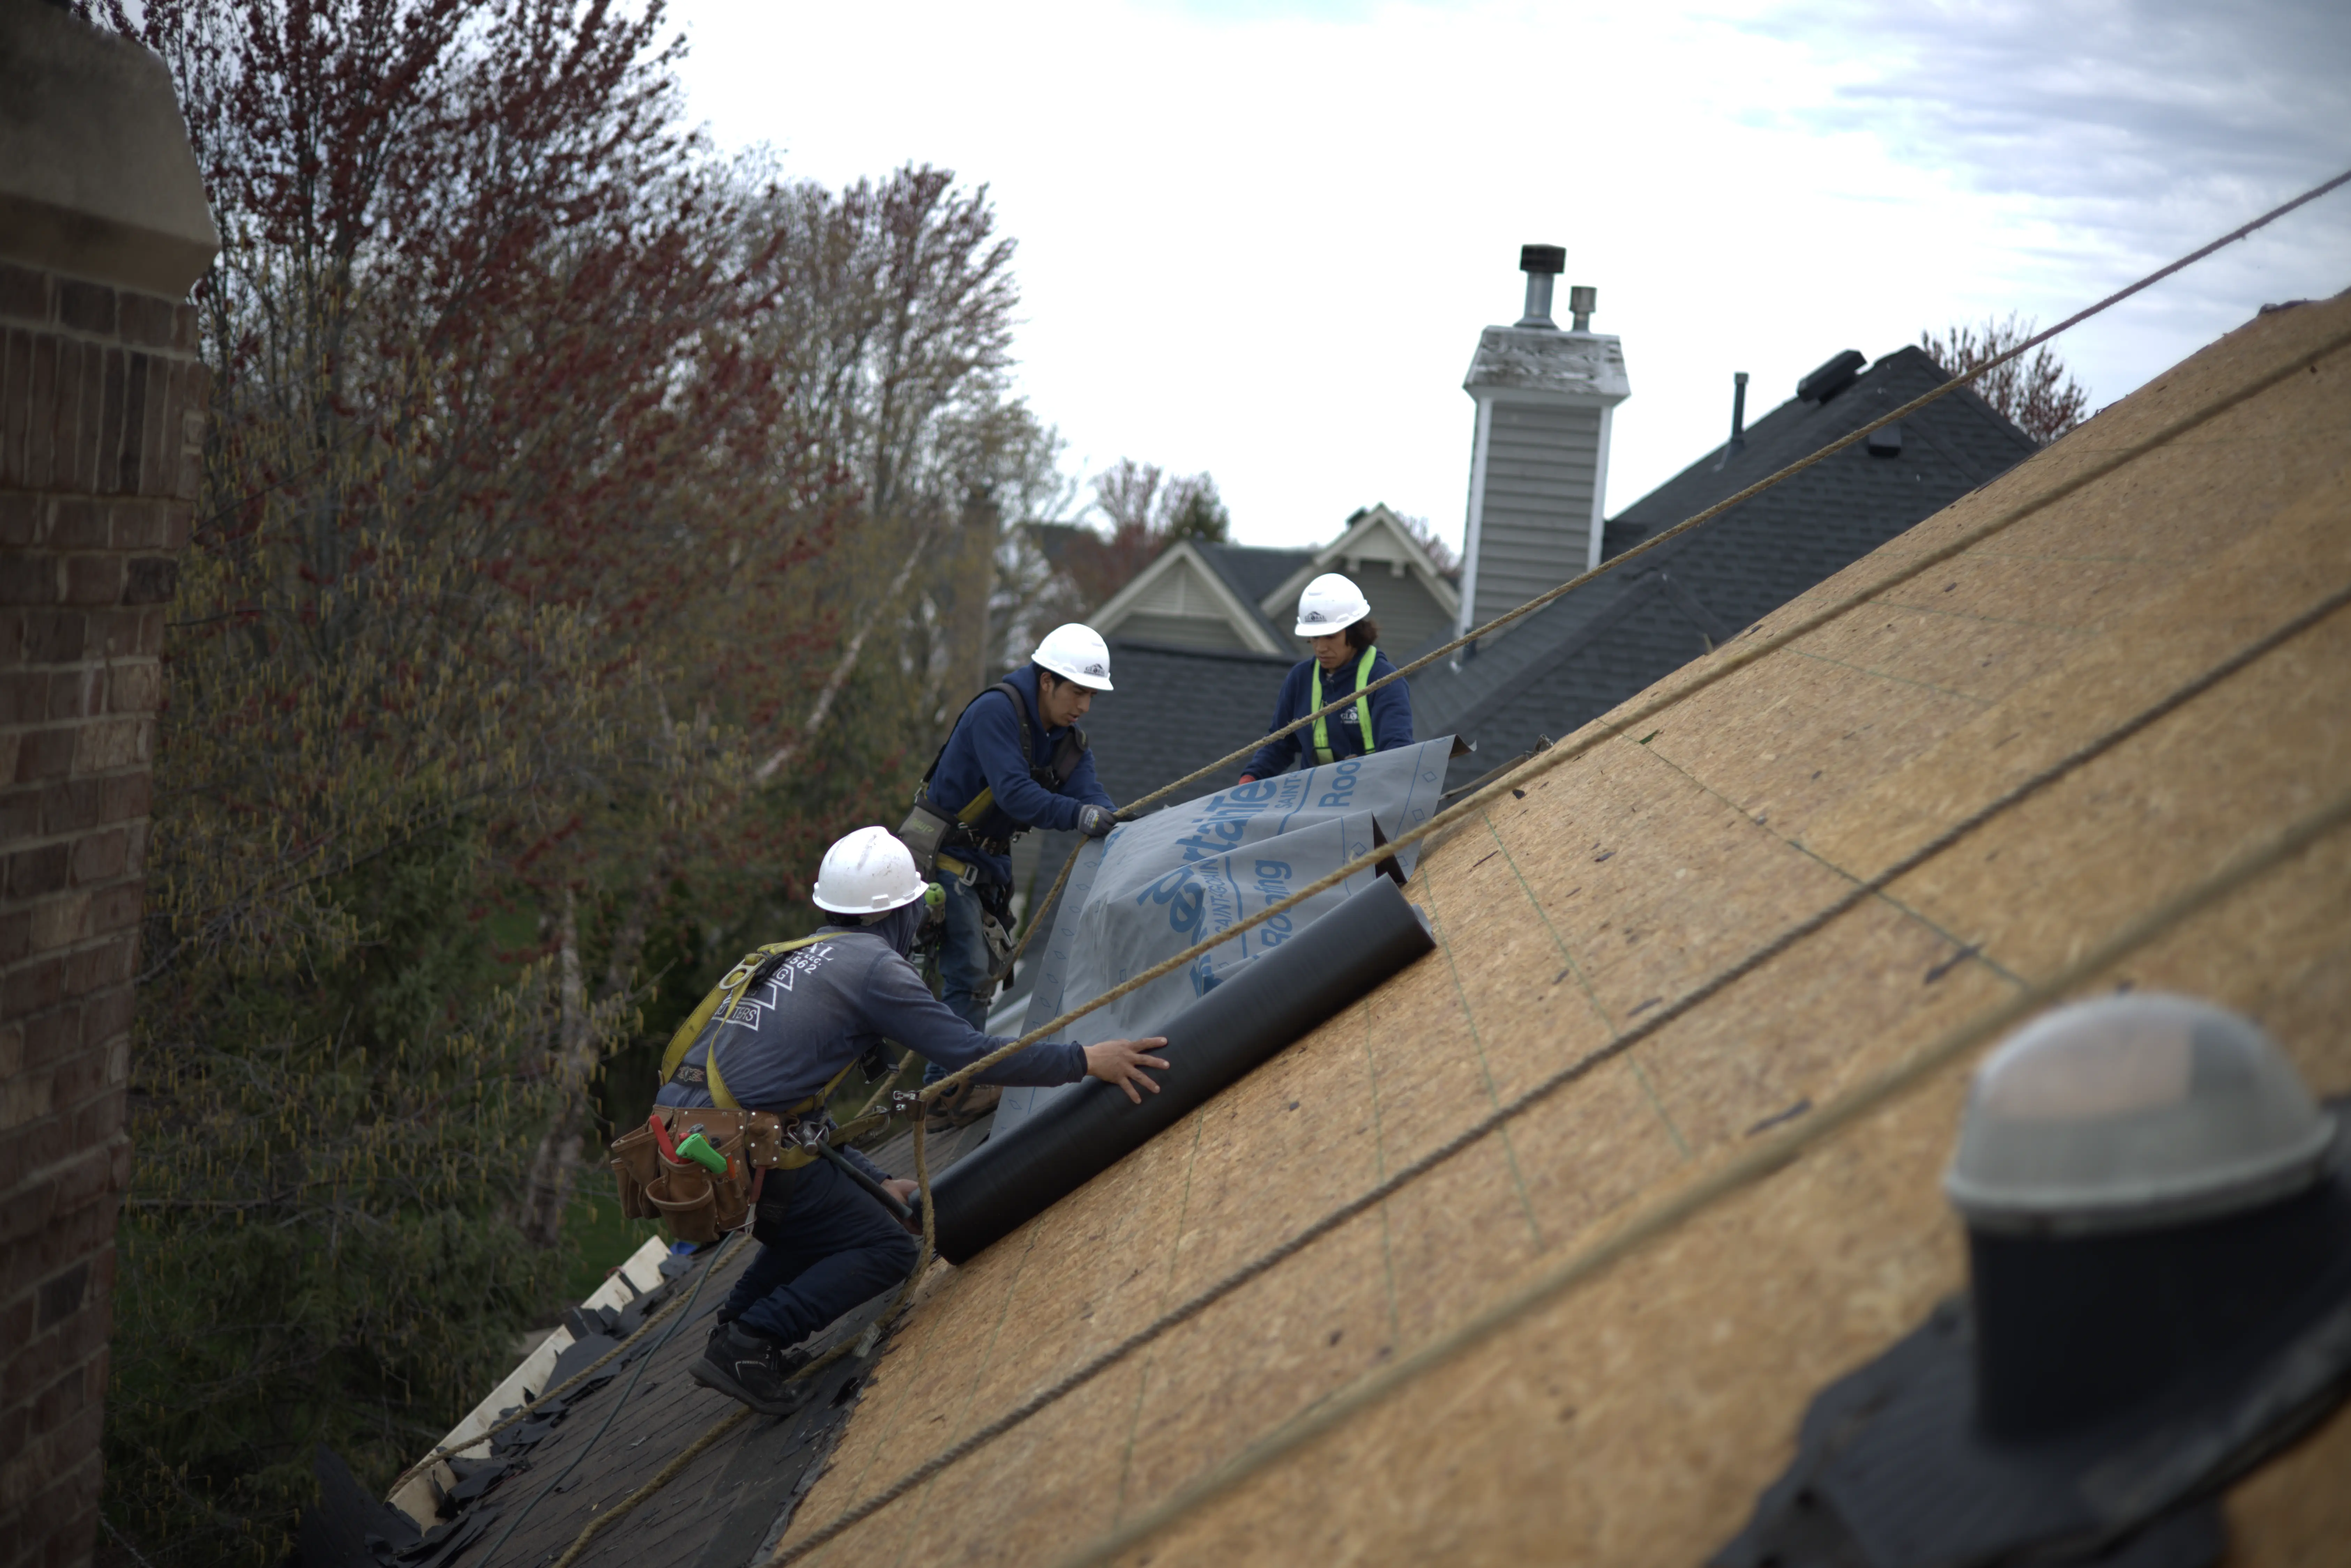
3. Underlayment: The Second Line of Defense
Underlayment covers the entire deck before the main roofing material goes on. If water ever sneaks past your shingles, this layer keeps it off the wood.
You have two options here:
- Felt underlayment. The traditional choice. Cheaper, but it absorbs water and tears more easily.
- Synthetic underlayment. Woven polypropylene that repels water, holds fasteners better, and handles weather exposure during installation.
Synthetic costs more upfront, but on a roof you plan to keep for decades, it's the smarter spend. Most quality installs today use it as standard.
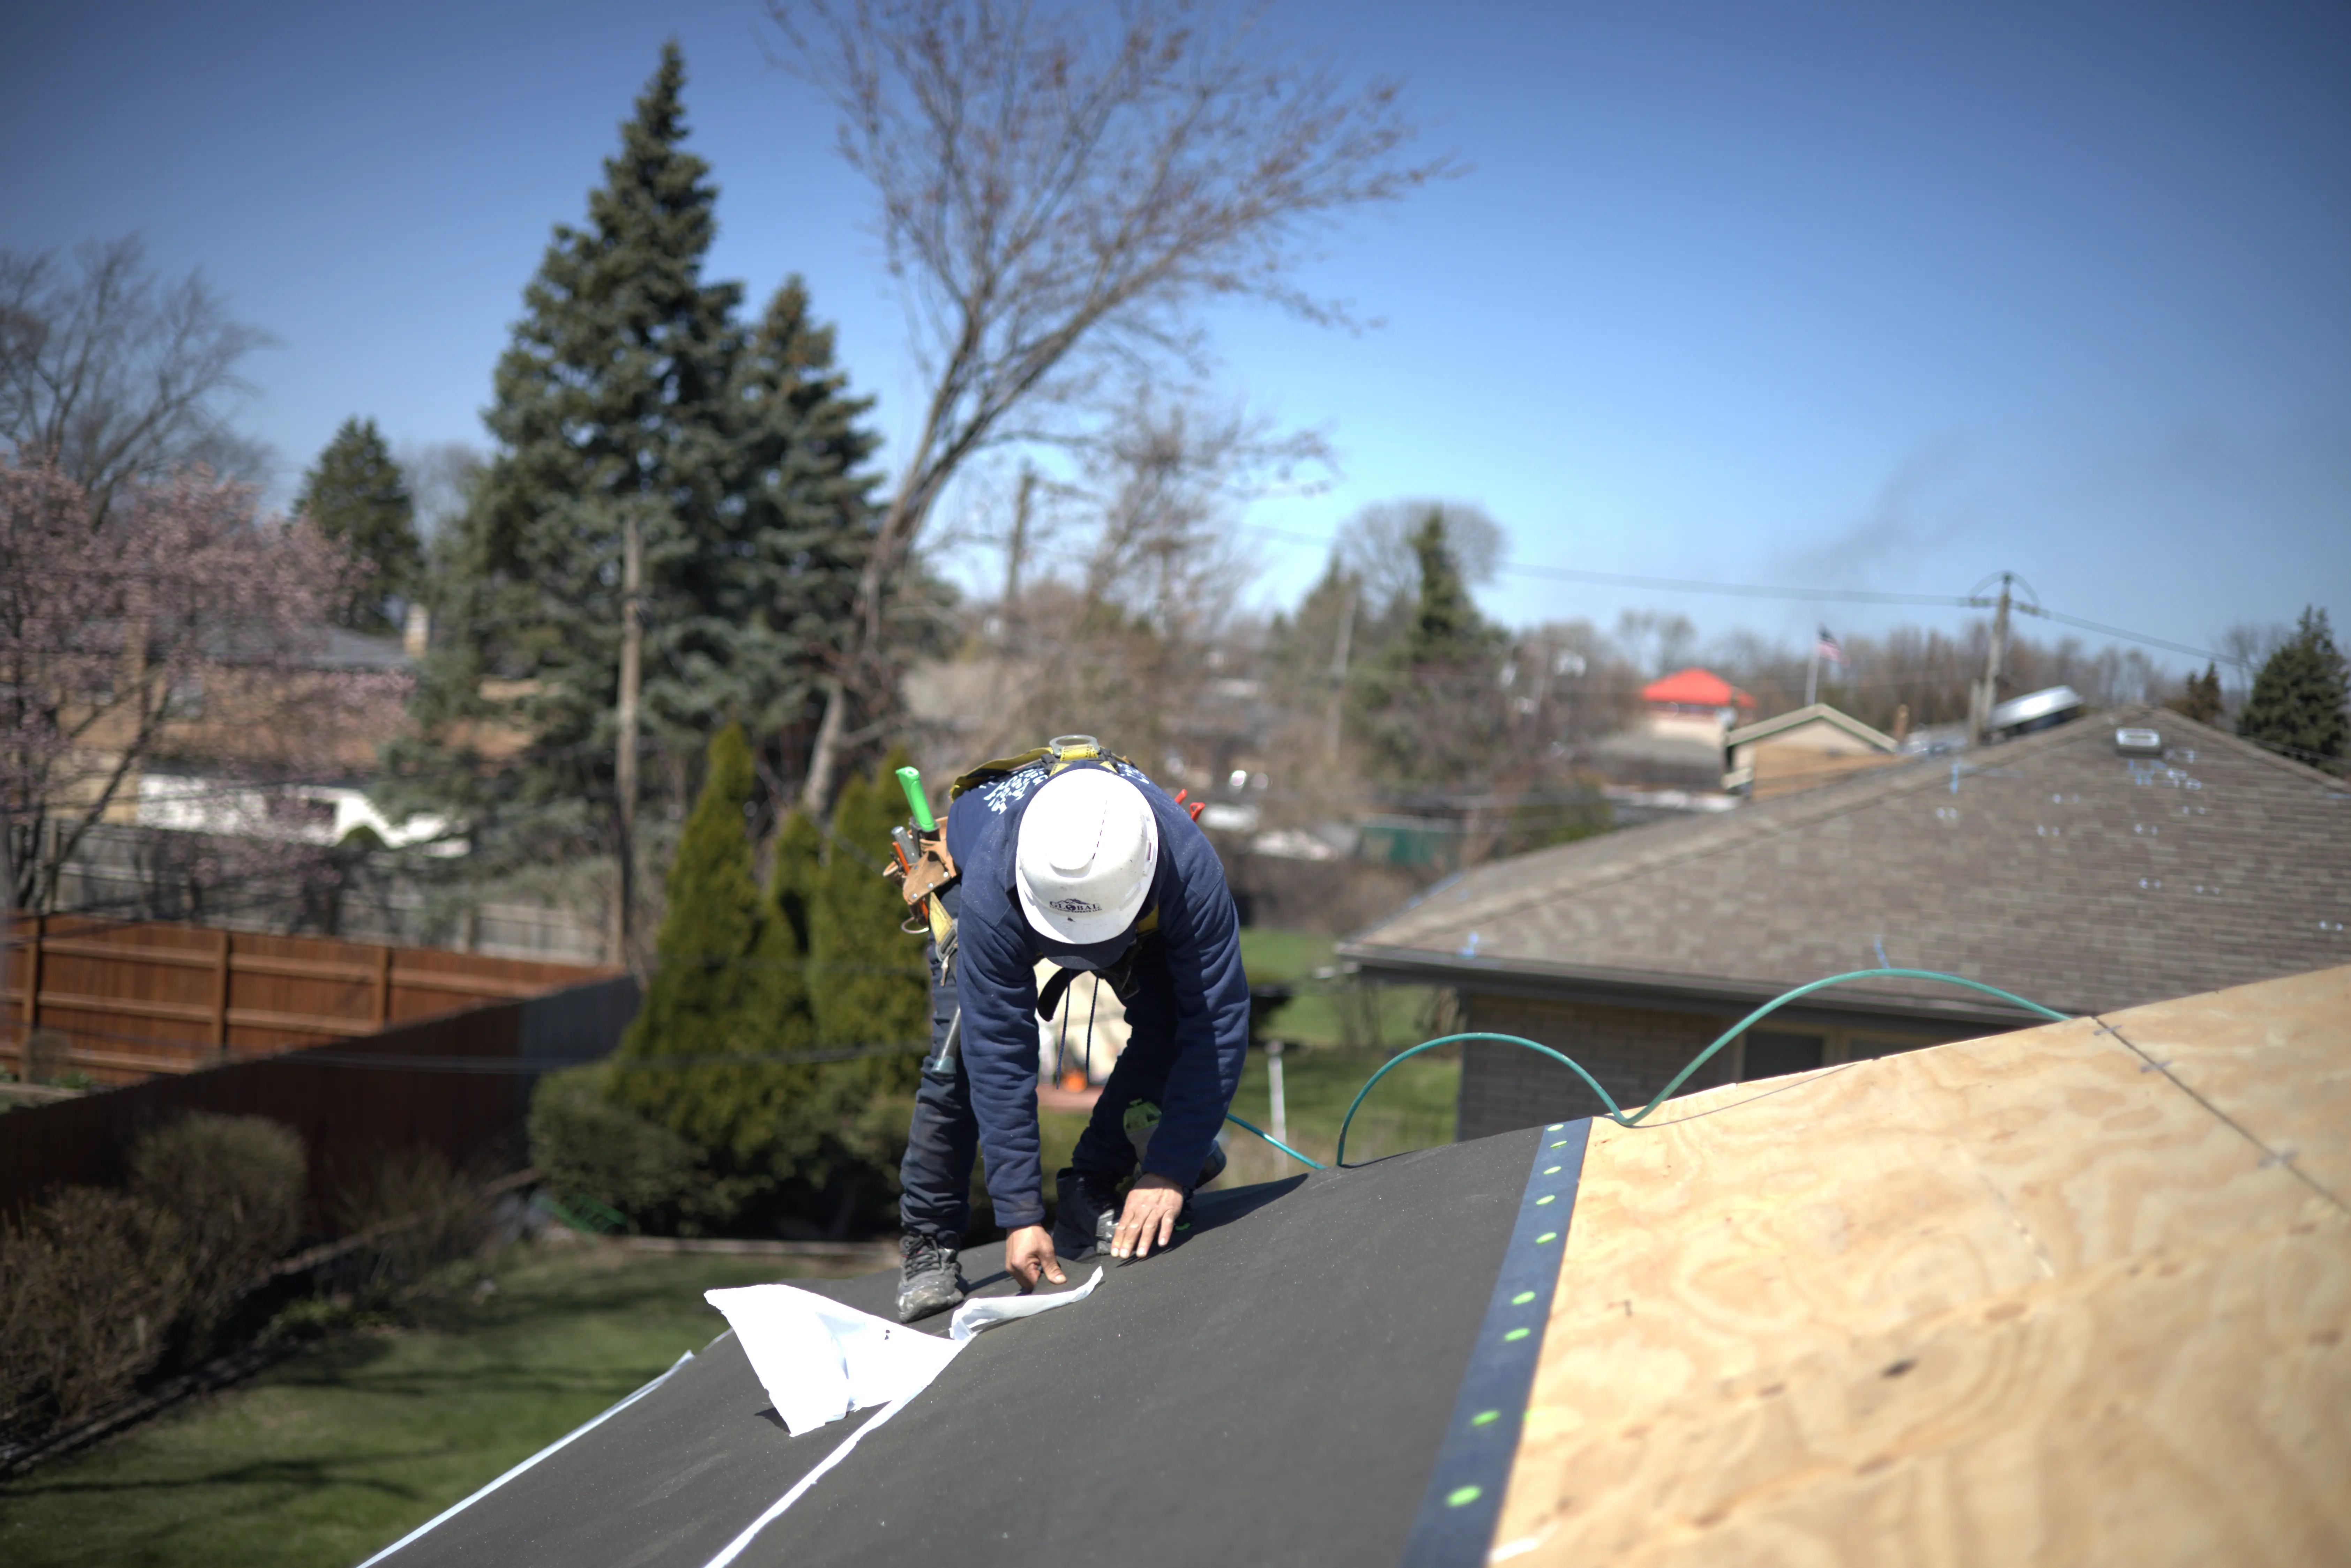
4. Ice and Water Shield: Protection Where Leaks Start
This is a self-adhering waterproof membrane installed in the spots where roofs actually fail: valleys, around chimneys and pipes, along walls, and on low-slope sections.
In colder climates, building code requires it along the eaves to fight ice dams, and inspectors here take that seriously. Ice dams push melted snow backward under shingles, and regular underlayment can't stop that. Ice and water shield can. It adds cost to the project, but skipping it in a freeze-thaw climate is asking for trouble.
5. Starter Shingles: The Layer Nobody Sees
Quick one here. Starter shingles are pre-cut strips installed along the roof edges before the first row of shingles. They seal the joints of that first course and carry an adhesive strip that locks down the edge against wind.
Why does that matter? Because manufacturer wind warranties often depend on proper starter installation. Cut shingles flipped upside down (an old shortcut, who would've thought it still happens) don't qualify. Ask what starter product is being used. The answer tells you a lot about the installer.
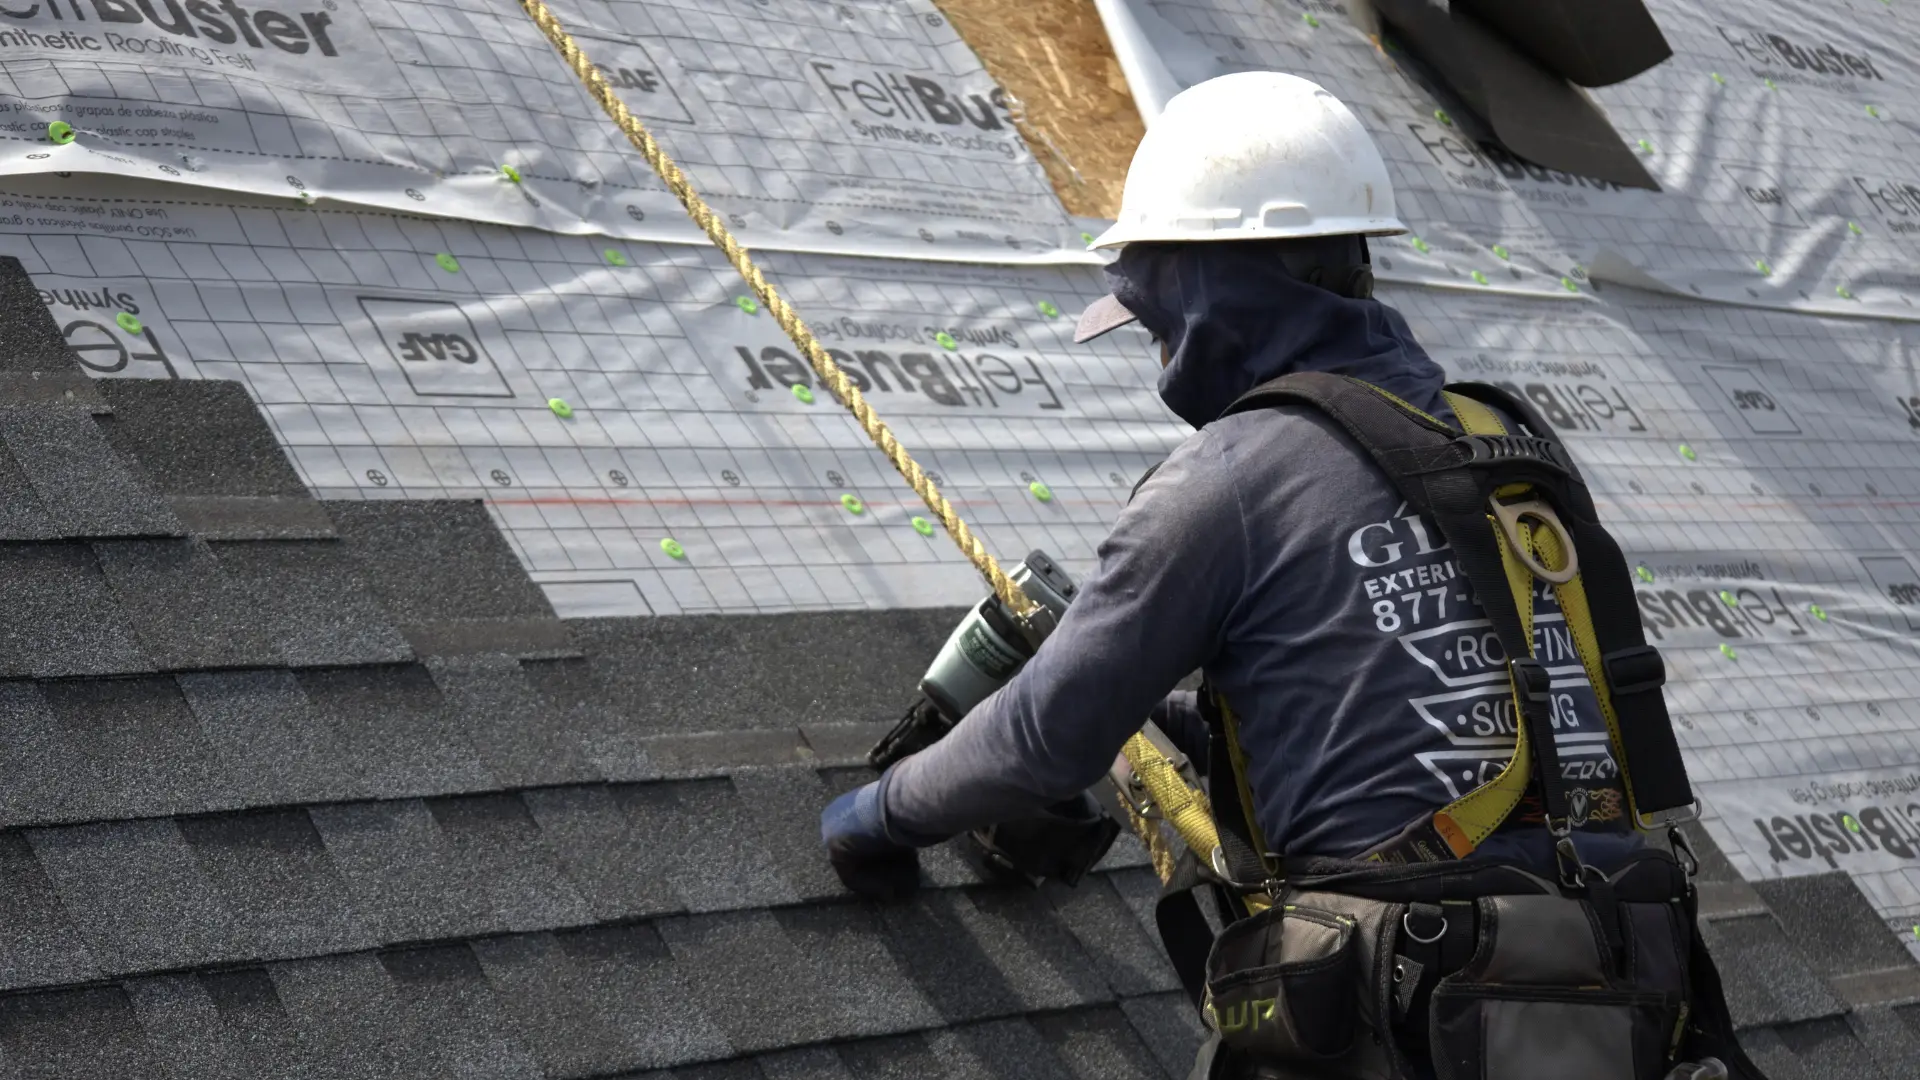
6. The Main Roofing Material: What You Actually See
This is the layer everyone pictures: the shingles, metal panels, or tiles that cover the whole roof. It takes the sun, hail, wind, and rain, and it sets the look of your home.
Your material choice drives most of the budget:
- Architectural asphalt shingles: the most common pick, typically $5 to $9 per square foot installed
- Standing seam metal: roughly double the cost of asphalt, with a lifespan of 40 to 50 years
- Synthetic shake or slate: premium pricing, premium curb appeal
One planning note: material availability shifts. Certain colors and premium lines can run on backorder for weeks, so lock in your selection early if you're working against a deadline or an insurance timeline.
7. Flashing: Where Roofs Actually Leak
Alright, let's talk about the layer that causes more service calls than any other. Flashing is metal (usually prefinished aluminum or steel) installed anywhere the roof meets something else: chimneys, walls, skylights, valleys, and pipe penetrations.
Most leaks don't happen in the middle of an open roof plane. They happen at flashing points. Existing flashing in good shape can sometimes be reused, but anything bent, rusted, or sealed with a pile of old caulk should be replaced during a roof replacement. Caulk is a repair of last resort, not a flashing system.
8. Ridge Capping: Sealing the Peak
Ridge capping covers the ridges and hips where two roof planes meet. These are high-stress spots that take direct wind, so they need material designed to bend over the peak without cracking.
Here's a shortcut to watch for: some installers cut 3-tab shingles and use them as ridge cap on an architectural shingle roof. It saves a few dollars and fails years early. Proper manufacturer ridge cap is thicker, pre-formed, and made for the job. It should be its own line on your estimate.
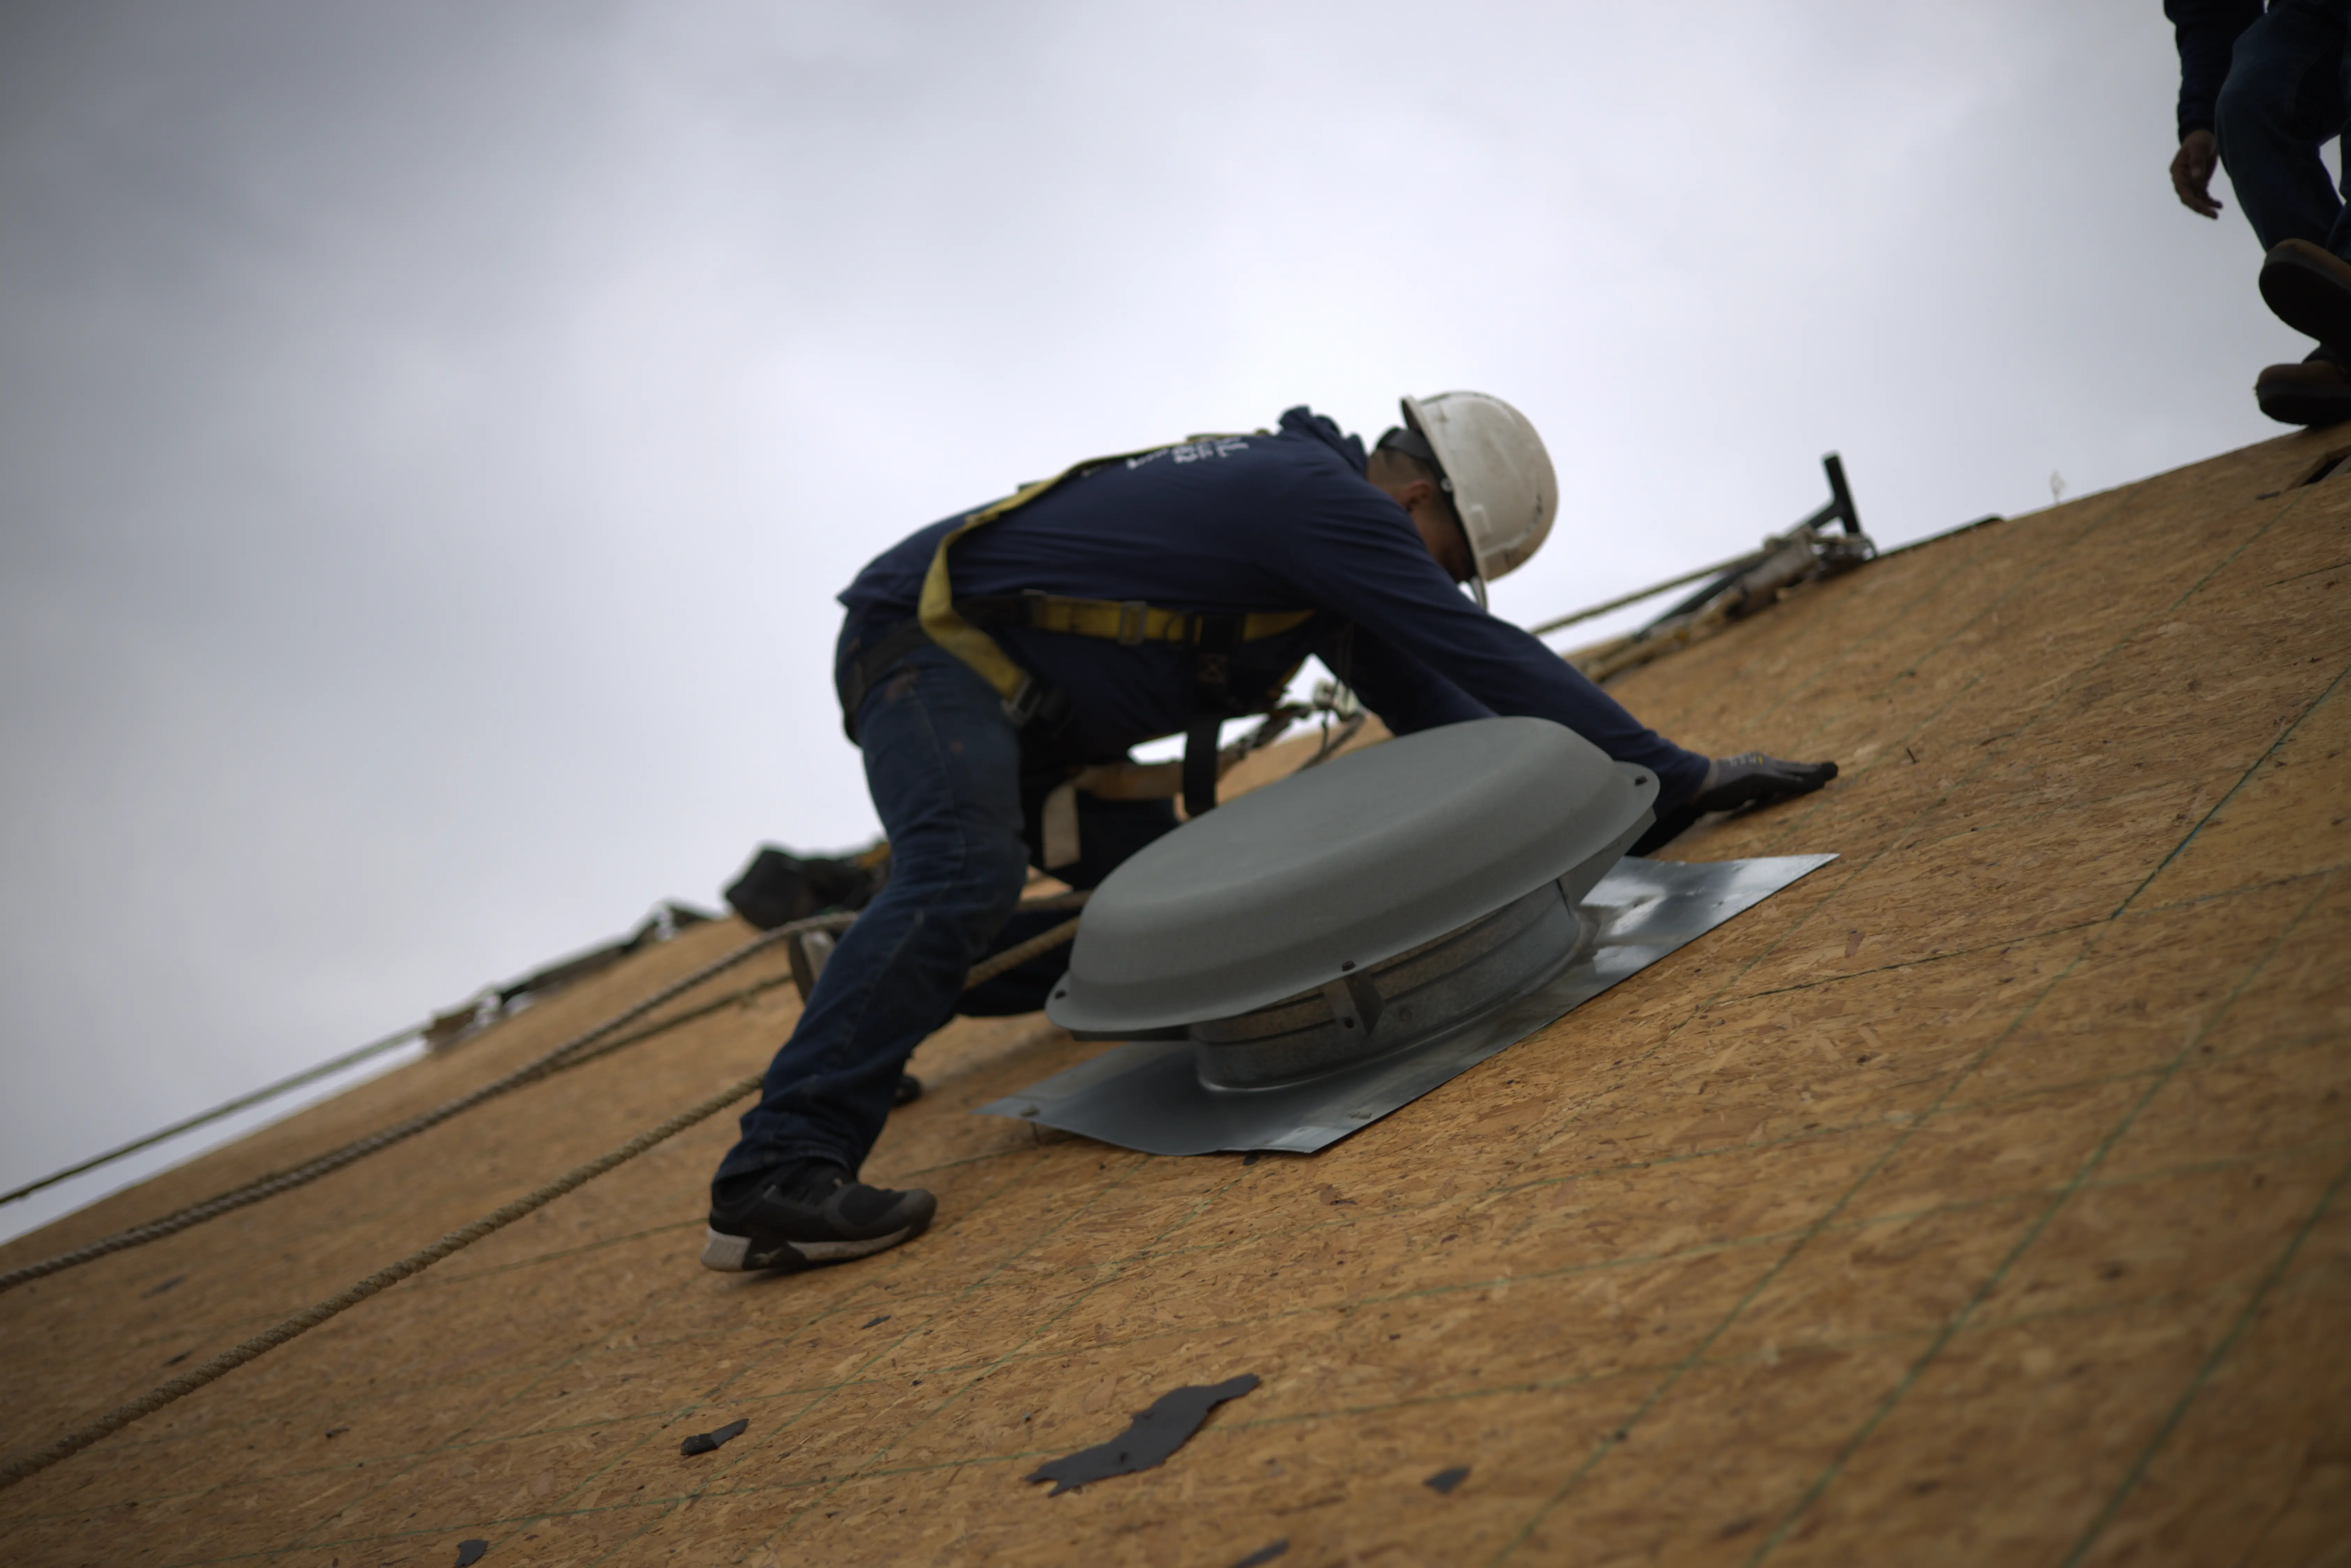
9. Ventilation: The Layer That Keeps the Rest Alive
Ventilation isn't a membrane or a material, but no roofing system works without it. Intake vents (usually in the soffits) pull fresh air into the attic, and exhaust vents (ridge vents, box vents, or powered vents) push hot, moist air out.
Poor ventilation cooks shingles from underneath, feeds ice dams in winter, and can even void material warranties. If your last roof aged out early, ventilation is the first thing worth checking before the next one goes on.
Planning Your Roof Replacement: Costs, Timelines, and Next Steps
Of course, none of this comes free. A full asphalt roof replacement on a typical single-family home runs $10,000 to $25,000 depending on size, pitch, material, and decking condition. Metal and premium materials push well beyond that.
Timeline-wise, the tear-off and install usually take 1 to 3 days. The full process, from signed contract through permits, material delivery, and scheduling, typically runs 2 to 6 weeks. Permit turnaround varies by municipality, and some are slower than you'd expect, so build in cushion.
Before you sign anything, do these three things:
- Get itemized estimates that list every layer covered above, not one lump-sum number
- Confirm permits are pulled by the roofing company, not left to you
- Ask how decking replacement is priced so surprises are priced, not improvised
The Bottom Line
A roof is 9 layers working as one system: decking, drip edge, underlayment, ice and water shield, starter shingles, roofing material, flashing, ridge capping, and ventilation. Miss one, and the other eight can't save you.
When you're ready for a roof replacement, use this list as your checklist. If every layer shows up on the estimate, you're looking at a roofing company that builds complete systems. If layers are missing, you've learned something important before spending a dime. Your next step: schedule an inspection, get the full picture of what's on your roof today, and plan from facts instead of guesses.